Sponge Print Bunny Art Project for Easter
With Easter heading our way, it is time for super duper cute Easter Bunny Craft. Have a go at this fun Sponge Print Bunny Art Project, as guest post by Start Creative Studio!

See all of Start Creative Studio’s previous contributions here!
Sponge Print Easter Bunny
In our home, no one has actually seen the Easter bunny but that didn’t stop us from imaging what the Easter Bunny might look like. We created these fun portraits using a custom, handmade stamp!
Sponge Print Bunny – Materials needed:
- Cardboard
- Sponge
- Paint
- Paintbrush
- Scissors
- Glue
- Colored Cardstock
- Single and 1 inch hole punch, optional
How to make a Sponge Print Easter Bunny Frame!
Create it!

Step 1: Cut rectangles from cardboard, paint and allow to dry.
Step 2: Cut a bunny body and head shape from a sponge. We traced a circle lid for the head and drew down for the shoulders.
Step 3: Cut a tall triangle from a sponge. You’ll only need one, as it can be used for both ears!

Step 4: Dip sponge in paint and stamp it to the cardboard rectangle.
Step 5: From cardstock, cut or use hole punch for eyes, cheeks, and accessories. Glue to the bunny.

Step 6: Cut frame from textured cardboard. Paint and allow to dry.
Step 7: Glue textured cardboard pieces to the picture to form a frame.

Fun for a classroom, a playdate or even for family craft night! Using the stamp, each bunny looks identical and it’s so interesting to see how each one develops a personality all its own!
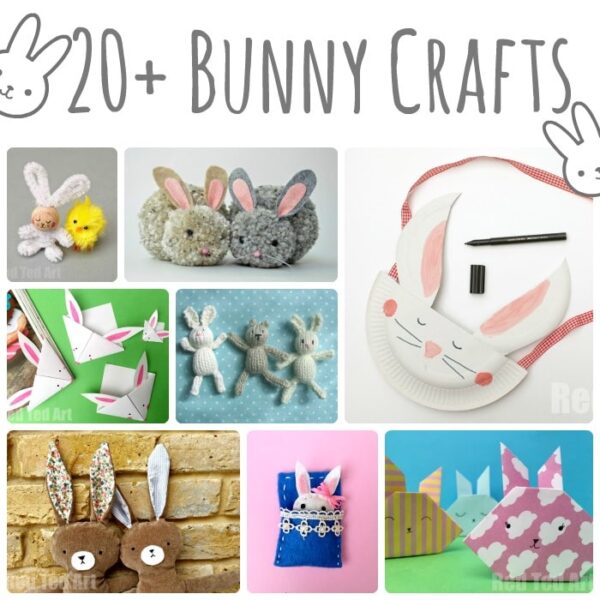
More adorable Bunny Crafts here: