Teddy Bear Softie – Learn to Sew Ted!
Time to get sewing with kids! As it is time again for the (bi)annual Sew a Softie challenge hosted by Coloured Buttons.
We have joined in a few times before and it is a great way to teach kids to sew , as well as introducing them to a number of different basic hand stitches! Today we learn how to Sew a Teddy Bear Softie!

For those eagel eyed amongst you, will have noticed that this isn’t just any old Teddy Bear Softie… but a Ted Sewing Project to go with the rest of our lovely Ted Crafts! And yes, this Ted Softie comes complete with FREE PRINTABLE for you!
Teddy Bear Softie – Materials:
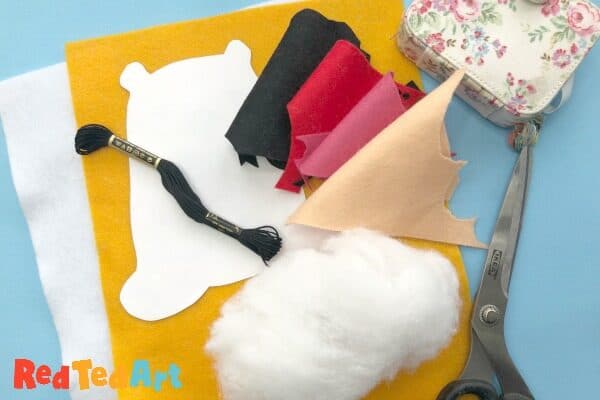
- Felt in Ted Colours: White, Orange, Black and Red and a little pink/ cream
- Embroidery thread (I decided to “go bold with black”
- Glue or additional thin thread for smaller features
- Toy stuffing (we are still working our way through and old pillow!!)
- Your free Ted Softie Pattern

How to make a Ted Softie
Please do check out the step by step VIDEO below – I think it helps really bring this craft too life!
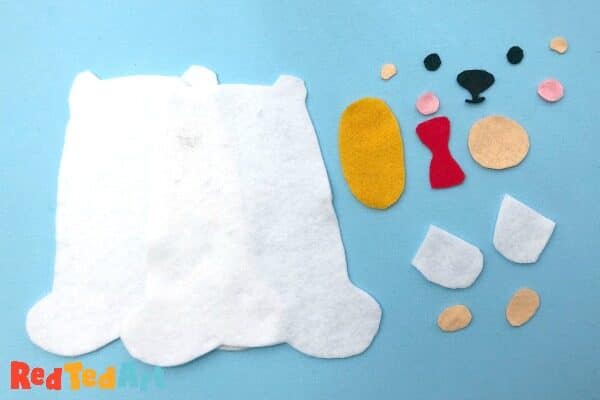
Begin by cutting out all your features. Take care with the smaller items (especially the nose/ mouth piece is a little fiddly).
Arrange all the features on top of one piece of the Ted Body and make sure you have them all in the correct place.

Glue in place – I recommend gluing if working with younger children. Remember you need a good strong glue to glue felt on felt. So quality is key. Alternatively, you CAN sew on the features with a thin thread. If you are doing this, I recommend, laying them all out and pinning them in place, so you get the right Red Ted Bear “look”.
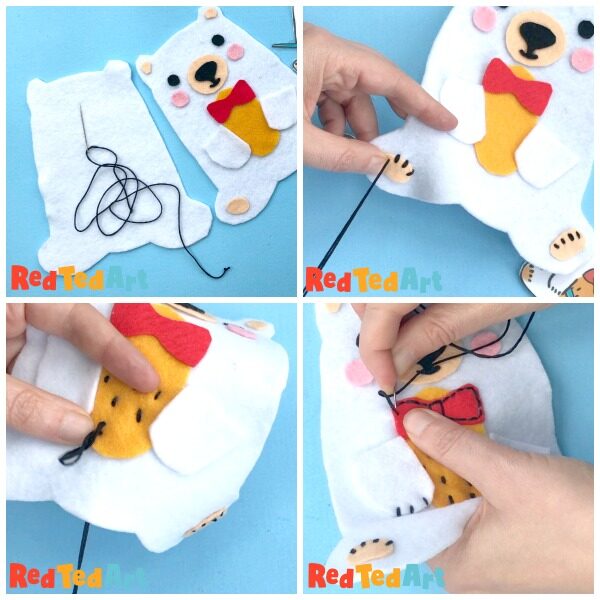
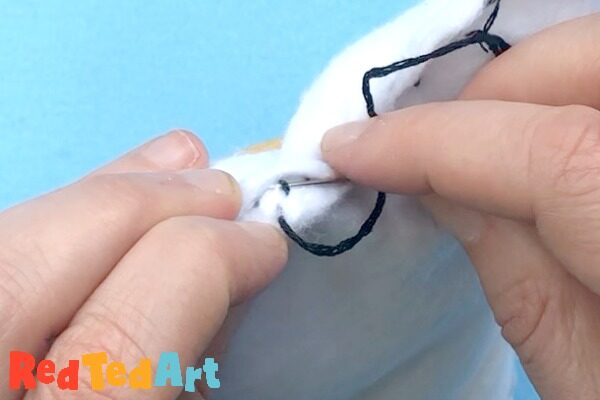
Once the glue has dried, double up some black embroidery thread and add claws to the paws, hairy features to the tummy and and outline to the bow tie. I also decided to outline the arms – but I think if I made this Teddy Bear Softie again, I would probably just add the claws.

Finally, using a running stitch sew all around the Ted outline, stopping only to add some stuffing. Don’t add TOO much stuffing, else you will distort the shape and therefore the features a little.
Tie of the thread and your done! Enjoy your little Teddy Bear Softie! And do follow the #SewaSoftie hashtag on social to see what other people are making!
Now take a look at our Step by Step Video Instructions:
(LIVE SOON: https://www.youtube.com/watch?v=M_th0p3MBo8 )
More wonderful Sewing Projects for Kids: