
Walnut Fairy Houses
In our house, we RATHER LOVE Fairies. Everything to do with fairies and fairy crafts. My kids have one little Fairy Garden and then made their own “Fairy Blueberry Woods” camping site to go with it.
We also enjoy Walnut Craft Ideas – walnuts are wonderfully tactile and a great material to work with. If you crack them carefully, you can eat the nut AND get crafty. My kids are older now, so we were able to make some adorable Walnut Fairy Houses together! So cute.

To make our Walnut Fairy Houses, you will need:
- One walnut per fairy house
- a knife for prizing them open (adults only please)
- polymer clay
- baking tray and oven
- possible strong tacky PVA glue (sometimes the polymer clay separates from the walnut)
How to make Walnut Fairy Houses
Time needed: 20 minutes
How to make Walnut Fairy Houses
We have shown a making time of 20 minutes, but you will need to add a little time for baking in the oven AND for gluing if gluing ends up being required!
We made two tpes of fairy houses.. one with a petal roof and the other a mushroom roof. We share instructions for the petal rood – mainly because it is so easy to make.. but also because the mushrooms just need “moulding until your a happy”!
- Make your Flower Roof
First CRACK your walnut open, empty and glue it back together again. Learn how to crack a walnut in half here.
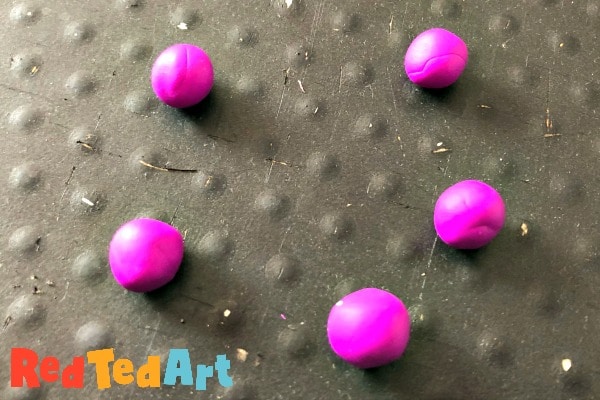
Make 5 equal sized balls for your flower roof. Ours were approximately 1cm wide.

-
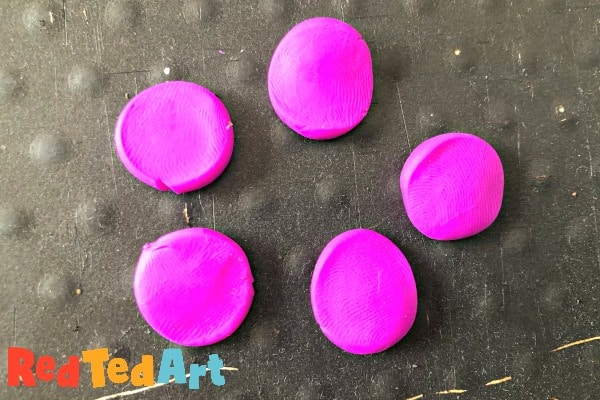
Gently squish these balls down with one finger to turn into petals.
-
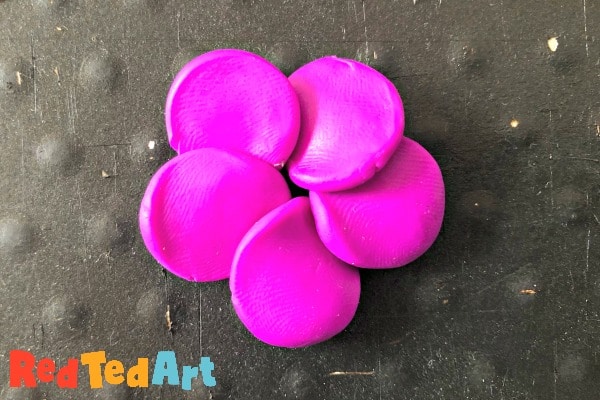
Take each polymer clay disc and lay one over the next one as per the image below.
- Make the fairy flower roof stem
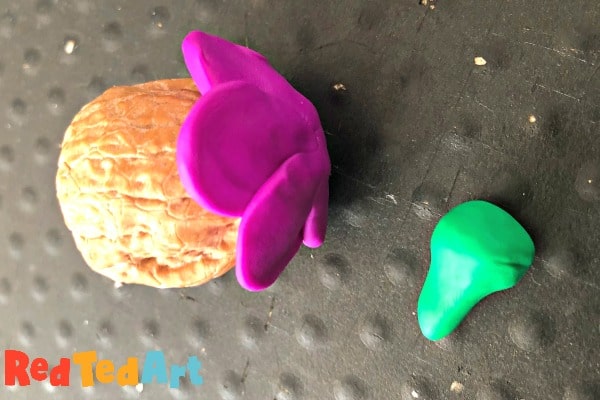
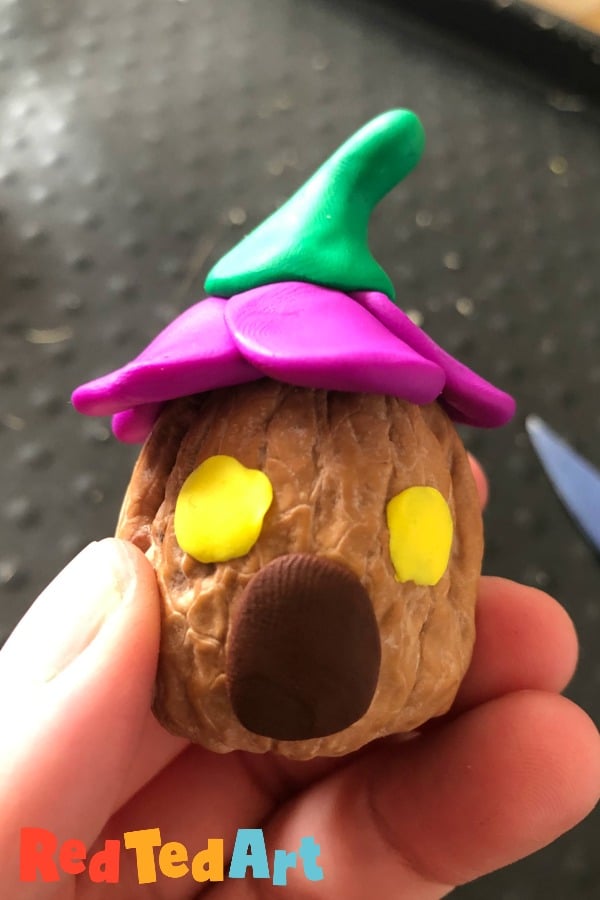
Secure the petals together (by squishing and rubbing across a little – but not too much, so it doesn’t get to thin). Place on top of the walnut and gently model it.
Make a green stem (it looks a bit like a gourd). You can experiment with shapes and make them longer or shorter or add a long twirly bit.
Secure ontop of the flower. - Make your fairy house windows and doors.
Pop it on your house and add windows and doors. These are just small discs of polymer clay. On the door, we added some “wood line” markings with a butter knife and a little dot as a door knob.

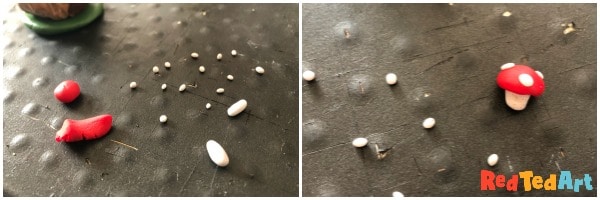
- Make some mini mushrooms
We decided that our fairy houses need a little base to help them from toppeling over. And then I thouhgt a mini mushroom would be fun.
I first made lots of little white “bits” and some white mushroom stems. I made these first as they are a light colour and the red is likely to stain my fingers and then stain the white.. so work with the white firts. Then I made a little red ball, flattened it a little and pit it all together as mushroom.
- Bake your whole walnut and polymer clay
Bake the clay – follow the instructions on your polymer clay packaging. Ours needed baking for 15min at 120 C.
You MAY need to add a little glue. Wood glue or STRONG PVA glue is great (like Anita’s Tacky Glue). - Finished!
Experiment with colours and different stems!

AS mentioned we then also made some Mushroom houses:

We love them! Aren’t they cute?

Hope you have a go!!
Here are more Walnut Crafts for Kids:
