
Walnut Ornaments – Winter Bears
Soooo, we got crafty with Walnuts these past couple of weeks. I adore Walnut DIYs! I actually bought a BIG BAG OF PRETTY walnuts in Spain about 18 months ago and it has taken me this long to get around to crafting with them! Ha. Yep. That happens in my house ALL the time. Last week we made little Reindeer Ornaments and they perfectly fit in with our collection of Christmas Ornaments DIYs! This week we are making some cute Winter Bear Walnut Ornaments!
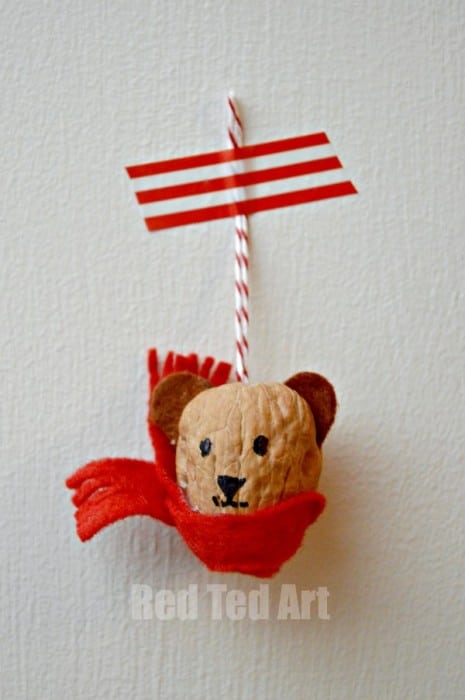
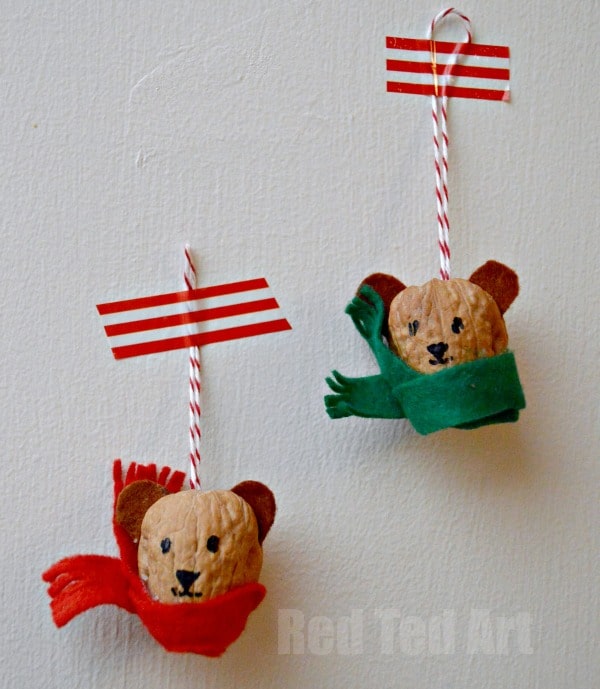
This Winter Bear Ornaments are quick and easy to make and combine the tactileness of the wooden walnut with the softness of some felt scraps!
Why we made some little bears… At the weekend, I then had a crafty friend pop around – we had some tea, some gossip and then we decided to get Christmas Crafty! I showed her my Reindeer Ornaments and she wanted to have a go straight away. As I already made my own set of these, I wondered what other Walnut Crafts I could make. Red Ted asked for some bears (as Red TED Art, you may have guess that bears are very important in our house). So I thought I would have a go at these cute little Winter Bears. I first made a Santa Bear Ornament with Red Ted and then thought to simplify it (the hat was fiddly) and made these little Walnut Bears in stead. What do you think?
I confess.. that as it was dark (the fire was lit, it was the afternoon), I didn’t take any step by step photos. But they are in essence the SAME as the Reindeer Ornaments, so please do check those out! We also have lots more lovely Walnut Crafts for you to browse. Take a peak!
PS if you love Christmas Ornaments and can’t get enough of them.. do check out our Christmas Ornament Book! 30 of our favourite ornaments brought together. Organised by age and beautifully designed as one craft per page, these work wonderfully as individual worksheets or printed out as a whole and added to your Christmas Folder!
Winter Walnut Bears – Materials needed:
- Walnuts
- Felt Scraps
- Pen
- PVA Glue
- Ribbon or Bakers Twine
- Knife and shopping board (for opening the nut)
Winter Walnut Bears – Walnut Crafts – How To:

1) Carefully open the nut – the best way to split you walnuts in half is show in this video! An adult should definitely do this step.
Walnuts are actually much easier to split neatly than you think. It doesn’t always work 100% but you can still use a “broken” walnut in this craft, as ultimately you are gluing it back together again. But 9 out of 10 times this walnut splitting method works perfectly for me.
Insert it, into the base of the walnut and carefully press down. ADULTS ONLY
You may need to wiggle the knife a little too and fro to help start splitting the walnut in half.
Don’t rush it or force it. Usually I get 2 perfect halves! Occassionally, there is small lip, but as mentioned, because you glue it all back again later, it doesn’t matter.
2) Take your walnut out (and munch on it whilst crafting).

3) Cut out some felt ears. Add a little glue on the rim of your nut and place the felt ears on top (photo borrowed from our fox ornaments). Remember when cutting your ears, to add a “bit” to tuck into your walnut shell (see the Reindeer Craft for more pictures). Also add your ribbon or bakers twine for hanging. I always add a knot, to make sure it is extra secure.
4) Press shut. Smooth down any excess glue.
5) Draw on your face.
6) Now cut a long thing piece of felt. Ours was around 20-22cm long and about 1 cm wide (basically the whole side of a felt square). This is the fiddly bit. I wrapped it around the bear, trimmed if necessary. Then held it “in position” with my fingers, whilst also adding a LOT of white glue to the bottom half of the bear. Then popped the bear “into” the curled up felt and secured it in place. Again removing excess glue with my fingers. Finally, add some little tassles to the end with scissors.
DONE! LOVE these Winter bears! I think they make super cute ornaments, though am also having a think about what to “attach them too”, so we can play with them the rest of the year too! So. Will you have a go at Walnut Crafts? Are you tempted?!

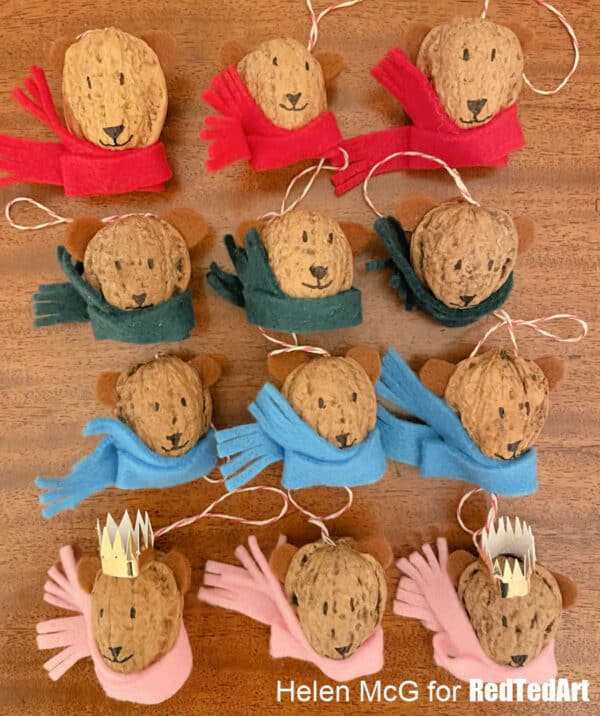
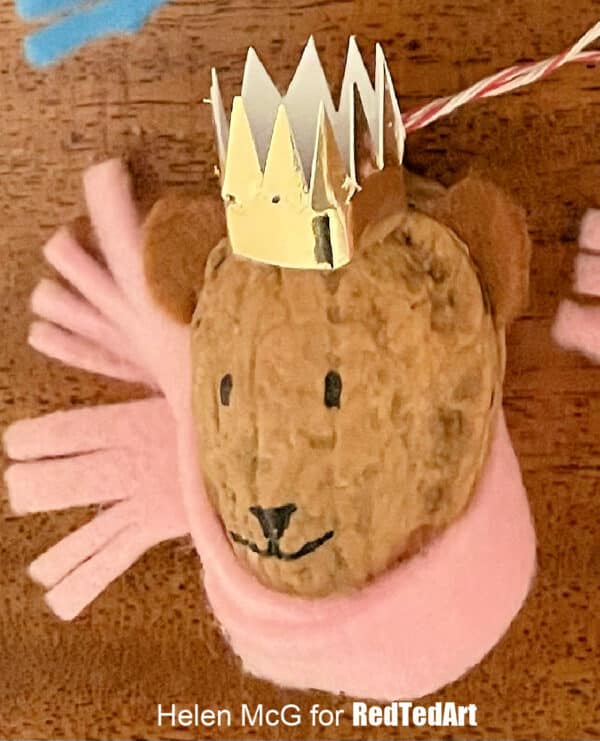
I love love love this set of Walnut Bears that Helen McG sent a photo to me off. How cute is the one with the crown? So fun! Thanks for sending me your photos!
Don’t forget! Lots more Walnut Crafts here:

And do check out our beautiful Christmas Ornament BOOK!
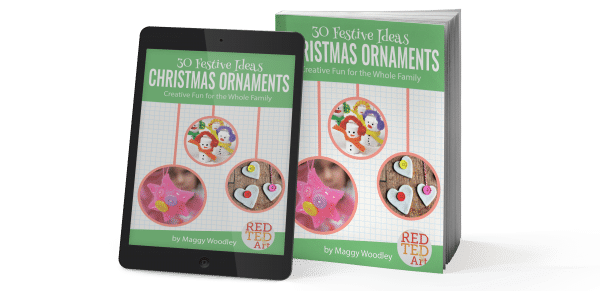
Only $7.99