
How to make a DIY Hobby Horse
I have been pondering on how to make an easy DIY Stick Horse (or Hobby Horse in some parts of the world) for a while. Ever since, we had the Sock Bunny visit, I have been wanting to make a Sock Stick Horse, and here we have it! I have made it for Red Ted this Christmas, which is such a shame, as I cannot wait to give it to him. Mummy will have to be patient! We also have a range of DIY Crochet Toy Patterns you may like!! This would make a fun Kentucky Derby DIY too!

It really isn’t too hard to make and there are lots of shortcuts you can do, which I will highlight along the way!
Hobby Horse Materials:
- A Sock for the head (a stripy one would be fabulous)
- scraps for ears (I used some old jeans)
- some ribbon/ string/ bias binding/ leather strips/ curtain cords for halter
- wool (for mane), buttons for eyes (though you could probably use felt),
- a sturdy stick the height of your child,
- (lots) bubble wrap or similar for stuffing,
- a saw (for taking twigs off stick),
- scissors,
- thread & needle.
Sounds like a lot of stuff! But the only “new” thing I used was the sock! I didn’t have a “nice” spare sock… but would have loved to have used an old one… then this would have been virtually free. What I do recommend, is that you think about the colours you are using – i.e. bring all your materials together and look what works well together. E.g. I originally was going to use some white wool for the mane, but found that the blue one was nicer. And I fib: I had a fab red and green sock, but didn’t have any ribbon to go with it as a halter – you catch my drift! Anyway, my “new” grey sock only cost 50p…
Here we go:
How to Make a Hobby Horse
")
1) Prep your stick – saw off any branches/ twigs and add a notch around 20-30cm down from the top. This notch will later help “hold” the head in place. Stick should be child height or slightly longer.
2) Cover the top of stick with stuffing (bubble wrap in my case) and some fabric scraps – this will protect the horses head later and help prevent the stick poking out!

3) Stuff lots of small pieces of bubble wrap into sock. By putting in small pieces, you will find it easier to “shape” the head. And indeed get the bubble wrap in! When you have a sausage up to the heel, add more stuffing to the side of the face – to form a bit of cheek. Add more stuffing to heal.

4) Insert stick and then add stuffing all around it. I found this to b a bit fiddly and I even broke a sweat (most unlady like)! It s fiddly. But it is worth it! Re shape the head if need be, by squishing it around and poking the stuffing a bit.
5) Secure with string at the same height of notch. You can then also add some ribbon or something to “hide” the string, but I left mine. Some people secure the whole lot with hot glue. But I don’t have hot glue!!!!
")

6) Make the ears – I cut some ear shames out – 3 pieces – one for centre of hear and 2 to make the ear itself. The centre bit is the “reverse side” of my denim. I attached it blanket stitch. Then I put the ear pieces right side facing each other, stitched round it and turned them inside out. Voila, an ear! You can make this easier and quick, by using felt pieces and gluing them.

7) I the cut my Bias Binding into halter length pieces – a nozzle, round the head and then the reigns.
8. Pin it all onto the head to see if you have the right pieces and make sure you are attaching it correctly relatively to each other (you don’t want wonky eyes or a skewed ear). I found this a REALLY useful step. So wouldn’t skip it!!
9) Sew on Ears, Eyes and Halter. This was a little fiddly. But I reckon you could probably glue some of this. I think sewing is much nicer, certainly if using buttons for eyes and much more secure. But you could do felt eyes and stick them on. And the halter could possibly be tied on? Just have a go and see what works for you.
")
")
10) The main – I cut LOTS of strips of wool and sewed them on separately. To get them even, I wrapped my wool round a book and cut at both ends. See picture for how to sew on: I drew a line, to get a roughly straight main. Sew in the piece of wool and then tie a simple not. Repeat LOTS. The more you do, the better the mane!
Isn’t he simply divine?! I am in love!!!! (the middle Sick Horse shows “work in progress”)
")
ENJOY!
Will you be making anything for your kids, friends or family this Christmas? If so, what?
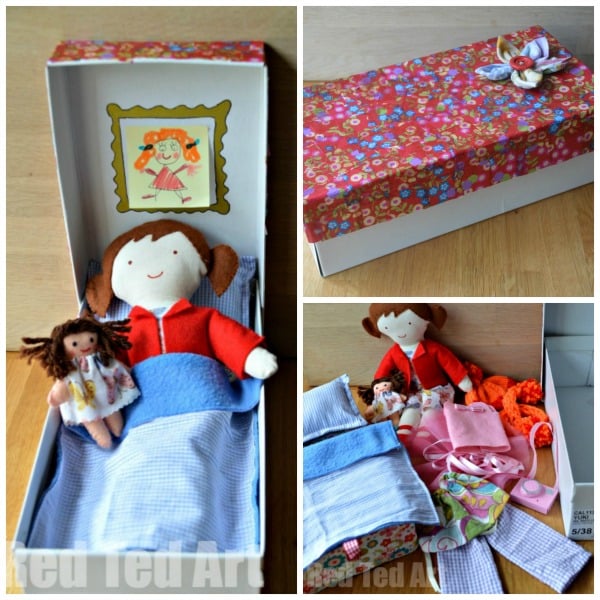
Here are some more fabulous DIY Toys you can make for your kids – we love our doll in a box – a doll, a bed, and a secure storage place for extra cloths. So cute!:
Or how about a Rag Bunny Doll (made from old cord trousers no less!)

Lots of wonderful (and free) DIY Crochet Toys to make:
