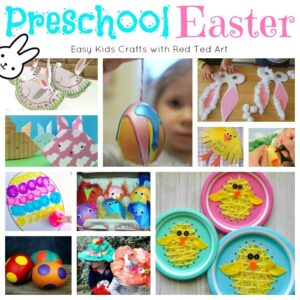
Easy Egg Carton Bunny Rabbit
These would make lovely little Preschool Easter Crafts? As you well know, we are rather partial to a bit of recycled crafting… so I am very excited to share this adorable and easy egg carton bunny rabbit guest with you today. We are rather partial to both Egg Carton Crafts and TP Roll Crafts – but marvellous craft materials for young and old.. so I think you will love these little bunnies.. and the book that they appear in (more info) below. So… without further ado, over to the lovely Tracey, here darling little bunny craft, as well as her fabulous book too!
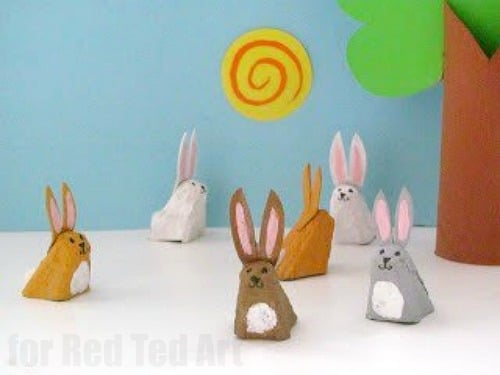
It’s a bunny time of year really, and we have an abundance of bunnies! They’re from my new craft book, ‘Make Your Own Farm Animals’, which is packed with projects that turn ordinary old cardboard packaging, likeegg cartons and tubes, into all kinds of animals and buildings. The projects work together too, so you can keep adding to your farm if you want.
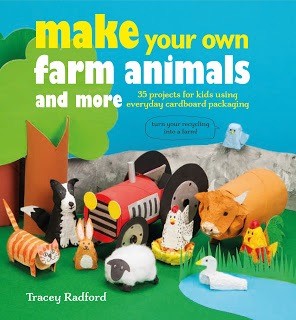
The book is out mid March, but it’s available to pre-order now on Amazon. US / UK
(affilliate links)
Egg Carton Bunny Rabbits – Materials
If you’d like to make one (or maybe a few), you’ll need:
- Egg carton
- Pencil
- Ruler
- Red, yellow, blue and white paint
- Fine paintbrush
- Kids’ craft scissors
- Craft glue
- Fine black felt-tip or gel pen
- Cotton wool ball
Egg Carton Bunny Rabbits – How To

Roughly cut out a whole middle cone from the egg carton so it’s easier to work with.
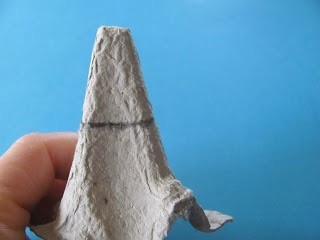
Use a pencil and ruler to measure and mark 2cm (3/4in.) from the top on one side of the cone, and draw a line across here.
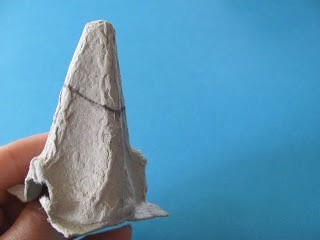
On the opposite side, measure and mark 3cm (11/4in.) from the top and draw another line.Join them with sloping lines either side.

Cut out your bunny’s body. A handy way to do this is to snip up two adjacent cone corners to the pencil line, then fold back the ?ap and cut it off – now it’s easier to cut along the rest of the line.

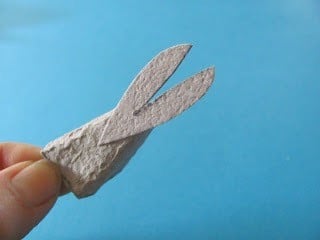
For the ears, draw a petal shape on some card from the egg carton lid. As a guide, make it no more than about 4cm (11/2in.) long and not too wide. Cut this out. If you want to make more bunnies, you could keep it to use as a template to draw around.
To form the ears, draw a long, slightly curvy ‘V’ in the middle of your petal shape – don’t take it down as far as the pointy end. Snip out the little card piece between the ears.
Brush glue on the bottom part of the ears and stick them just behind the top of the cone (on the longer side).
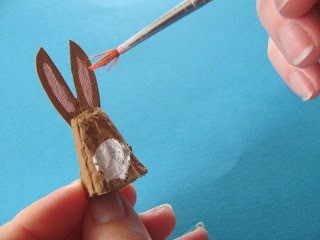
When the glue is dry, carefully bend the ears back a bit. Paint the bunny whatever colour you like, remembering to paint both sides of the ears. The brown we used is made by mixing yellow with a little red and a dab of blue – lighten with some white.
When it’s touch dry, use a ?ne paint brush to add a white puffy chest, then mix a touch of red with the white to make pink and paint a stripe inside each ear.

For the tail, pull off a small amount of cotton wool, roll into a little ball between your finger and thumb and glue to the back of your bunny near the base. Use a fine black felt-tip or gel pen to draw a face. Put the twitchy nose right on the edge of the cone top, with the eyes just above.

TIP: If your egg carton has cones with holes in the top, brush some glue inside them and push a little ball of newspaper up, to ?ll the hole.

More great Easter Crafts for Preschool here: