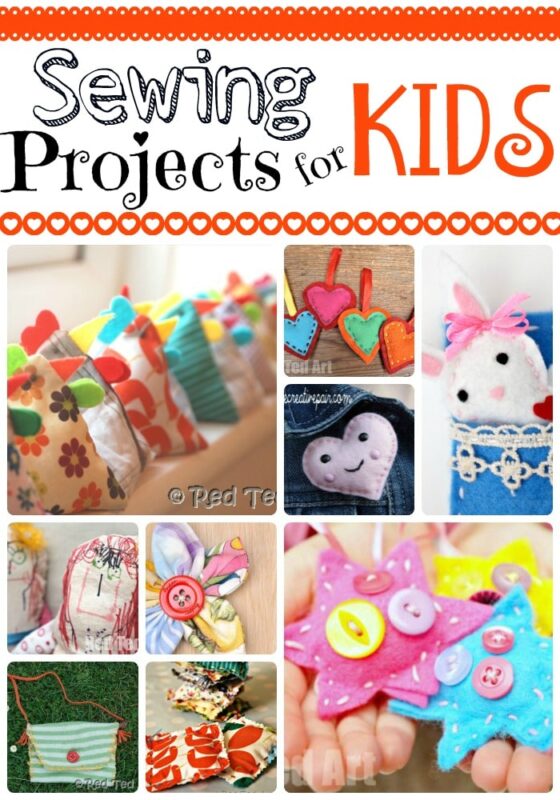
Sewing for Beginners – Easy Fabric Flowers
Let’s use our fabric scraps to make some fabulos and easy fabric flowers or ruffle flowers – these are sometimes also called fabric rosettes or even wagon wheels. They are fun and easy to make! We have lots more Sewing Projects for Kids for you to check out, as well as great Teaching Kids to Sew tips!!
These fabric flowers make great rosettes too!
If you are not that confident sewing, or don’t have that much time, but want a cute and easy sewing project… or if you are beginner sewer or sewing with kids and need something and cute, check out these super duper easy Fabric Flowers… they are indeed easy, can be worn as hair pieces or a brooch.
Can be extended to become fascinators (add some tulle frills around it) OR turn it into a simple rosette (dangle some ribbons below).. so ONE EASY SEWING PROJECT for kids, turned into multiple uses or applications. These would make a great sewing project for schools (aged 8yrs+ ?) or a scout troupe or older Brownie Pack!
I think these flowers are perfect for 8yrs+, but you can try younger and enthusiastic kids on this too – my daughter is almost 6 yrs old and dying to have a go.
The fabric flowers also great for using up odds and ends of fabric or recycling some old shirts or bed linen. Lovely.
You can find Metal Hair Slides with holes here:

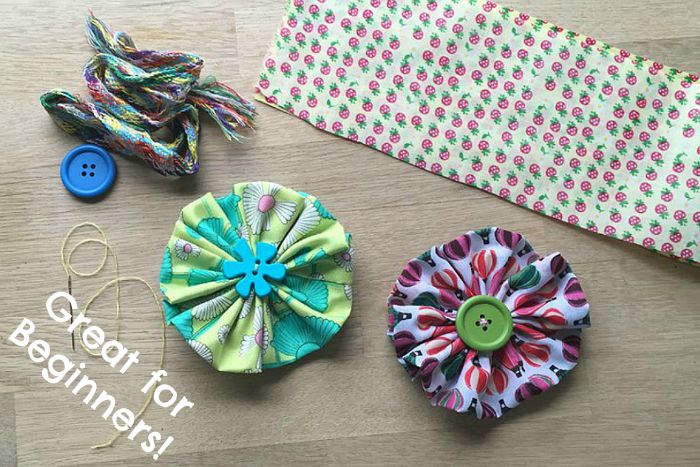
Supplies needed to make this sewing project for beginners:
- Strips of fabric there is no hard and fast rule for the dimensions (but more on that below)
- Needle and thread
- A button
This fabric flower requires a running stitch, to help you gather the fabric and turn it into a flower. The running stitch is the stitch that many beginners first learn.
How to make Easy Fabric Flowers:
Choose from the video tutorial (recommended) or follow the written step by step instructions (with video stills).
How to make a fabric flower – video tutorial
How to sew a fabric rosette – step-by-step instructions
I cut my fabric to be 22″ x 4″. This makes a flower about the size of an adult’s palm of the hand. If you have short fabric, simply make the strip you cut less wide and you will make a cuter smaller flower!

Fold the fabric “right sides together” across the middle.

Sew the along the short edge.
Secure the thread.

Now turn inside out – to have the nice pattern on the outside.

Fold in have – to make a nice tube. This step may feel a little fiddly at first.

Make sure your seam is aligned and all need.

From the seam, make a running stitch all the way round. The running stitch can be quite wide 1cm long stitches are fine!

Now gently pull the thread to gather your fabric and bunch up your sewing – this makes the rosette with a “messy middle”. Add a few stitches here to secure the middle.

Now sew a button over the middle to hide the edges and neaten off your rosette or flower. You may want to check out our how to sew a button video on youtube!
Your basic fabric flower is finished! Our video tutorial is also vailable on YouTube here.
Now, those eagled eyed amongst you will see that the fabric rosette is very similar, to a homemade scrunchie – the process is slightly different though.. but maybe take a look at this too:

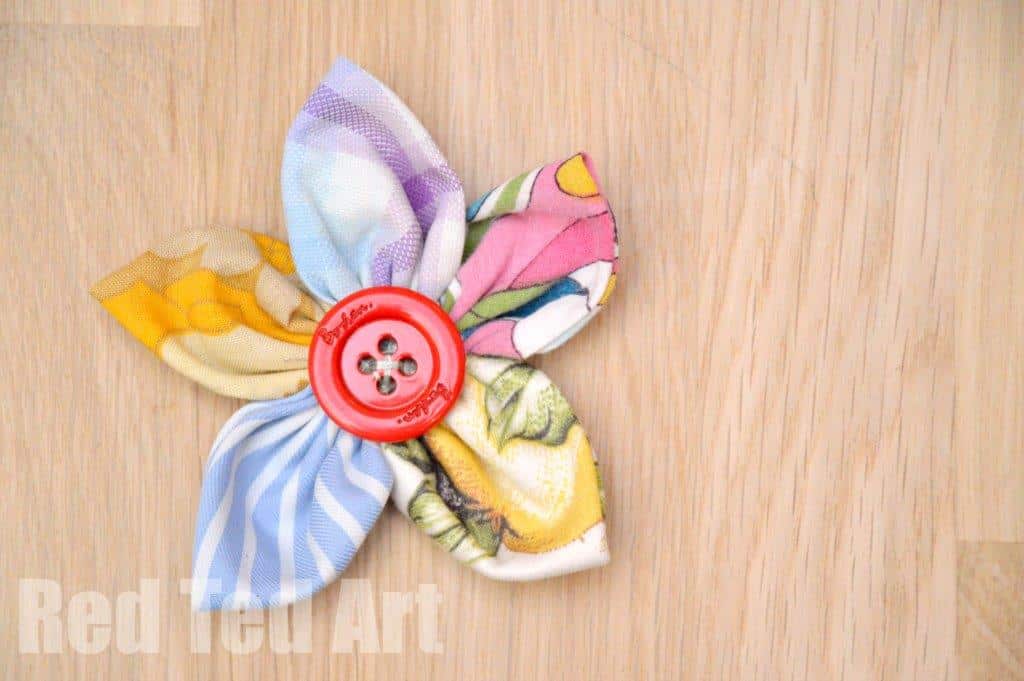
Once you have mastered these fabric flowers, take a look at THIS type of easy fabric flower – it is still easy (I promise), but involves a little more sewing and skill (but not too much more!)
Have you given sewing with kids a go? It really isn’t as hard as you think and you will find that the kids adore it! Check out our teaching kids to sew article! As well as our great Sewing Projects for Kids!