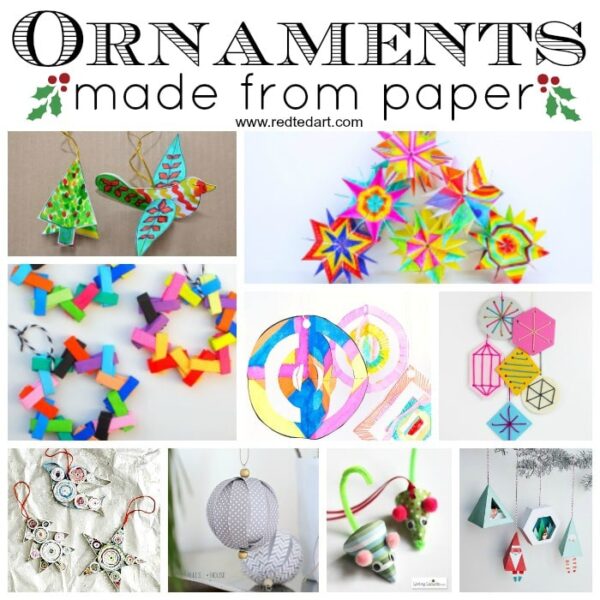
How to make Paper Honeycomb Ornaments
We have made MANY 3d Paper Ornaments over the years! And there is a wonderful technique, where you use paper circles to make quick and easy 3d paper ornaments (check out our Reindeer Ornaments and Unicorn Ornaments for this). There is however a way, to take this up a level, with these wonderful honeycome paper ornaments. They are actually just as easy to make, they simply take a LITTLE bit longer and are probably better for odler kids in middle school or even high school. A gorgeous 3d paper bauble craft for teens to make this Christmas!

List of Supplies to make these 3d Paper Honeycomb Baubles:
- Colored craft papers
- Pencil/ something for tracing circles (e.g. a glass or tin can)
- A pair of scissors
- Craft glue
- String
- Optional: large beads (2cm)
How to make 3d Paper Ornament Baubles with Honeycomb

Image 1: Make the first half or your honeycomb ornament – cut the circles
Select medium-weight craft papers for this craft. Do not use origami papers or light-weight papers for this craft. Trace and cut out a round shape of your choice (this will be the size of the ornament).
Use this round cutout to trace 12 round shapes (x2) on the selected colored craft paper. Cut out the traced patterns using a pair of scissors.
NOTE: the main reason this is a craft for older children, is that you will need to cut and glue more circles! So to make a “decent” shaped honeycomb ornament, you will need 24 (!) circles. We make them in two halves. Most of my previous circle shaped ornaments, only need 10-12 circles, so more suitable to children in elementary school!
Image 2: Fold the circles
Take the round cutouts and fold them in half neatly. One by one fold all of the round cutouts.
Image 3: Add a line of glue down the centre ONLY
Take any of the half folded cutouts and apply a line of glue along the middle of any one half folded sides.
Image 4: Fold back in Half
Fold the cutout in half again and gently press the glued part.

Stack your Paper Bauble Pieces
Image 5: glue all paper circles in this way
Similarly, prepare the rest of the half folded cutouts.
Image 6: add two lines of glue
Note: This is where the gluing is DIFFERENT to the simple version of our paper baubles. The regular kids paper baubles have glue all over. Here you need to carefully add just two lines of glue.
Take a half folded pattern and apply 2 lines of glue near the sides (both sides of the middle glue).
Image 7: Place a second circle on the first
Place another half folded pattern on top of the glued part. Apply the 2 glue lines on the top surface of the current pattern, similarly.
Image 8: Repeat the two lines of glue and stack all 12 circles
Similarly, attach the next half folded pattern. Attach all 12 patterns the same way. Allow the glue to dry.
NOTE: You need to make TWO OF THESE for a full 3d honeycome sphere.
Make Two!

Assembling your Honeycomb Ornament
Image 9: finished half honeycomb – make 2
Make two honeycombs!
Hold the first and the last pattern and pull them gently towards opposite directions.
Image 10: Add the string to one half of the honeycomb ornament
For ease of photography of this step, the photo shows a flat disc of paper – but this is the half honeycomb open up to show as a circle. Add glue to both halves and the spine.
Place a piece of hanging twine in the middle. Here it is looped through a bead and knotted. But you can have just a ribbon knotted, or you can add beads to the top and bottom.. or you can even connect several paper ornaments to make a garland.
Image 11: place the second paper ornament top and press gently to secure.
Image 12: Make more pape honeycomb ornaments!!

Aren’t they gorgeous?
If you want the simpler version of the 3d paper ornaments, try these three projects:


And do check out the rest of our Paper Christmas Ornament Collection: