Easy 3d Paper Snowman Ornament Tutorial for Christmas
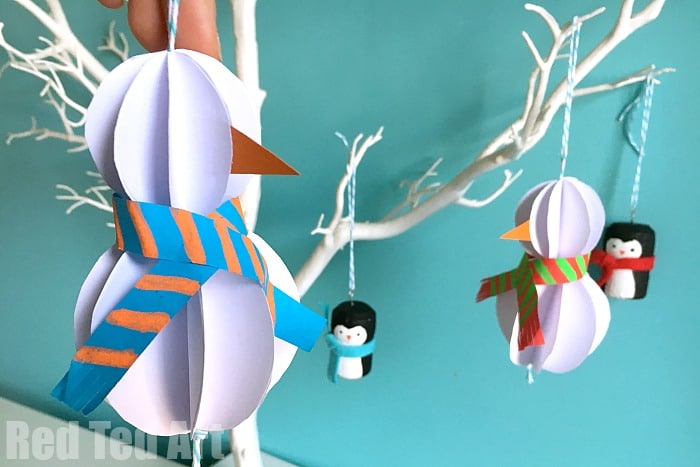
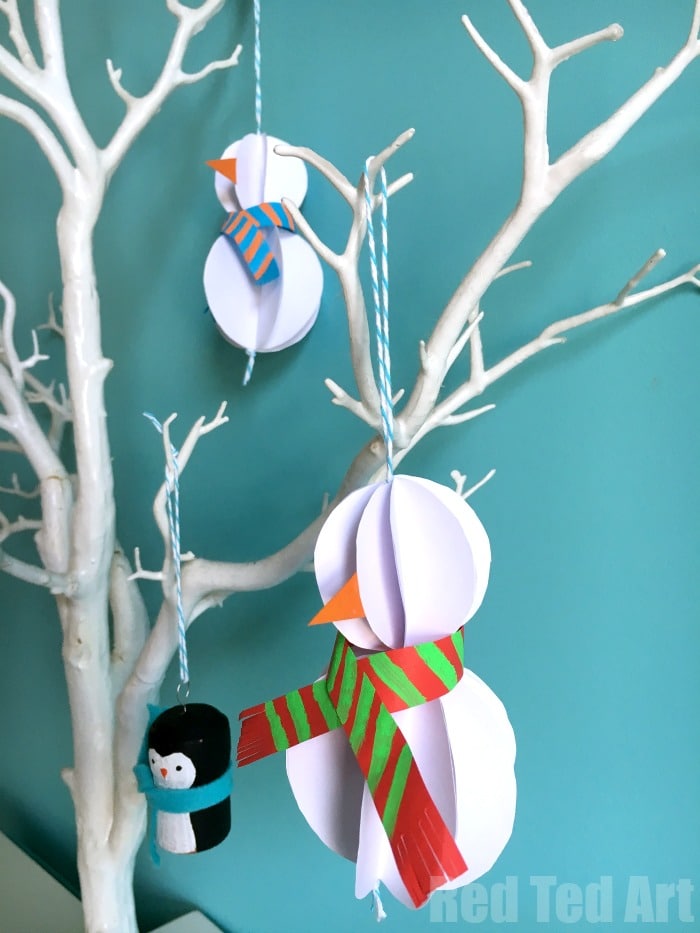
Oh yes the DIY Christmas Ornament season has OFFICIAL started!! Making ornaments is one of favorite Easy Christmas Crafts for Kids ideas – as there are so many things you can make, as well as give to family and friends. Today we have a super cute and gorgeous Paper Snowman Ornament DIY!
I promise you, it is much easier and simpler than it looks and is based on the Paper Baubles we have made previously (and that feature in our Christmas Ornaments Book!!). What I also love about these paper snowmen, is that they make a perfect “Winter Craft”.. which you can display right through to February and March. Nothing more depressing than having to take your decorations down in January. Not these little Easy DIY Snowmen!
Easy Paper Snowman Ornament – Supplies needed:
What I REALLY love about this little paper snowman, is that the supplies needed are so very very basic!! In essence this little guy is just made from some pieces of paper – in fact, you could make him from just scrap paper. Crazy right? This makes for a super thrifty craft – perfect the classroom (maybe slightly older kids, who have the patience to cut out lots of circles – though you can layer your paper and cut many shapes in one go).
So.. all you need is:
- White printer paper
- Small bits of colored paper for nose and scarf (though you can use pens to colour your paper)
- Pens for decorating (optional)
- Some circles for tracing – like bottle lids, glasses – whatever you can find
- Ribbon/ string for hanging – we used bakers twine
So.. how do you make a snowman ornament out of paper? Here we go:
Easy Paper Snowman Ornament How To:
If you want written instructions and photo steps – the basic paper bauble is explained here – DIY Paper Bauble – or watch this easy video!

Watch the quick and easy DIY Snowman Video on Autoplay.
Aren’t they simply lovely and oh so easy to make? I think they look much much much harder to make than they actually. And you will surprise and delight people with your 3d paper snowman ornaments!
Step by Step instructions for making a 3d Snowman Ornament
Trace your circles for the snowman’s head and snowman’s body
- Find two things two circle things to trace. We traced the base of a paper cup, as well as a lid. Check that the sizes of your two templates look good together first – e.g. if the lid size makes too small a head… search around for something else!
- Take your white paper – check the position of your large circle and trace once. Fold the paper in such a way, that you have 8 layers of paper.
- Cut out all 8 layers of paper at once. So that you end up with 8 equal circles in one go!
For some children this will be fiddly – the paper will slip and the circles will not be even. This is not a super exact craft, but it is good to have the circles a neat as possible. In this case, trace the circle 8 times and cut out separately.
4. Repeat this same process to cut out 8 circles in the smaller size.
You should now have:
- 8 larger white circles for the snowman’s body
- 8 slightly smaller white circles for the snowman’s head
Prepare your snowman’s nose and some ribbon/ string for hanging
Cut out a small orange triangle to fit your snowman’s head. Make it a little bigger, as you will need extra paper to glue it inside the head.
Cut out some string that is TWICE the length of the two sized circles side by side + a little extra for knotting.
Fold the ribbon/ bakers twine in half and knot the bottom,
Turning your paper circles into a 3d Paper Bauble
- Fold all your circles in half (keep them in separate piles, for easy of use)
- Taking one set of circles (the larger set), add glue to one half of one of the circles.
- Take the second cricle in that size and stick it on top.
- Now add glue to the exposed half of that second circle and stick the 3rd circle on top. Continue until all 8 (folded) circles are stacked up.
- Add plenty of glue to the “spine” of the circle stack, as well as glue to the exposed circle on the top of the stack
- Align the baker’s twine with the spine of the circles – so that the knot peeps out at the bottom.
- Take the top circle (with glue on) and fold it round to meet the back of very first circle.
You now have made your first 3d paper bauble in white paper – it looks a bit like a snowball, doesn’t it?!
8. Repeat the process for the second bauble.
9. When you get to the finished “stack” – again, add glue to the spine and the top circle.
10. Now align with the large paper bauble – so that both paper baubles are glues around the same piece of baker’s twine.
11. Before you “close” and glue the snowman’d head shut, insert the paper carrot nose.
Done. Your basic paper snowman ornament is done!
Making a little paper scarf (optional)
- Cut a long thing piece of paper.
- Decorate with pens (if you wish).
- Cut a little tassle into the ends.
- Wrap around the snowman and glue in place!
Ta-da – your 3d Paper Snowman Ornament is now complete! Well done you!
Do have a go at these cute paper ornaments today!
Some more frequently asked questions about Snowmen!:
How do you make a snowman out of old books?
Can you make this snowman out of old books? Yes you can… I think it would be a super cute upcycle/ quirky version to use book pages to make this cute little 3d Paper Snowman! Maybe add extra circles to make the snowman body “thicker”. You can also try this version:
How do you make a snowman Tealight ornament?
Oh yes, tealights make SUPER cute snowman ornaments too! It is so fun to see the candle or flame “light up as the nose” of the snowman. I have a Snowman tealight ornament tutorial for you too!
Inspired? Want to make some more festive ornaments? Check out these:
As mentioned we have MANY MANY MANY more DIY Christmas Ornaments for you to make.. grouped into, Preschool, Kids and Big Kids.. do take a peak today! Some which feature in our fantastic 30 Days of Christmas Ornaments Book!
A longer version of the video tutorial (with voice over) is also available on YouTube!


