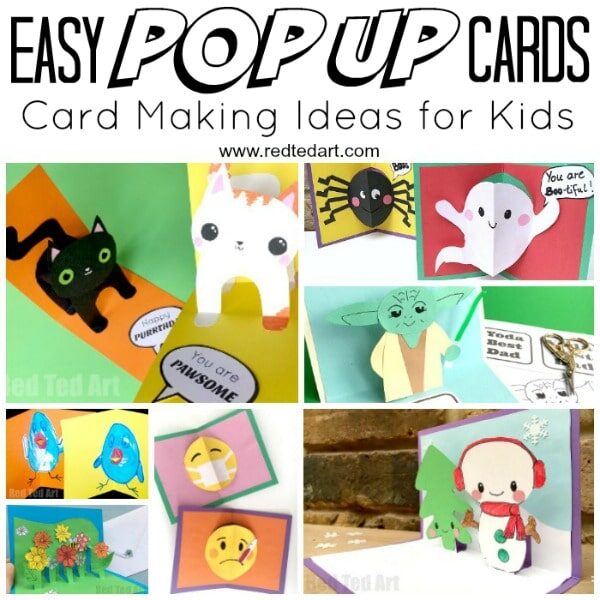
3d Paper Ladybug Card
Time for some Spring or Summer Card Making fun! We love getting crafty all year round and adore making Pop Up Cards for Friends and Family. Today’s easy 3d Paper Ladybug Card makes a great Summer Craft for Kids too.
It uses a very simple technique with adorable results. So cute! Then embellish the card with hand drawn paper flowers or stickers and leave plenty of space for writing a cute message!

Who doesn’t enjoy a homemade card? Right? Any relative or friend stuck at home will certainly smile at these cute cards. This Ladybug is part of a set of Summer Pop Up Cards – there is also an adorable 3d Paper Bee Pop Up Card buzzing our way very soon. Watch out for it on the blog and YouTube channel!
3d Paper Ladybug Cards – Materials
Materials are simple – you can just use paper (instead of card stock) and draw a lovely background picture. You can also paint white paper red, if you don’t have any red paper… so work with what you have at home. But do give it a go! And don’t forget to post it!!!
- red paper
- black and white scrap paper for details
- pen
- scissors
- glue stick
- card stock

How to make your pop up ladybug card
Check out fun and easy ladybird video tutorial playing, or read the step by step photo instructions below! We love doing quick video tutorials for you, but appreciate that some of you prefer the written instructions with photos, so have included both!
How to make a 3d Paper Ladybird Pop Up Card
And now for the written instructions for this cute pop up card! The technique used in today’s pop up card is the same as for our Unicorn Pop Up Cards (very popular!). So if you are familiar with that one, you will be able to make this ladybird version quickly and easily. Making “paper bauble” cards is a super fun technique for pop ups and looks super effective. Nice and easy too. We always like that!
Time needed: 20 minutes
- Cut out your ladybug paper shapes
Use something circular – e.g. a tin can – to trace one circle. Layer your paper 5 times and cut out 5 red circles in one go. Cut as neatly as possible. If need be, cut them all out separately.

- Make your ladybug
Fold each paper circle in half.
Add glue to one half of one circle and place a second circle on top.
Now add glue to the half of the second circle that is exposed and place a third on top until you have glued all 5 circles together to make a “stack”.
When you open it up you have a “paper bauble”.
Cut some ladybug shapes – eyes, a semi circle for the head and dots from black paper.
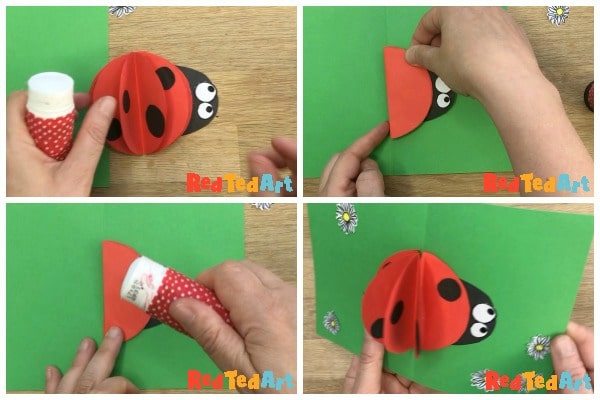
- Assembling your pop up ladybird card
Once happy with your ladybug’s features, glue them all together (image 1 below).
Fold your ladybug in half. Add glue to the side with the head and glue onto your card stock. Aligning with the centre of the card.
Keep the ladybug folded and now add glue to the other side.
Shut the card and the ladybug will glue snuggly in place.
Add little flowers as details if you wish!


Your ladybug pop up card is finished!! Come back soon for full instructions for making the pop up bee card (though I am think you can probably work out how to make the paper bee pop card already!!!) . Enjoy.
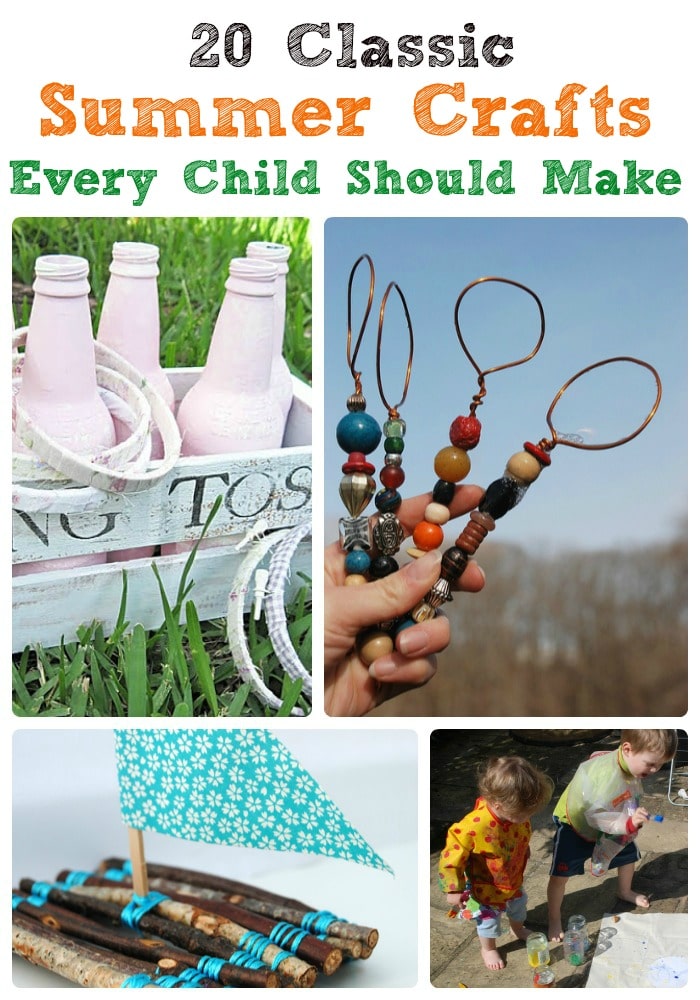
More great Summer Crafts for Kids:
More great Pop Up Cards for Kids: