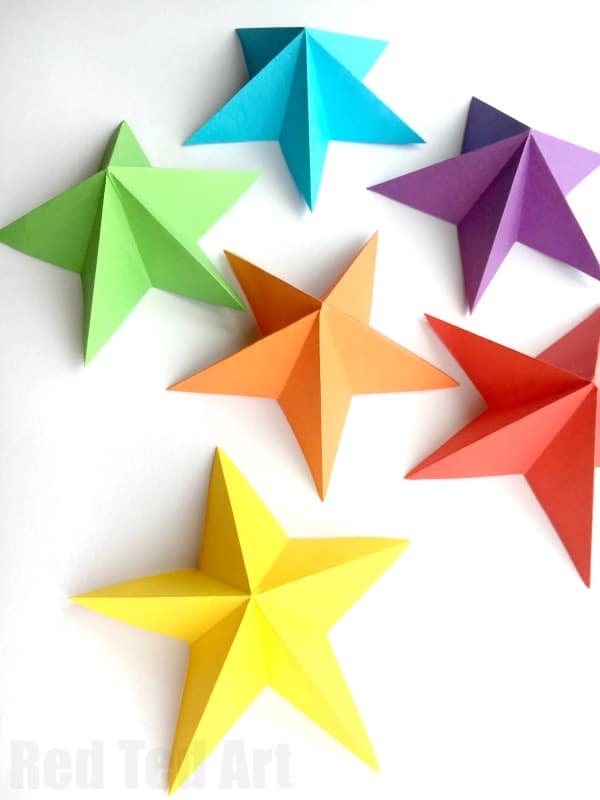
3D Paper Star Kirigami
With the festive season heading our way, I wanted to share with you this easy 3d paper star kirigami. Kirigami is basically origami that involves a little cutting. These paper stars are super easy to make – BUT – the actual cut at the very end of the make is what determines the success (or failure!) of these paper craft.
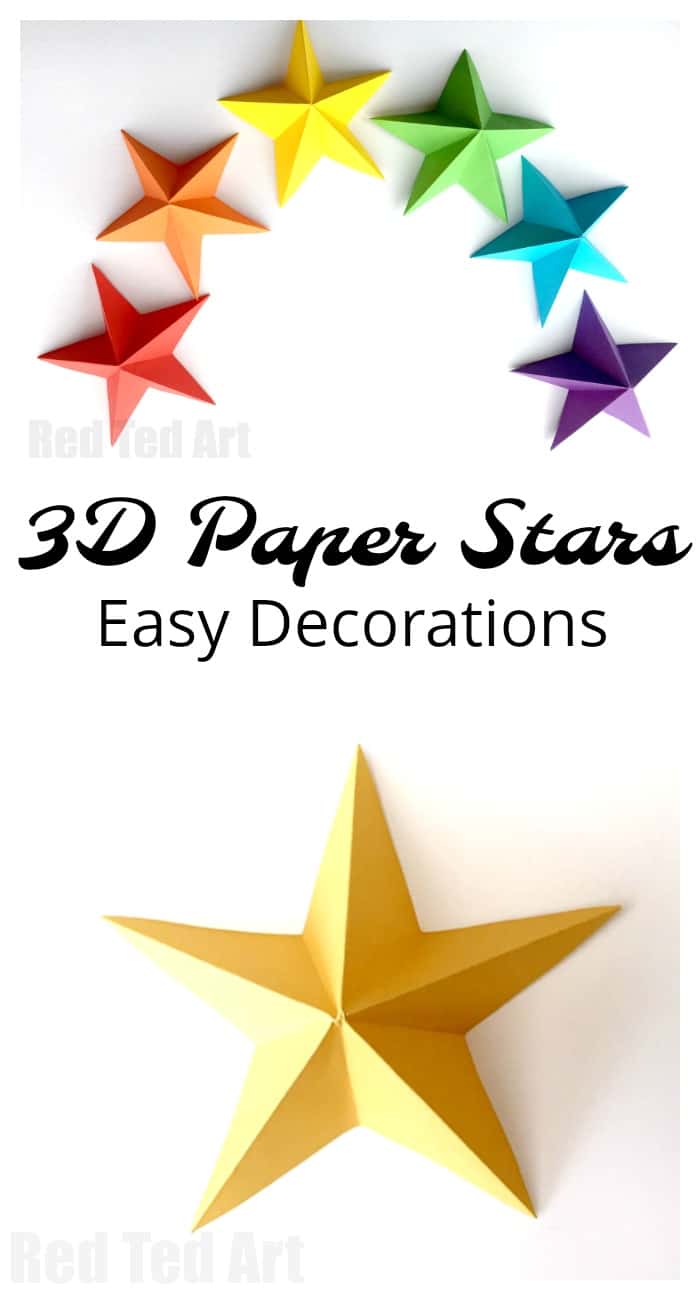
So please do make sure you pay extra close attention at the VERY END!!!! These paper stars make wonderful decorations all year round – whether as Christmas decorations, for July 4th, New Year’s Eve Decorations or simply if you are having a party!
My favourite however, is to use them as Paper Christmas Decorations – we lots more Paper Christmas Crafts for you to check out, as well as lots more DIY Star Crafts too!
What kind of paper do you need to make a star 3d?
To make a 3d Paper Star, thinner paper is probably best! But to be honest, I have made them out of all sorts of paper in the past… printer quality paper is a good thickness, as thin enough to fold neatly but also stiff enough to hold it’s shape, so you can hang your paper stars on as ornametns or fix to the wall.
How do you make a double sided star 3d?
You will need to make two stars and stick them together! Some people like to stick the two stars together, so they aline perfectly, or you can stick them together, so that the star points alternate with spaces. Which also looks great!
How do you make a 3D star for a Christmas tree?
Two of these stars stuck together would look fabulous as a Star Christmas Tree topper! My friend Hattifant also has some amazing star printables you may want to check out!
Materials needed for Kirigami Stars

- Square paper in your desired colours (construction paper also works)
- Scissors (no glue!)
For hanging we used a little masking tape “curled up” on stuck to one of the tips of your star and attach a loop of string or ribbon.
How to make a 3D paper star ornament?
As always, I have both a video and step by step instructions for you to learn how to make 3D Paper Stars. First up the video!
We will now show you how to fold and cut a 3D Star!
How to make easy Paper Stars Step by Step

These really are easy paper stars to learn how to make. Once you have gotten the hang of them, it is easy to make many more!
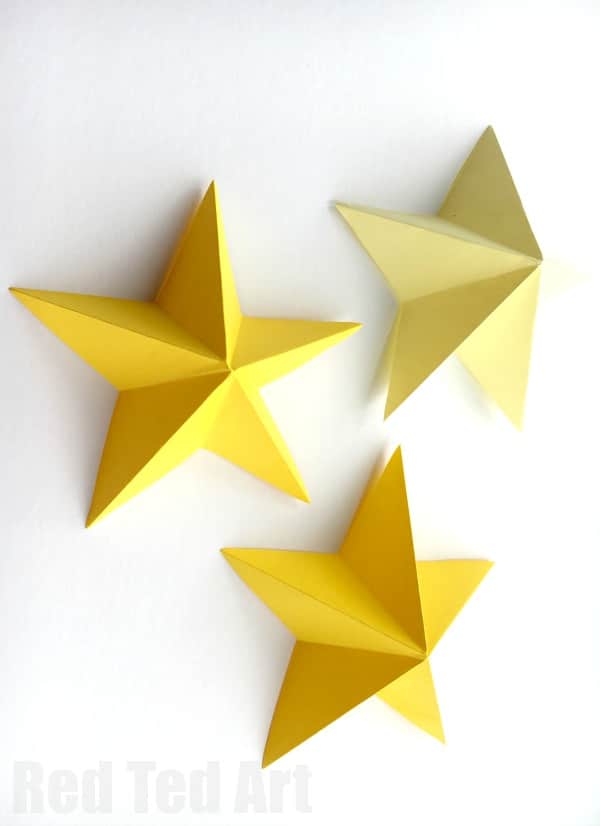
You will need square pieces of paper – we used 3 different sizes – one the width of an A4 piece of paper, one HALF the width of an A4 piece of paper and the last using any leftover paper to make some smaller stars.
1) Fold your paper in half (see image two).
2) Fold up the bottom corner. Fold down.
3) Fold down the top corner and then open it up again.
This will give you a CROSS shape on the right hand side of your paper.

Your paper should open up at the top and have the fold at the bottom.
5) Now take the bottom LEFT CORNER and bring it over right to the middle of the cross. Note: you are NOT lining up the edge of the paper with the cross.
6) Now lift the flap and fold over. This time, you are lining up the sheets of paper as per the image on the top right.
7) Take the right bottom corner and bring it across. Again lining up the edges.

8) Flip your paper over.
9) Fold the right over onto the left.
10) Now you are ready to cut – cut along the line the scissors make in the picture on the right.
Open your star up and make the creases all go in the right direction! You are done!
Remember: it is VERY important that you get that “final cut” right.. this is where most people go wrong and end up with a pentagon!
Do check out these Paper Christmas Crafts here:

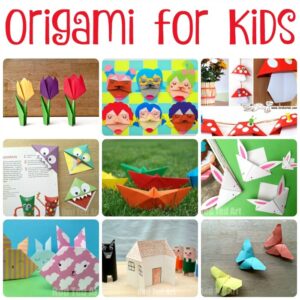
And if you like some more ORIGAMI Projects for Kids – these are a fabulous place to start!