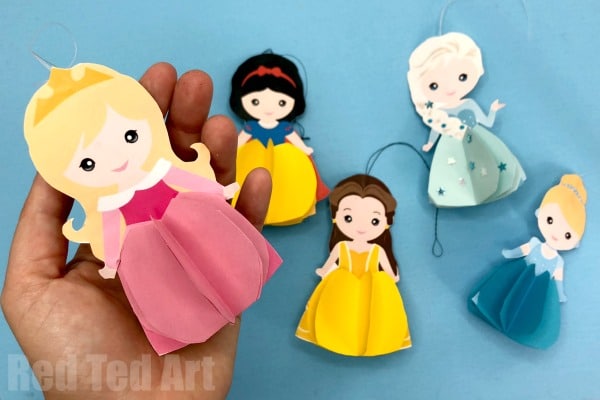
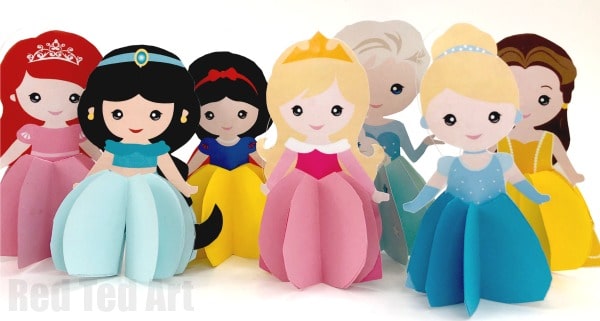
3d Princess Paper Doll Colouring Pages
Finally… though I THOUGHT we had finished our 3d Paper Doll Princess series…. there was SO MUCH demand for “colour your own Princess paper doll“… that I managed to get two of them made for you! I transformed the Cinderella Paper Ornament and the Aurora Paper Ornament into Princess Paper Doll Colouring Pages for you. This will allow you to customise to your hearts desire – adjust the skin tones and dress colours and create whole new story lines!! I do hope you enjoy them!!!
I hope you enjoy these set of new printables!
Get your Princess Paper Doll Colouring Pages here:
These coloring pages come at a small fee in my Gumroad shop. THANK YOU for your continued support of Red Ted Art! It is much appreciated. The INDIVIDUAL FULL COLOR PAPER DOLLS will remain free for the time being. So you can grab those at your leisure!
How to assmble your Prinable Paper Doll Ornaments:
I have used the instructions for the Aurora Paper Doll. I hope that is ok!! Afterall, all you need to do first, is colour your dolls in!
So, as before we share some step by step instructions for how to make this adorable Snow White paper doll assembly video! The download includes photo steps and one page printable worksheet!
Step by step assembly instructions for your Paper Aurora Doll (or Aurora Christmas Decoration)
As mentioned the download includes a printable one page worksheet with step by step instructions!
Perparing Princess Printable
First colour in your colouring page in your desired colours!
Print out your printable and get hold of some pink paper – or any coloured paper depending on how you want to decorate the skirt!
ROUGHLY cut out the two princesses – keep them CONNECTED, for easier gluing.
Fold the paper so that the two princesses are back to back. Hold against the light to align perfectly. Make a neat crease.
Then open the crease.
Add glue and the thread for hanging.
Glue the two sides together as neatly as possible.
Cut out the princess outline as neatly as possible (do not accidentally cut the hanging thread off).
Cut out your circle for tracing.
Making your paper bauble for Princess’s Dress
Using your circle template, cut out 8 pink circles (or paper in the desired colour)
Fold the circles in half.
Add glue to one half of one circle and place a second one on top. Glue FOUR circles together.
Get the 5th circle and start a “fresh” set of FOUR circles.
Shaping your paper bauble to the Princess’s Dress
Take one set of 4 half circles and place on top of your Princess paper doll.
Outline the top curve of her dress with a pencil. Trim.
Trim the second set of 4 half circles in the same way.
Glue down a set of 4 circles in each side of the Princess Ornament.
Trime the bottom of all the circles to align with Princess skirt.
FINISHED! You now have your own customised Princess Paper Ornament or 3d Princess Paper Doll!!
Get the FULL Range of (Coloured) Paper Princess Dolls here – these are free on an individual basis (without the worksheets though):


