Paper Aurora Doll Ornament
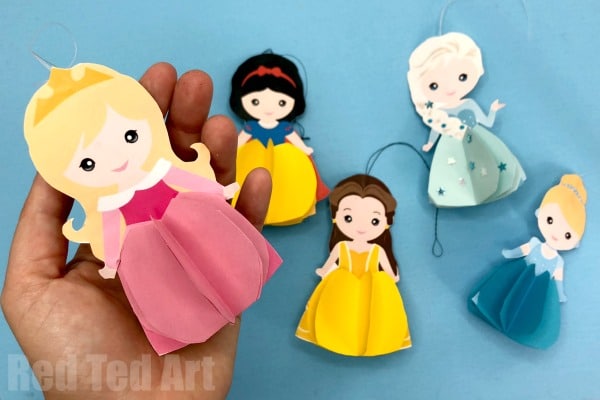
Our oh so special Disney Princess Printable series is slowly coming to an end. Only 3 more princesses to go. So far we have seen Snow White, Elsa, Cindrella and Belle! So exciting! What I REALLY love about these Disney Princesses (and I actually didn’t appreciate when I started making them), is that they are not just adorable little “Paper Aurora Ornaments”… but they also make a great little Aurora Paper Doll.. all the princesses so far stand perfectly on their own and make for a great 3d Paper Doll Princess play set. You can fold down the skirts, pop them into and envelope for easy storage too. Hooray. So. On to our Paper Aurora Doll Ornament just in time for the Christmas Tree, but of course lovely all year round too!
Find the rest of the Princess Ornaments here:
Paper Aurora Doll Ornaments – Supplies
- Your free paper doll printable (click on the big red button below)
- Pink paper for the skirt
- Thread for hanging (if you wish to turn it into an Aurora Christmas Decoration)
- Scissors
- Glue stick
How to make a Aurora Christmas Ornament from Paper
As before we share some step by step instructions for how to make this adorable Paper AuroraDoll below..
Step by step assembly instructions for your Paper Aurora Doll (or Aurora Christmas Decoration)
Perparing Aurora Printable
Print out your printable and get hold of some pink paper.
ROUGHLY cut out the two Aurora– keep them CONNECTED, for easier gluing.
Fold the paper so that the two Aurora are back to back. Hold against the light to align perfectly. Make a neat crease.
Then open the crease.
Add glue and the thread for hanging.
Glue the two sides together as neatly as possible.
Cut out the Aurora outline as neatly as possible (do not accidentally cut the hanging thread off).
Cut out your circle for tracing.
Making your paper bauble for Aurora’s Dress
Using your circle template, cut out 8 pink circles.
Fold the circles in half.
Add glue to one half of one circle and place a second one on top. Glue FOUR circles together.
Get the 5th circle and start a “fresh” set of FOUR circles.
Shaping your paper bauble to Aurora’s Dress
Take one set of 4 half circles and place on top of your Aurora paper doll.
Outline the top curve of her dress with a pencil. Trim.
Trim the second set of 4 half circles in the same way.
Glue down a set of 4 circles in each side of the Aurora Ornament.
Trime the borrom of all the circles to align with Aurora’s skirt.
Congratulations, you have made your first Paper Aurora Ornament!! Do check out
- Snow White
- Elsa
- Cindrella and
- Belle too!
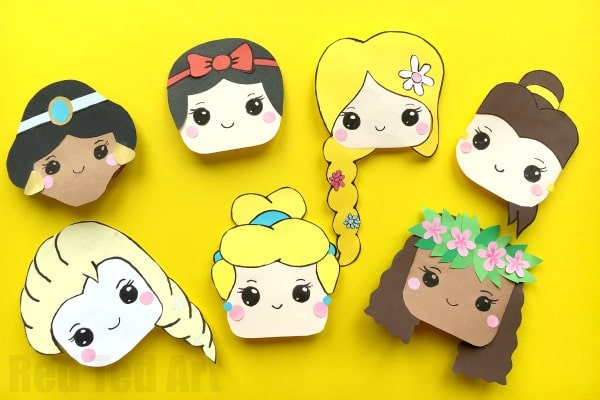
Check out our Disney Princess Bookmark Corners too:
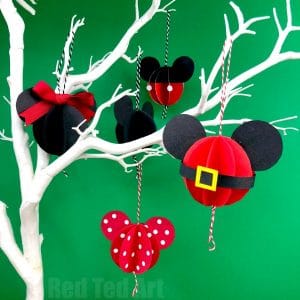
Learn how to make Paper Mickey Mouse Ornaments or use the free printable!
Find more AMAZING Paper Ornament DIYs here!


