Paper Mickey Mouse Ornaments DIY
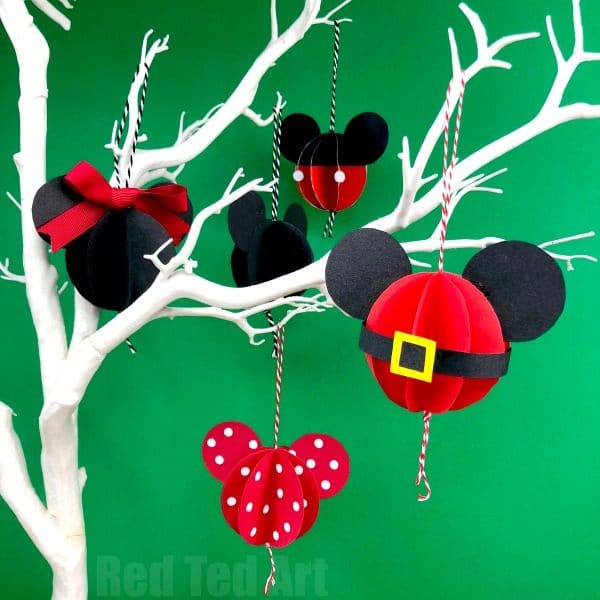
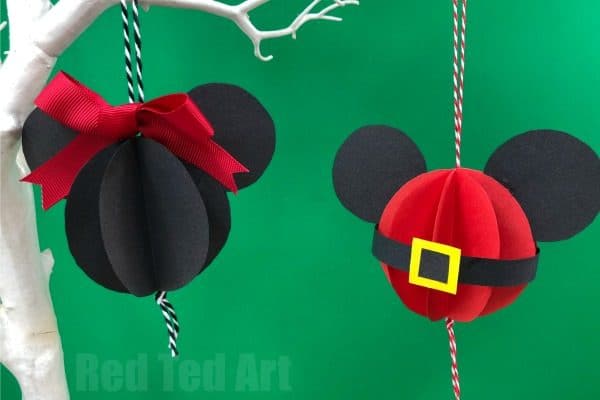
I have to confess.. I have no idea why I didn’t think of these easy peasy Paper Mickey Mouse Ornaments YEARS ago. Paper Ornaments are the best. I am just totally head over heals with these DIY Mickey Mouse Baubles. They are so cute. And there is a Minnie Mouse Ornament (two in fact) and a Santa Mickey Mouse Bauble and of course a “simple” DIY Paper Mickey Mouse Ornament too.
DIY Mickey Mouse Ornaments made from PAPER!
One craft.. 4 ways to make. Each as cute as the next.. and a total must for all Mickey Mouse fans!!!! Hooray. I love the virbant red colour, that will really pop when you hang it in your Christmas Tree! They make great paper keepsake ornaments.
These join the growing list of fantastic Paper Christmas Ornaments for you to check out, as well as our complete list of Handmade Christams Ornaments. Each year it grows and grows! We love paper Christmas crafts for Kids! Especially when they come with a free printable!
You may also like our set of 7 Disney Princess Ornaments or paper dolls:
Paper Mickey Mouse Ornaments – Materials
- Black, red and white paper OR
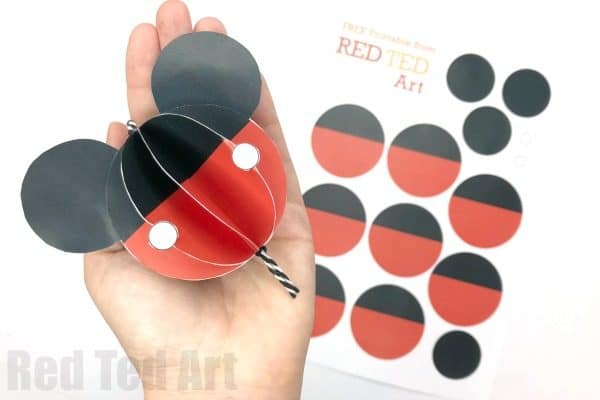
- our Mickey Mouse Printable
- Scissors
- Glue Stick
- Bakers Twine for hanging
The Mickey Mouses Trousers printable is available in my Teacher’s Pay Teacher’s Store. But you can still make this craft without a purchase!
How to make Mickey Mouser Ornaments from Paper
Learn how to make the Mickey Mouse Ornaments with our step by step video tutorial or check out the photo steps below!
Step by Step Mickey Mouse Ornaments Tutorial
So let’s focus on Mickey’s key features and simplify them in this cute paper craft!
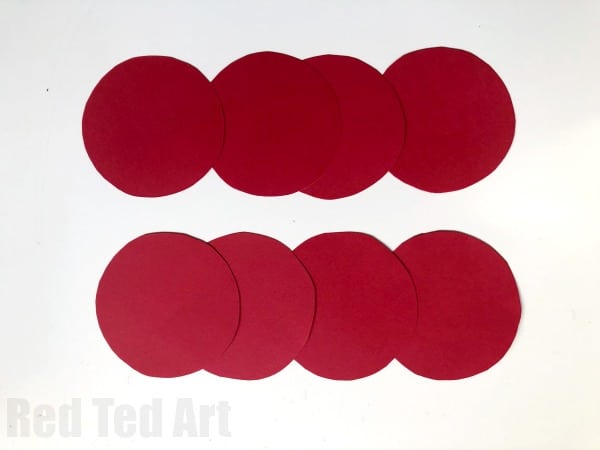
Cut out 8 circlular shapes approximately 6cm in diameter in the desired colour (red, black or printable). Use our free printable or s small cup to trace.
If making Mini Mouse – make some white cirlces using a hole punch and stick on to your red cirlces.
Fold all your 6cm circles in half (not the two smaller ones). If using the mickey mouse printable, make sure the fold goes down the centre of the black and red circle – with either side mirroring each other.
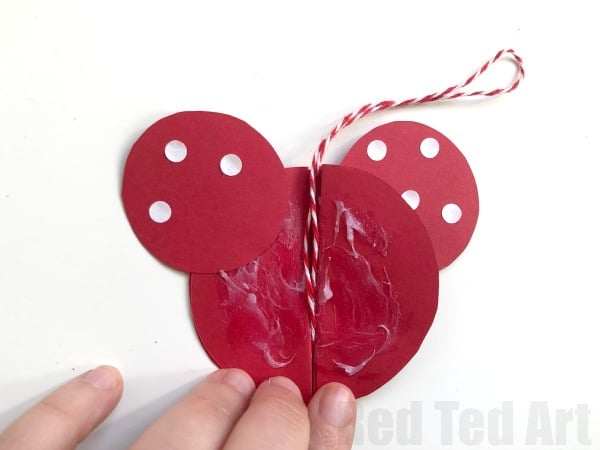
Add glue to the top of one half semi circle. Place a second on top.
Repeat until you have stuck together the first 4 semi cirles. Position the smaller (4cm) circle on the top left – this will be your ear. If using the printable, cut out two of the black circles and glue together so they are black on both sides.
Now add the remaining 4 semi circles.
Time to add the second ear.
Tie a little bakers twine. Add lots of glue to the spine of the cirlces as well as the remaining semi circle.
Fold the circles open and bring together and stick. Make sure the bakers twine is nicely alined in the centre.
You are now finished!
If making the black mini with a bow – now make a paper or fabric bow and stick against the bakers twine.
If making SANTA Mickey Mouse, cut a long strip of black paper that fits around the whole paper Mickey Ornament. Cut a small yellow sqaure and even smaller black square. Glue these to the centre of the black paper to make the belt. Give the front piece of your bauble a little fold and glue the centre of the belt onto that. Then create a small fold at the back and bring the rest of the belt round and glue in place. Finished.
Hope you love this paper Mickey Mouse craft as much as we do!
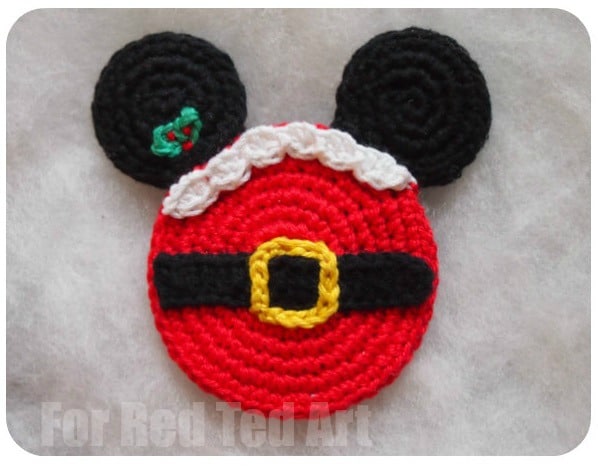
We also have a super cute FREE Crochet Mickey Mouse Ornament pattern for you to try – these would lovely on the family tree, adding that extra touch of magic:
Love Mickey..? Want more inspiration? Try these beaded Mickey Ornaments. Just gorgeous!
More great Paper Christmas Ornaments
Find all our Handmade Christams Ornaments
And of course more paper Christmas crafts for Kids here


