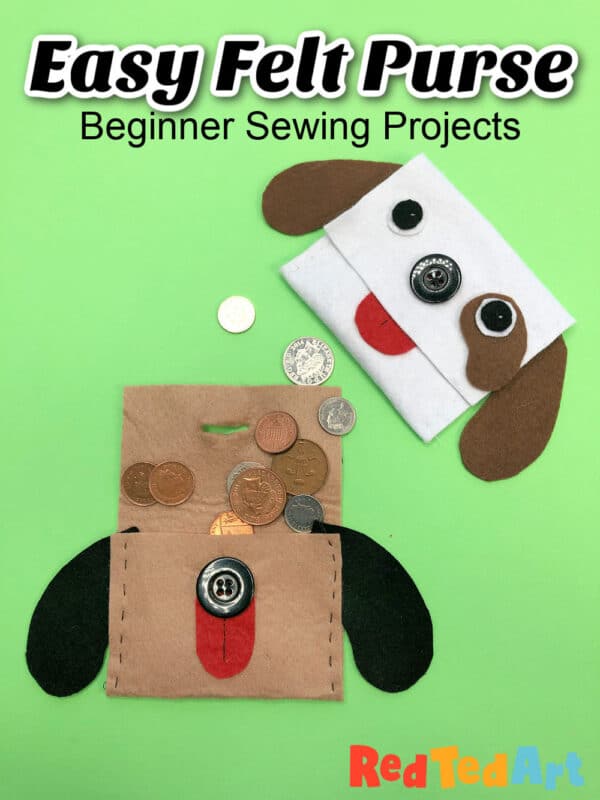
Easy Felt Purse Dog
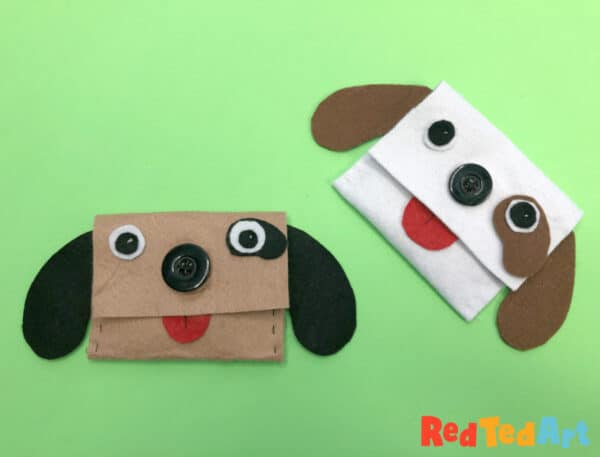
Looking for a great sewing project for kids? Why not give this cute little Felt Dog Purse a go – it is a great way to practice some basic sewing techniques, as well as hone your button sewing skills too! This is a very simple felt purse pattern and project to our super fun Monster Purses – where all you really need is a rectangular piece of felt and a button! Though for today’s felt puppy craft, we will also be cutting out some ears. This is part of our Best Makes Ever series.
About the Best Makes Ever series
The Best Makes Ever Series, is a series of art and crafty videos, that Art Crafty Kids and I produced for Sky Kids UK back in 2020-2022. They were designed to bring delightful arts and crafts projects to kids – using every day materials/ limited resources. Enabling everyone to join in and have fun! Now, 5yrs on, we are (slowly) able to share these lovely arts and crafts projects with you on our websites too! So, DO explore our Best Makes Ever Series tab for more info.. or check out some of our highlighted projects here:
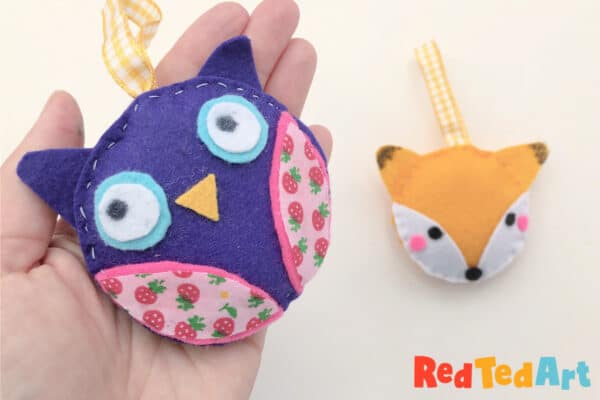
- Another wonderful sewing project – make super cute Felt Owl Ornaments or Felt Fox Ornaments (using basic shapes!)
- Make some fabulous paper finger puppets using paper scraps
- Learn how to make your board games from cereal boxes and paper!


Supplies needed for your felt purses
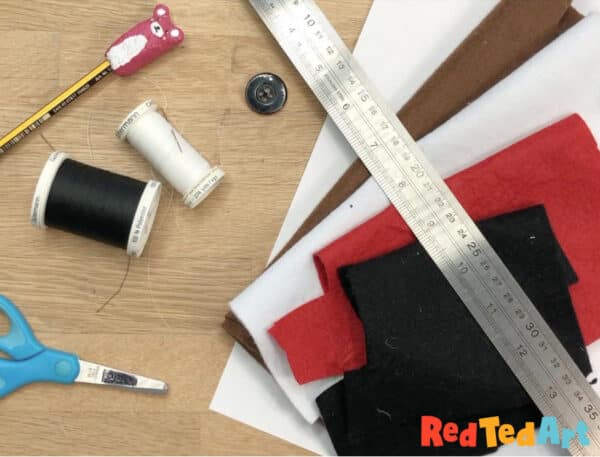
- Felt in main dog color (we used a piece of felt 10cm x 22cm – 4inch x 8 3/4 inch)
- Felt scraps for dog ears, eyes, any patches, and tongue
- A large button for nose – a brown button or black button is ideal
- Scissors
- Thread
To make your own templates:
- Pencil,
- Paper and
- Ruler
Felt Dog Purse Video Tutorial
As with many of my crafts, I do have a little sewing tutorial for you, but you can also follow the step by step instructions below! I find, watching the video first and then going through the step photos a really good way to get a feel for this craft! Enjoy!
This video is also available on Youtube.
How to sew a Felt Purse – Step by Step Instructions
As with many sewing projects, planning and taking your time at the beginning is really helpful to get the most out for fabric supplies! So we begin by making our own purse template (you will see this is nice and easy!).
Make your paper dog Template
Check your paper template for size – ie BEFORE cutting out any felt.
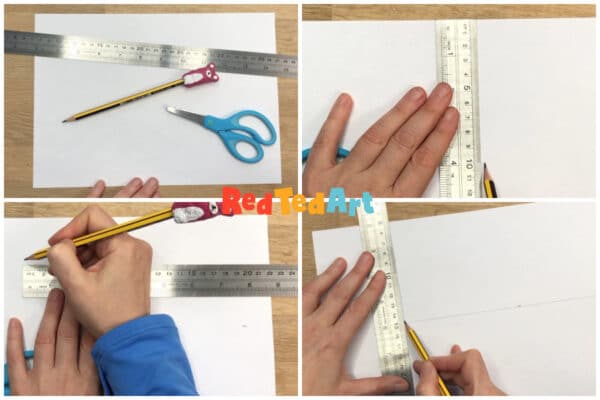
As mentioned, I made a rectangle that was 10cm x 22cm – 4inch x 8 3/4 inch – and sketched it on paper. A rough 1:2 ratio is great, but you really can work with whatever you prefer/ have to hand. And you may want to adjust it according to your button size (I didn’t measure the button, sorry!!).
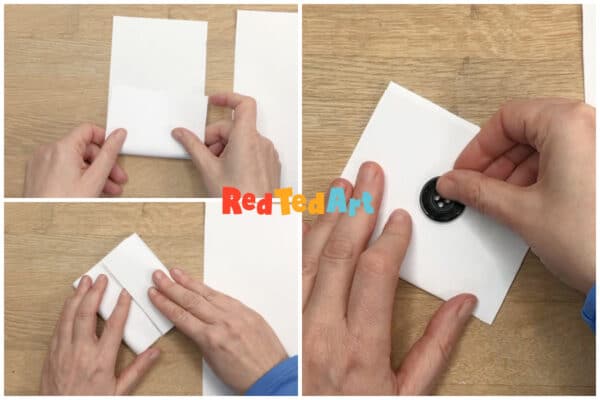
Once you are happy with the basic size of your rectangle – and how it folds – including accomodating the button, you can go on to sketch out some dog ears!
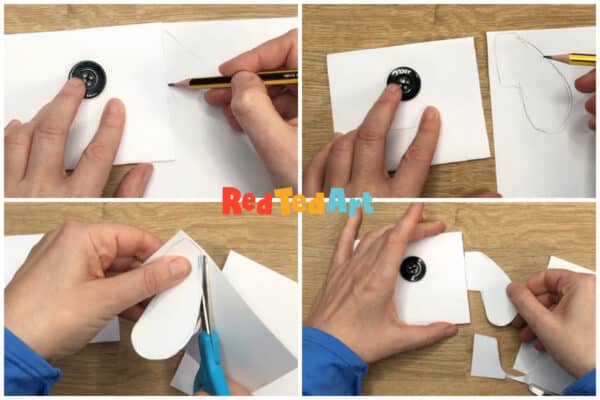
Remember the dog ears, will need a little extra tab – that will fit into your sewing.
Cut out the paper ear template and again, check that you are happy with the overall size!
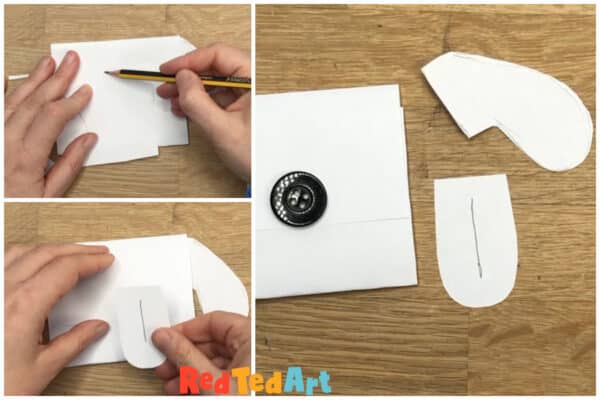
Finally make a paper tongue for your dog purse! Again, we go through the same process of checking of sketching, cutting out and checking for size and overall fit!
Eyes and patches: you could cut yourself some templates for these too – but they are not as “size” dependent… so if you feel confident you can free hand these at the next step! You choose!
Cut out your shapes
Only once you are happy with both the rectangle (and how it folds into a purse, and fits with the button), as well as the size of the ears, do you get ready to cut out your shapes from felt!
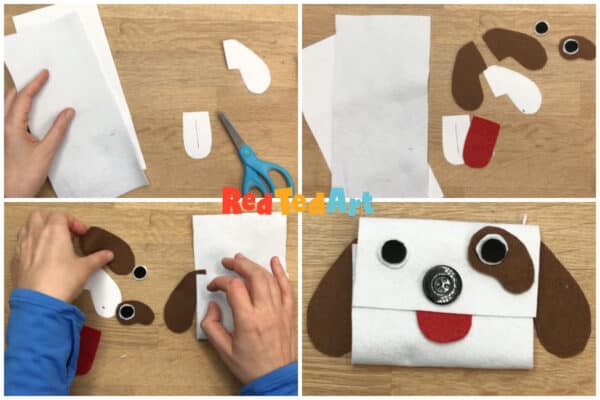
In the end you should have:
- One large rectangle of dog face color
- 2 felt puppy ears
- 1 red felt tongue
- 2 eyes and pupils
- a puppy patch (optional, but I do think they add that finishing touch!)
Once you have all your shapes, DO check again that they all fit properly and that you are happy, before moving on to the sewing!
Move the eyes, patch and ears away from the “assembly”. But DO keep the button and tongue in place.
Start sewing!
The easiest stitch to use is a running stitch. Though you may want to repeat and go “up and down” once. You could also use a blanket stitch, which is pretty – but you may find the felt dog ears get in the way! It is a great opportunity to discuss different stitches available and why you may use different ones at different times (e.g. a back stitch is more secure, but you will see a “messier” back)!
Thread your needle and thread and make a knot at the end. We like to keep our thread “double” and knot it in a loop – as we find it keeps the thread on more securely as well as double layering our sewing. It is a matter of preference.
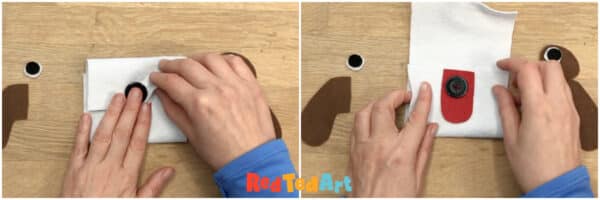
Carefully slide the flap from under the button.. this positions the tongue and button perfectly for your first bit of sewing.
Start by sewing down the tongue & nose
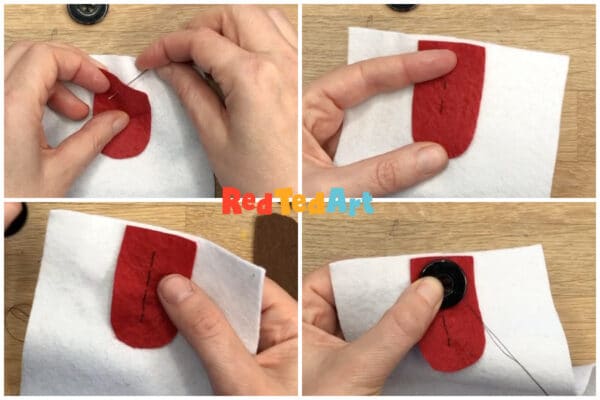
I popped the needle between the red felt tongue and the white backing – so that I could hide the knot.
I then sewed one straight line – make that “tongue” centre bit. You don’t have to sew more, as this secures the tongue easily. I did a running stitch down.
And then another running stitch back up – so you get a nice neat line. It does mean trying to match up your entry and exit holes. So it totally depends on your current sewing skills.
Now sew on the button nose.
You can see in detail, how to sew on a button, here:
You can watch the how to sew on a button video on YouTube too!
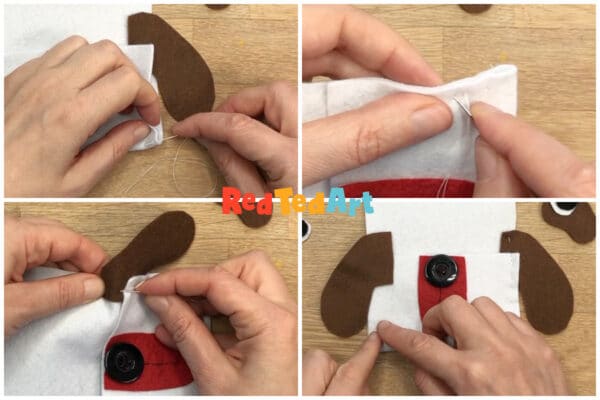
Now fold the rectangle back into place. And position the ear. Once you are happy. Start sewing from the bottom up, towards the ear. A simple running stitch works fine here.
Make sure to sew the ear in place fully.
Repeat for the second ear.
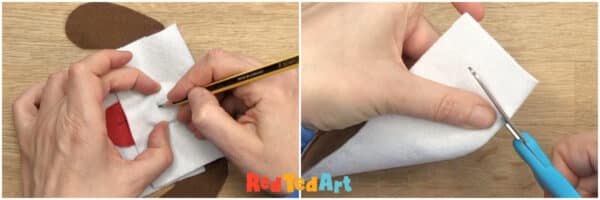
Fold the flap down. Make a mark with a pencil for the button and cut. Make the cut smaller!! Not bigger, else the button won’t hold.
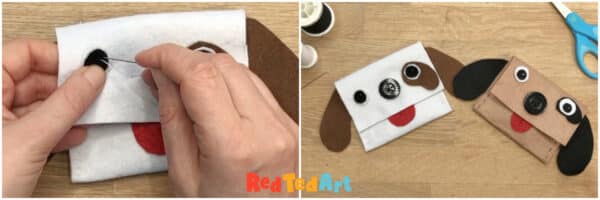
Position the eyes (including patch) and sew in place. Note how the white thread is also the white shiny bit of the pupil. You only need a few stitches over each other to secure.
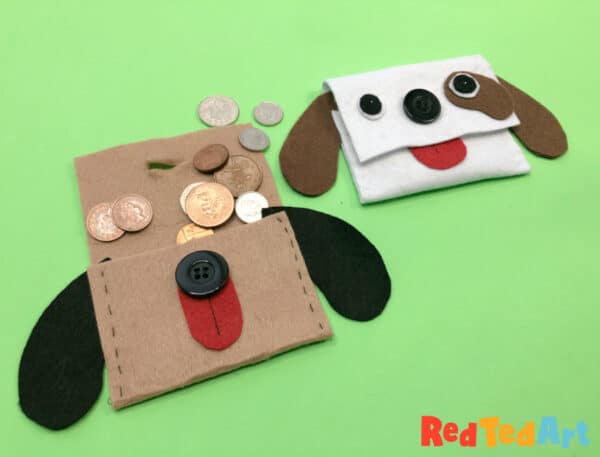
Finished!! Hooray!
And here is the Monster Purse version – which I think is just as fun!!

More Felt Sewing Projects for kids:
- Easy Felt Ghost (with free template)
- Felt Star Ornaments (use cookie cutters as templates)
- Adorable Pet Felt Ornaments


All our Sewing Projects for Kids and beginners: