Back-to-School Name Tags
Disclaimer: this post is sponsored by Chalkola
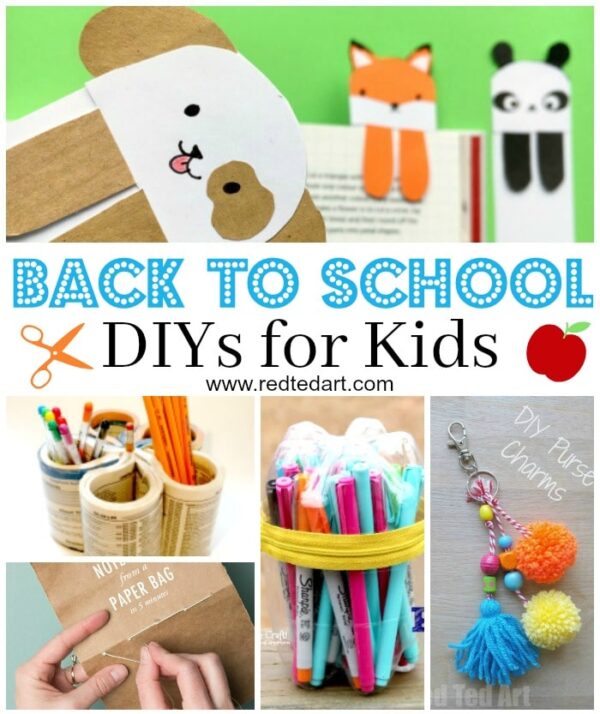
Aaaah, it feels like they only just broke up… and already we are thinking towards Back To School Activities. Well, there is nothing quite like being prepared and a little planning! Today, I have teamed up with Chalkola to bring you super fun and easy Back-To- School Name Tags – actually, this would be a great Summer Camp Name Tag activity, too. A great way to get kids creating, break the ice, as well as get to know each other!
Whilst you are working on these back to school badges with your older kids.. you can have a go at these name writing activities for preschoolers along side!
What you will need to make these Name Tags
- Some fabulous Chalkola pens
- Recycled Cardboard
- Safety pins
- A little tape
About Chalkola Pens
Chalkola pens are best know for – using on blackboards and windows! They are so vibrant and really pop out and come in a range of colours. We were sent a pack of 40 liquid chalk markers to play with – so there are lots of options. Some great neon colours as well as metallic colours. Though I love how effective these pens look on a chalkboard or a window (and how easily they wipe away), I also really like how they look against cardboard or brown paper. In fact, I have used them on a couple of projects in the past:
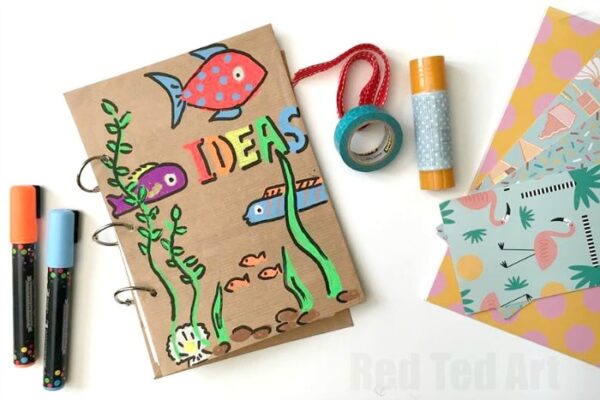
Make your own arty journals/ smash books – these are great for summer fun or all year round.
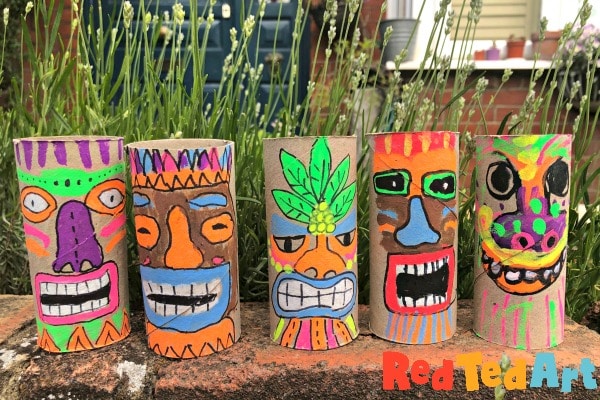
Fun with TP Roll Tiki Masks as part of our Hawaiin Day!

What The Redhead Said has a great example of drawing on window’s with Chalkola pens. Personally, I can’t wait to do some Halloween Decorating come Autumn with these pens. Our windows will look so fun!
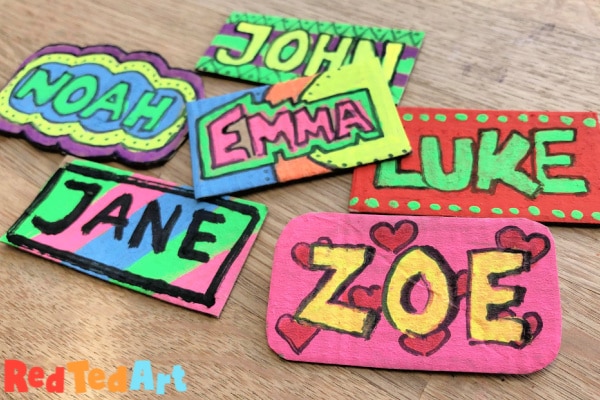
Today’s Chalkola Back to School Name Tags
Making these names tags is really easy and fun. I also love the use of the recycled cardboard, making it a an inexpensive activity the kids can take part in.
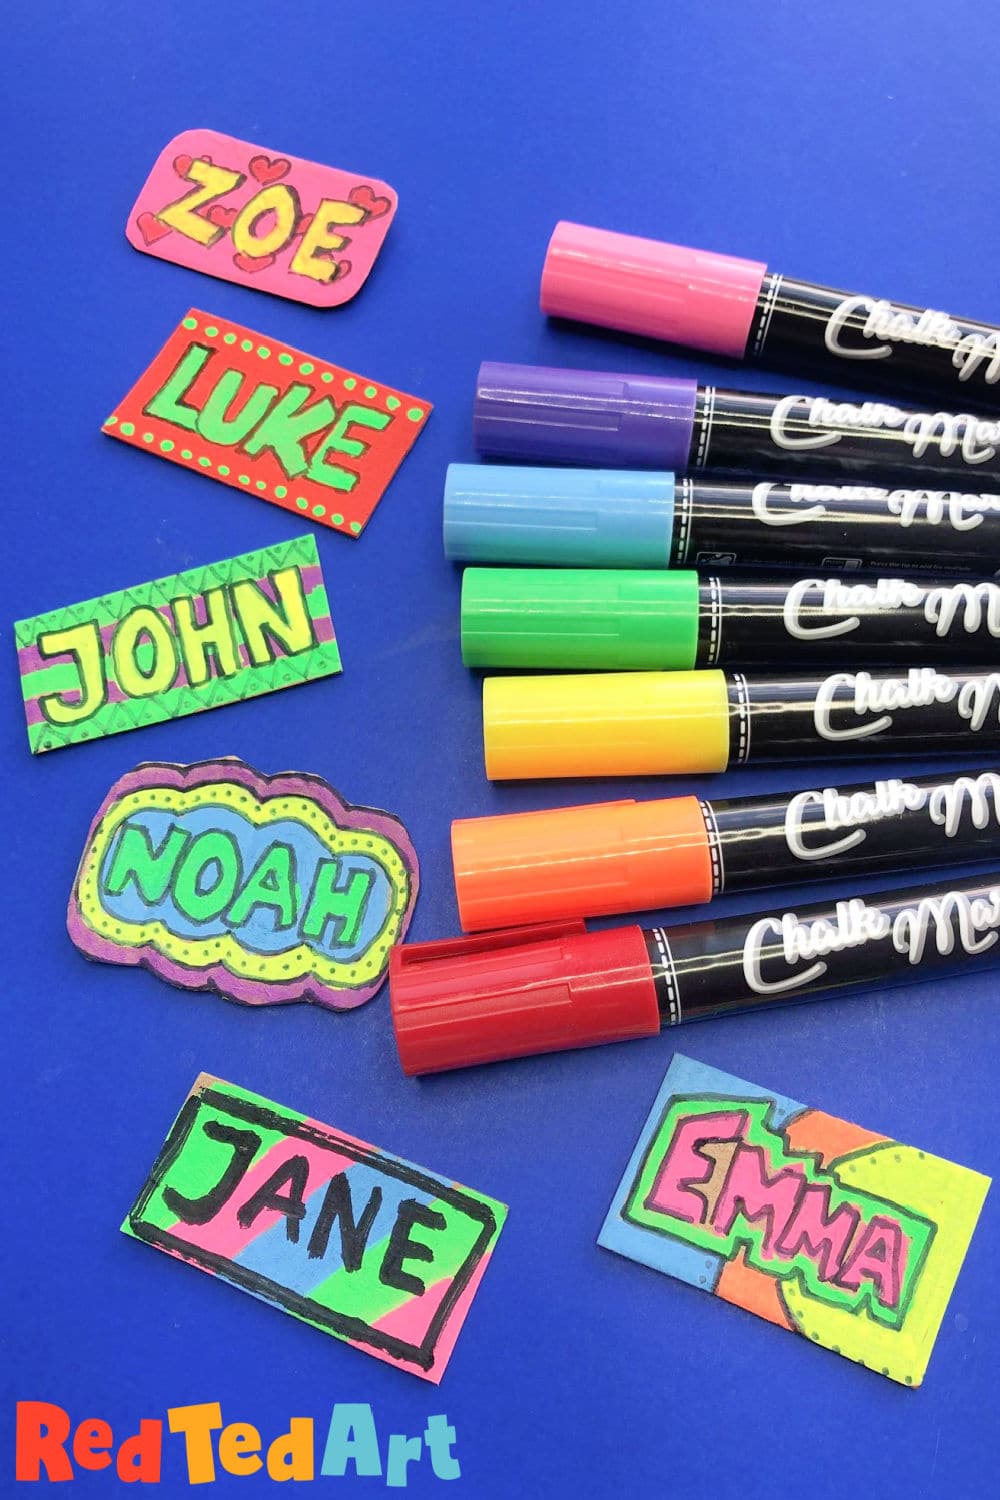
As the chalk markers are opaque, you can really have fun with your designs and layer them over each other if you wish. We kept ours relatively simple, but took some inspiration from graffiti art too. Big, bold and colourful!
There are two ways of making these – either start with the name and build around that, or start with the background a layer up. It depends on how much drying time you have between colours (and with that how much chatting time between the kids!).

We started off with a bright pink.

Then added some little hearts – though can add dots or stripes.


And then our name.
Once dried we added some black outlines (the Chalkola pens dry super quickly, so don’t worry about super long drying times).
Trim your name tag down.
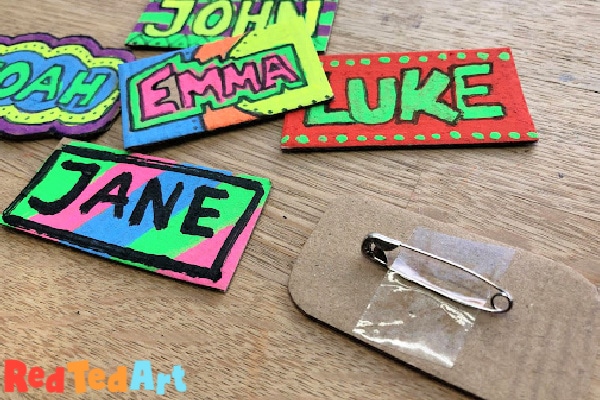
Then tape a safety pin to the back! And done!
Top Tips:
- Keep the design simple – though you can change the nibs on the Chakola pens from thick to thin, simple designs come out bests. Go for patterns & blocks of colour. You can add details later
- Let the colours dry a little when switching
- Use a black pen once fully dried to add outlines
What do you think? Don’t these name tags look soooo vibrant? I love how the colour just pop and know the kids will LOVE making these!
If you are working with younger children and just strating out on letter recognition, have a go at this simple, but great Name Letter Crafts resource.
Do visit Chalkola today and find out more about their range of products! Oh, I almost forgot, they recently launched their UK Shop for chalk pens and art supplies, be sure to check it out.
If you love decorate school backpacks, but want to up the ante a little on your crafting, try these How to Make Button Pins printables! Such a fun idea too! And a great way to customise your back pack this back to school! Love.
See all our fabulous Back To School activities here: