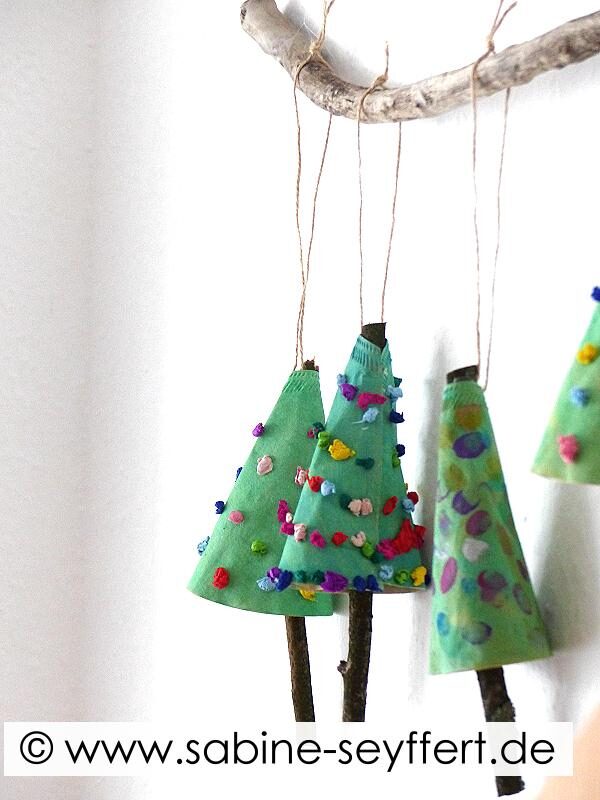
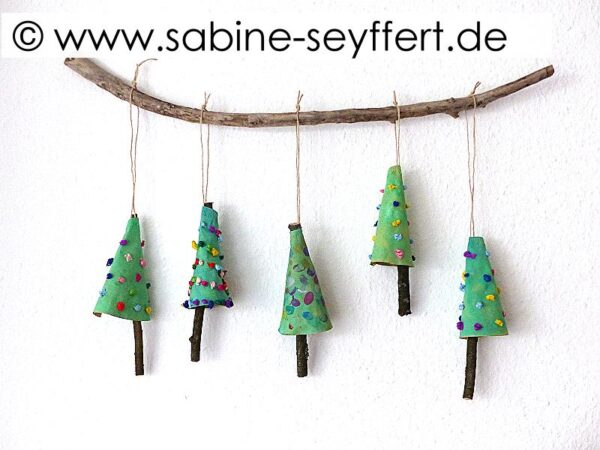
Cute Coffee Filter Christmas Tree Ornaments
Learn how to make adorable Coffee Filter Christmas Tree Ornaments, with the gorgeous Sabine Seyffert! This year more than ever, is a great year to get making some lovely Christmas Crafts with the kids. We have a special set of wonderful Christmas Activities for Families to make this year extra special and cozy too! I think these Coffee Filter Tree Ornaments are a wonderful addition.
Coffee Filter Christmas Tree Ornaments DIY for kids
Sabine is a very talented Kids Craft blogger from Germany! You can find her gorgeous work on Instagram or her blog! Don’t be put off by instructions in German, just hit the google translate button and off you go… you definitely do not want to miss out!
Making Christmas Gifts with Kids: Coffee Filter Christmas Trees
To make these Paper Christmas Trees you will need the following Supplies:
- A small stack of Coffee Filters*
- Green water colours
- Colourful Tissue Paper
- Confetti
- Mini Pom poms or anything else to decorate with
- Scissors
- Twigs
- Ribbon/ Baker’s Twine for hanging
- Hot glue gun
- Glue
*Note: European Coffee Filters are different to the ones found in the US – they have a seam along one side.. however – the properties are the same – ie dye colours run in the paper and blend beautifully into the layers of paper. So these can be made using “US coffee filters too”. Simply start with your circle and then fold it in half.. roll into a cone and snip the top.
How to make your Coffee Filter Christmas Tree Ornaments
Begin by preparing your work area so that the kids can paint freely! Then pop on some Christmas music and get started with this fun craft for Christmas!
Begin by painting the coffee filters green! Use lots of watercolour paint and only a little water. Watch the colors run into your paper layers.
Let the coffee filters dry (maybe pop them on the radiator!).
Whilst they are drying, you can prepare the Christmas Tree “decorations”!
Scrunch up tissue paper as Christmas Ornaments [this is great for those fine motor and finger strengthening skills too!]. This is a great time to create different patterns. Explore how you can decorate and personalise each coffee filter tree!
Once your coffee filters are dry, add your the tissue paper decorations (or you can add finger print baubles too). If using US coffee filters – fold in half.. roll into a cone (don’t glue yet!), make a little pencil mark to see how far it “rolls” and unfurl.. decorate the exposed part and let dry.
Now cut out some sticks – ideally with some secteurs! [Only under adult supervision! I think it is great to let the kids have a go… but of course take extra care!]. They will need to approximately 20cm/ 8inch long.
Knot some baker’s twine to the top of the stick (so you can hang your Coffee Filter Christmas Tree Ornament later)
If using US Coffee filters, make sure you have folded them half. Roll into a cone shape and snip at the top.
Add glue to the top of your stick and pop the coffee filter cone over the top.
Top Tip: The finished Christmas Trees are perfect as Christmas Tree Ornaments or you can hang them into your window. These Coffee Filter Christmas Trees would also make lovely little gifts or additions to your gift wrap! Isn’t this a super easy Christmas craft to make with kids? Whether working with toddlers, preschoolers or older kids.. you are sure to have lots of fun!
I hope you have enjoyed this lovely guest tutorial by Sabine.. please DO hop over to her website for some more gorgeously festive crafts:
If you loved this Coffee Filter Christmas Tree.. you simply HAVE To check out the rest of our Christmas Tree Crafts for Kids here:
We also have an amazing set of Christmas Crafts for Preschoolers you may like to check out too!


