Donut Corner Bookmark
Oh so KAWAII! How we love a bit of CUTE Food!!! I actually made these Kawaii Donut Corner Bookmarks QUITE a while ago… and to my horror discovered that I never shared them here with you on Red Ted Art! Tut tut. They have been floating about on YouTube for a while. But I really do think you should see them too. As with all our Corner Bookmark Designs, these little donuts are super easy and fun to make.. and I love that you can use ordinary white printer paper for them.. and then decorate them to your heart’s content. We do love Paper Crafts for kids! At the time, I chose to make them as “half donuts” that you pop over the book corner.. if I were to make them again, I would decorate the “back” of the Donute Corner Boomark.. that way you have a “full donut circle” when they are in your books too. I hope you know what I mean!!!
It made me go and have a look and I noticed… that I have an Ice Cream Bookmark that I never shared either.. and a Kawaii Birthday Cake Bookmark (or a Cupcake Bookmark) and there is a Capucciono bookmark and oh oh oh.. so many Corner Bookmark Designs that I still owe you.. doh!
Doughnut Corner Bookmark – Materials
- Per donut half a sheet of A4 paper (you actually need a square.. and a size of around 15 x 15cm is nice, but doesn’t have to be exact)
- A glass (you will need experiment with different circumfrence sizes, depending on your paper)
- Pencil
- Scissors
- Pens for decurating
- Glitter glue (optional)
- Glue (optional)
How to make a Donut Corner Bookmark
Watch the corner bookmark how to video or follow the written step by step instructions below!
How to make a Donut Bookmark Corner – Step by step instructions
Begin by making your basic Origami Bookmark in white or pink paper – as mentioned previously – we have some step by step photo instructions here!
Once you have made your bookmark corner, you will need a glass or other round shape that is JUST a bit bigger than your boomark. As luck will have it we have the perfect glass.
Place on top of your bookmark. And move the glass so that it overlaps the top edges (where the folds are). If you look very closely at my bookmarks, you will see that they are not perfectly round , but in fact have to straight edges.. where the glass overlapped.
Trace the glass. And cut out your “circle” – remember you need those two straight lines.
Now with a pencil sketch the centre of your donut. I confess, getting it dead centre can be fiddly….. out out this central circle. I used some small sharp scissors to do so.
Now it is time to decorate! Deocrate the front or the back (or both!!). As mentioned above, I would probably decorate the back these days.
You will need an “icing bit” and a “donut bit” and some sprinkles. On one of our donuts, I also added some glitter icing!!!
Finally (and this isn’t shown in the video).. add some kawaii faces. I used a hole punch to punch some black eyes and pink cheeks.. though you can of course draw them on by hand. On the black dots, I added a little white acrylic paint for the kawaii donut’s eye highlight. Glue on and add a month.
Your owe so cute Kawaii Donut Corner Bookmarks are finished!
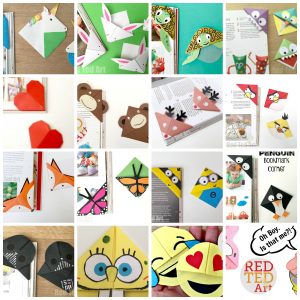
More fantastic Corner Bookmark designs here:
Love Paper Crafts? We have TONS more fantastic Paper Crafts for Kids organised by season and theme!


