Easter Bunny Paper Puppet – Simple STEAM Activity for Easter
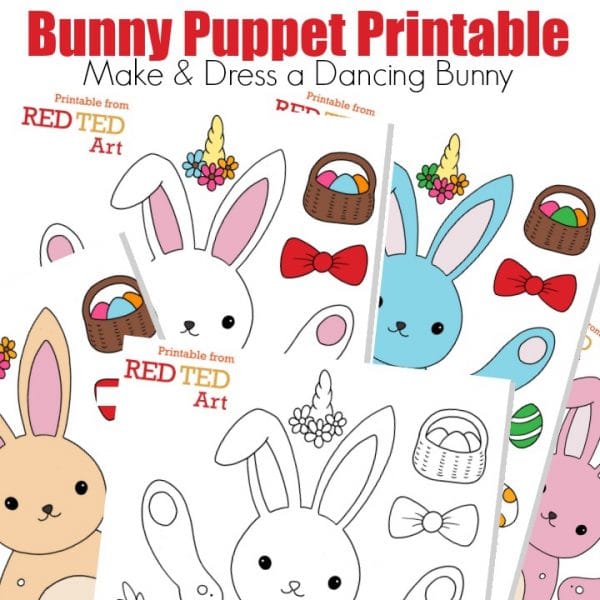
More wonderful Paper Easter Crafts for you. Paper is so fun and magical. Would you like to make a dancing bunny for Easter? This is a super fun STEAM Activity for Easter, introducing kids to the very basics of mechanics and cause and effect. Learn how to make these articulated Bunny Paper Puppets with kids. Part our Printable Paper Puppet resources. Such a cute easy craft for kids.
Let’s make an articulated puppet for Easter
Paper Bunny Puppet Materials:
- Light Card Stock
- Scissors
- Brads / split pins
- Baker’s Twine or String
- Colouring pens (optional)
- A little glue for the “add ons”
These Paper Bunny printables are available in my Teacher’s Pay Teacher’s store along with printable worksheet instructions and a quick lesson plan overview. You can get the 7 page printable (a choice of 5 bunnies, lesson plan and worksheet) for less than a coffee. I also have the PINK BUNNY available as a little freebie for you. Simply enter $0 at check out for that.
How to make an Easter Bunny paper puppet that moves – step by step instructions
Get your Lesson Plan, printable instructions and of course printables too over on my Teacher’s Pay Teacher’s Store for $3.50. There are a joice of 5 different Paper Rabbits to make. From colour your own, to white, brown, blue and pink. Enjoy!
- Begin by choosing either your colour your own paper puppet or ready to assemble bunny puppet -print the rabbit that suits your child best! If you are using a laminator, print on ordinary paper, if you are using just card, print directly onto the card. Be sure you use card that is suitable for your printer.
- If colouring, colour your Paper Bunny now…. once fully coloured, run it through the laminator.
- It is now time to cut out all your Bunny “bits”. Cut them as neatly as you can.
- Using your hole punch, make holes for the moving parts – 4 in the body, one each in the arms and legs of your articulated Rabbit Puppet.
How to Assemble a Paper Easter Bunny Puppet
- Thread your needle. It does help to have a large eyed, pointy needle – especially if using a laminator. If you do laminate your paper puppets you MAY need to make the holes for the bakers twine with scissors.
- Loosely connect your arms and legs with your brads / split pins.
- Now guide the thread throw the marked hole of one arm and then through the other.
- Make sure Bunny’s arms are in the “down position” and that the thread runs across in a straight manner – not too tight, not too loose. Knot the other end.
- Repeat for Bunny’s legs.
- Now you have one last thing to do – add a connecting piece of string between the arms and the legs – it is important that this isn’t too tight (the arms won’t move) or too loose (the legs own’t move).. again.. it needs to be “just right”.
Your basic Articulated Easter Bunny Printable is finished. You can now cut out the extras and deocrate it with a bow tie or hair bow, give it an Easter Egg Basket to carry, a carrot or simply and Easter egg to hold. So cute!
More wonderful Easter Paper Crafts here:


