
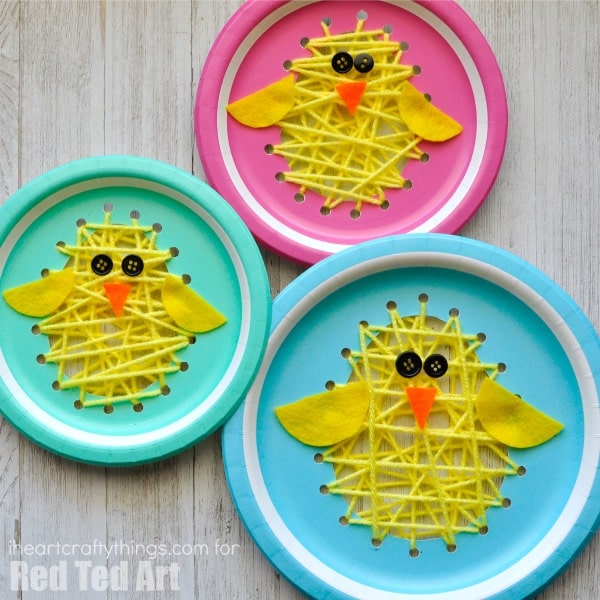
Paper Plate Easter Sewing Craft
Easter is right around the corner so today we are sharing this adorable Easter Chick sewing craft that your kids will adore! This fun paper plate craft is a perfect spring kids craft or Easter Craft for Preschoolers, great for practising beginning sewing skills and working on strengthening fine motor skills for preschoolers. Grab some colourful paper plates, yarn and a few other materials and get ready for an afternoon full of Easter crafting fun! We have lots more Paper Plate Craft for Spring, Chick Crafts and more Spring Crafts for Preschoolers for you to explore! Do go and have a browse… in the meantime, take a peak at this wonderful Paper Plate Easter Sewing Craft. Just ADORABLE! Lots more Paper Plate Easter Crafts where this came from!
 This Paper Plate Chick Sewing Craft for Preschoolers was first shared in March 2017 and has been updated for your convenience!
I think you will also ADORE our Chick & Egg Paper Weaving prinables:
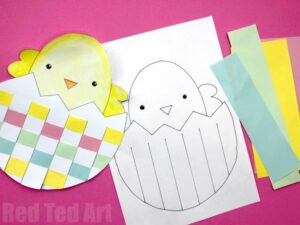
Hope over and grab your free printable today!
Paper Plate Craft – Easter Chick Sewing Craft Supplies:
- heavy duty paper plates (color, style and size of your choice)
- scissors
- hole punch
- pencil
- yellow yarn
- black buttons
- orange and yellow felt
- hot glue gun
- tape
How to Make a Paper Plate Easter Chick Sewing Craft:
1. Gather your supplies. Begin by drawing an egg shape on your paper plate with your pencil. If you are making several chicks, I suggest cutting out a pattern to trace on all of your paper plates to make it easier.

2. Poke your scissors into the center of your paper plate (or make a slit with a craft knife) and then cut the egg shape out of the center of the plate.
3. Use your hole punch to punch holes around the perimeter of the egg shape. You’ll have to do this going along the shape in the the center of the paper plate NOT from the outside edge of the plate.
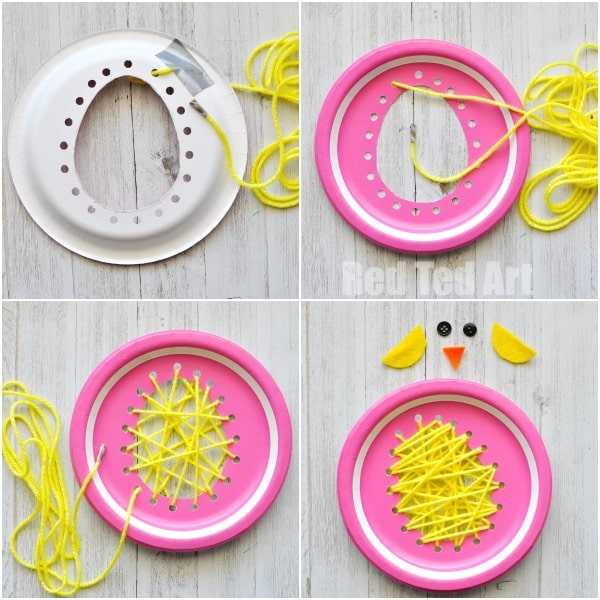
4. Cut off several yards of yellow yarn. We used about 10 feet with our smaller paper plates and 12 feet for our regular size paper plate. Tape one end of the yarn onto the back of your paper plate. On the other end of the yarn you can either thread on a yarn needle or wrap some tape around the end so it won’t fray when sewing.
5. Sew your strand of yellow yarn through the holes in your paper plate, up and down, side to side and diagonal. When you reach the end of the yarn tape it onto the back of the paper plate.
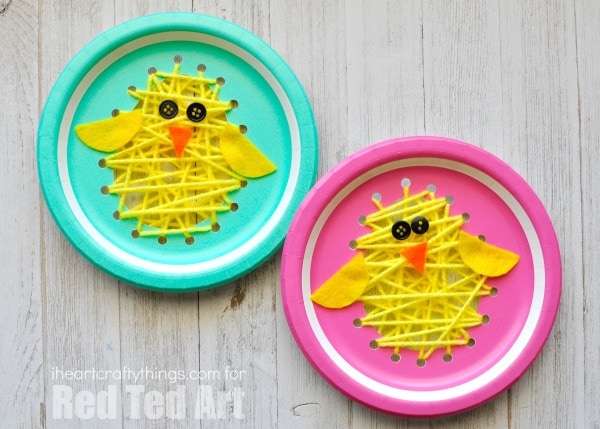
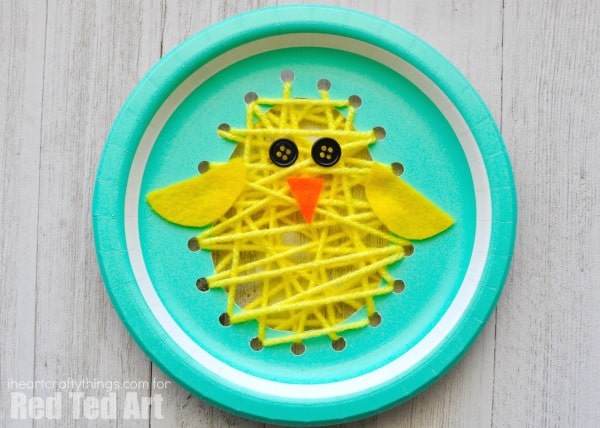
6. Cut out two wings from your yellow felt and a beak from your orange felt. Heat up your hot glue gun and use it to glue on the wings, beak and two black buttons for eyes.
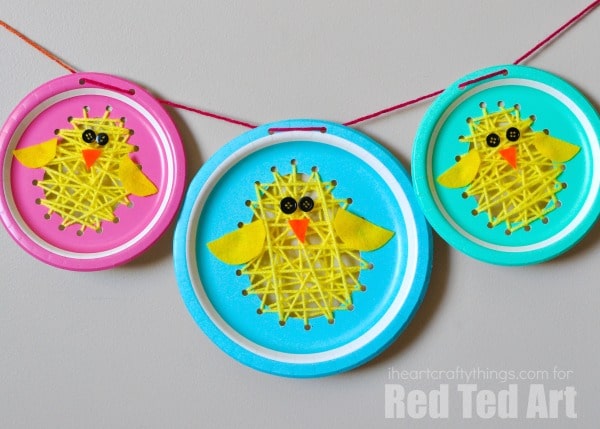
This makes a darling Easter craft for school or at home. You can make several chicks as a family and string them together to make a cute Easter banner to display in the home as Easter decor.

Looking for more fun sewing or yarn crafts for kids? You’ll love these:
Paper Plate Rainbow Yarn Art
Yarn Wrapped Spring Tree Craft
Paper Plate Heart Sewing Craft
Yarn Wrapped Blue Jay Craft

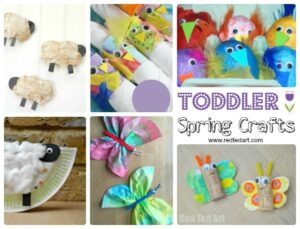
Do take a peak at these wonderful Chick Crafts and more Spring Crafts for Preschoolers

Happy Easter Paper Plate Chick Crafting!!
We also have this fabulous collection of Easter Paper Plate Ideas
