Easy Easter Chick Headbands for Preschoolers
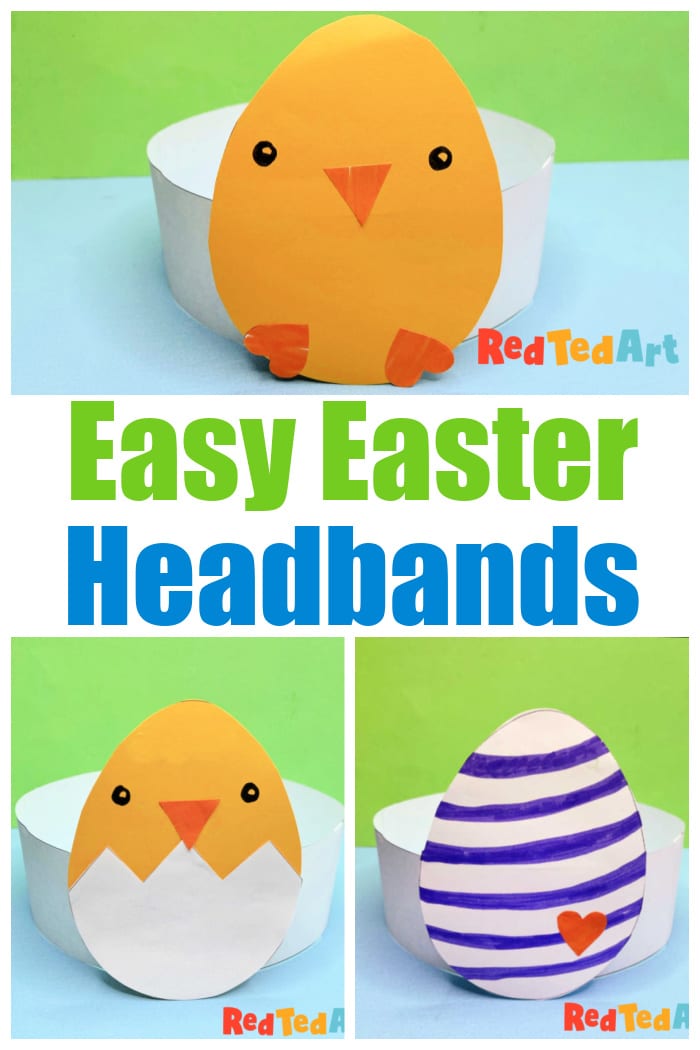
Well, we have had some adorable Easter Garlands and some cutest of cute Easter Bunny Headbands.. why not combine the two and make these cutest Easter Chick Headbands today? So so fun! And so so simple. And perfect for any Easter Bonnet DIYS for your Easter parade!

Supplies needed to make an Easter or Spring Chick Headband:
As always, I encourage you to work with the supplies you already have to hand! Only have white paper? No problem! Use that and get the kiddos to color it in (or may stick some tissue paper over it as a collage). Only have construction paper that doesn’t go in the printer? No problem.. either create your own template or print one egg template out and use it to trace! Only have card… no problem….. you catch my drift! But.. in essence, the following works well:
- yellow paper or light card (for the chicks)
- white paper or light card (for the egg shells and paper strips)
- colored pens or crayons for the chick’s features
- scissors
- glue stick
The printable Egg shaped chick templates are in my Teacher’s Pay Teacher’s Store. Remember… you can either create your own versions OR you can re use the Easter Chick Garland templates, if you have purchased these already. This is very much a 2 for 1 purchase, as you can use the same template to make Easter chicks garlands, Easter Egg garlands or Easter Egg Headbands too!! One fabulous template, lots of uses! Please don’t accidentally buy it more than once!
How to make your Easter Chick Headbands
As mentioned, I have shared these egg shaped printables for our Easter Chick Garland before. Please do not accidentally buy it twice!!! Though I did add some paper strips to this printable for the headband – but these are easily cut out of ouf a sheet of paper!
Grab your printable – there are 3 parts to it:
- the egg shape + chick beaks – you can print these three to a page
- the cracked egg shape x4 + chick beaks and cheek feet – these fit four to a page
- the paper strips – eg page has two strips which are needed for one Easter bonnet/ hat – so if you are making use of the multiple printables in page 1 and page 2, you will need to print this page more often too!
Making your easy chick for your headband:
Print the egg shape on to yellow paper (if you wish, you can of course use white paper).
Cut out the yellow shape and cut out the beak and feet too – you can use the templates for these or you can draw your own. The beak is a triangle and the feet are heart shapes!
Stick the beak and the feet onto the yellow egg shape.
Add eyes with a pen.. and if you want also some rosy cheekys – either with a pen or some pink paper cut offs. The simple baby chick is made!
For the hatching chick:
You will need a yellow egg shape and one of the cracked egg shapes + a beak!
Stick the egg shell onto the yellow chick.
Then glue on the triangle beak.
Add eyes with a pen! Done!
As you can see, you can also decorate some of the egg shapes as Easter Eggs!
For the final Headband assembly:
Cut out the two strips of paper that make the headband.
Glue one strip to the second strip of paper.
Measuring your child’s head as you go. Stick the end of the second strip of paper back to the first strip to make a “loop” that fits your child’s head snuggly. The paper SHOULD fit most preschoolers. If need be, use any cut offs to insert a panel for bigger children.
Then stick your chick or hatching chick to the front of the headband!
Aren’t these hatching chick headbands just too cute? So much Easter fun!!!
As mentioned, you can use the same printable to make our little Easter Egg Garland:
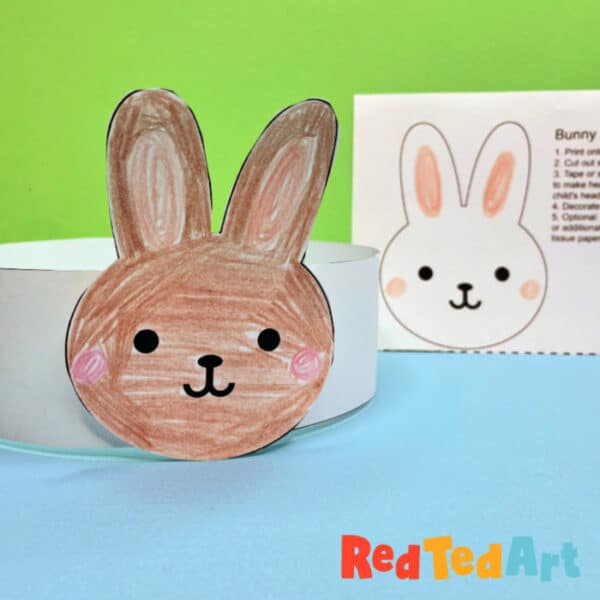
Or check out our Easter Bunny Headbands too:

More adorable Easter Preschool Crafts here:


