Easy Egg Shakers
We made these Egg Shaker Toys a little while ago, but I thought they got “buried” in the vastness of the Kids Craft Resources we have here on the site. As they are super easy AND thrifty to make, I thought it would be good to reshare them today. They are a perfect Easter Craft for Preschoolers, but of course can be made as Musical Instrument DIYs all year round!
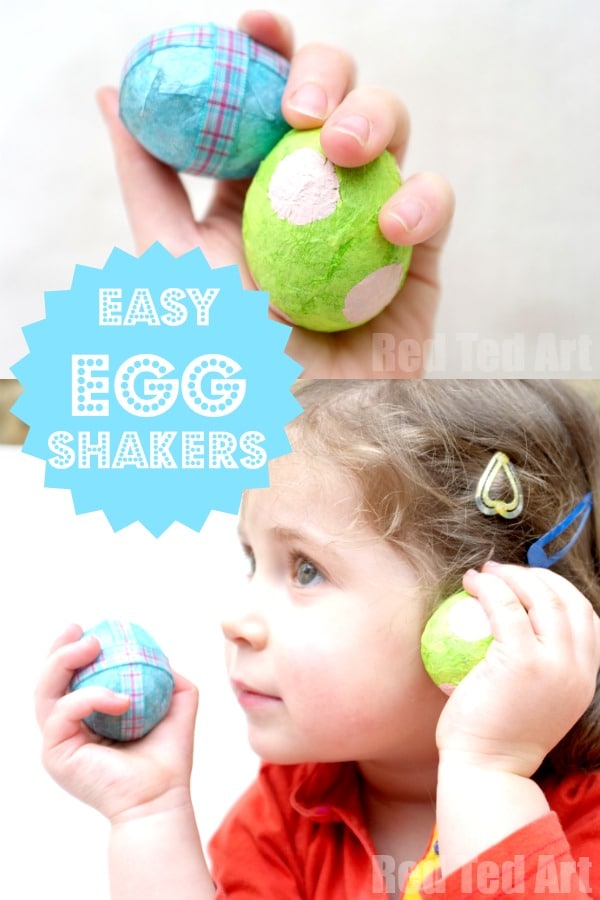
To make these Egg Shaker Music Instruments, you will need:
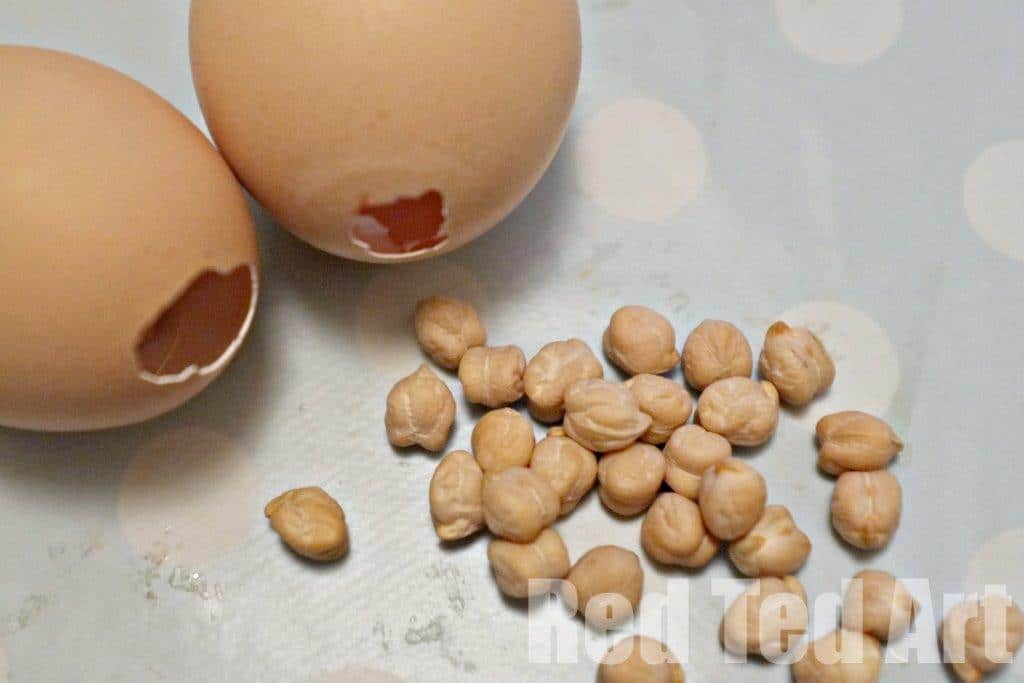
- Real Blown Out Egg Shells (actually easy to do! Just don’t make your prick holes too small)
- Chickpeas, lentiles or other seeds for noise making
- Recycled tissue paper
- Glue
- Optional materials such as ribbons or paints for decorating
You can use homemade Paper Mache paste too. But it sometimes makes white tissue paper a little brown. Also I find glue makes the egg EXTRA tough and therefore not breakable!
Our noise maker are chick peas, though I think beads could sound lovely, or little stones. Try out what works for you!

How to make Egg Shakers with Preschoolers
Check out the Egg Shaker Craft as a video tutorial
We have a little video tutorial for the egg shaker toys. So quick and easy.. you will love them!
Step by Step instructions for the Egg Shakers made with real Egg Shells!
Blow your Eggs Out
Follow the Egg Blowing Instructions from one of my earlier posts – remember you can make one of the holes a bit bigger, as you will need a bigger hole to add your noise maker.
Of course you can make these with plastic eggs, but you will a) have to make a hole at the bottom (please take care) and b) I LOVE using the real eggs, as it makes this a super thrifty and environmentally friendly craft.
Fill your egg shells with noise makers
Once your egg is clean and dry – fill it with chick peas (or whatever you have). Test for sound. If you are making the diy maracas, you now need to insert your sticks and glue into place.
Decoupage your Egg Rattle with Paper Layers
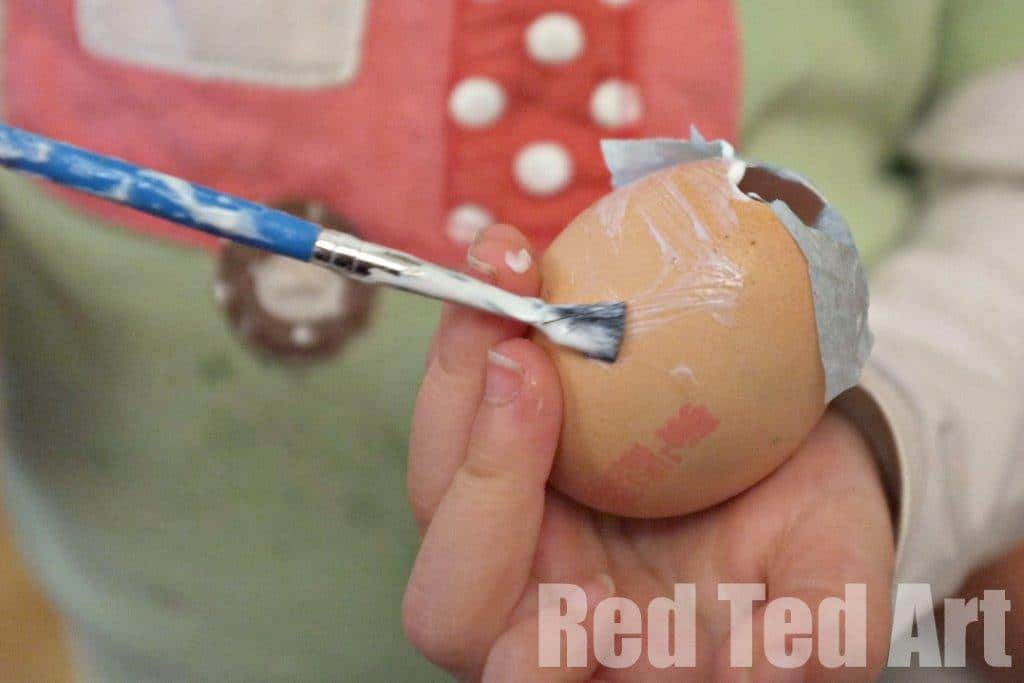
Cut out pieces of tissue paper and then start sticking it on – adding a layer of glue, then tissue paper, then more glue.
A bit like our Eric Carle Easter eggs (in fact, the idea came to me afterwards and I wish we had made our Eric Carle eggs into rattles, as they make such cute little gifts!).
We used green and blue for the rattles. If you make them in white, the kids can then decorate the white Egg Shakers with Sharpies!
Tips for decoupaging the egg
Make sure you add plenty of layers – especially over the hole. I would say least 4. But add more to be safe. You don’t want your rattles to break! It is worth sticking to just using the brush to add the glue, but you fingers may get a little stick. Clean them if need be.
Our eggs using decoupage glue dried quite quickly, but if you need to put them down to dry, do so on a ceramic dish – it is least likely to stick to this. But do turn it every so often to avoid it sticking too much.
Finishing off the Egg Rattles
Once dry, you can glue on any finishing touches, such as ribbons or add dots with paints or stickers!
Your DIY Egg Shaker Toys are finished! ENJOY!
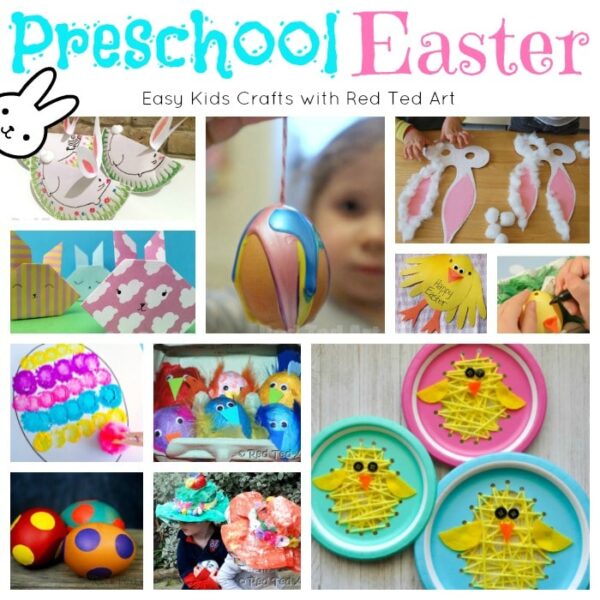
More Easter Crafts for Preschoolers:
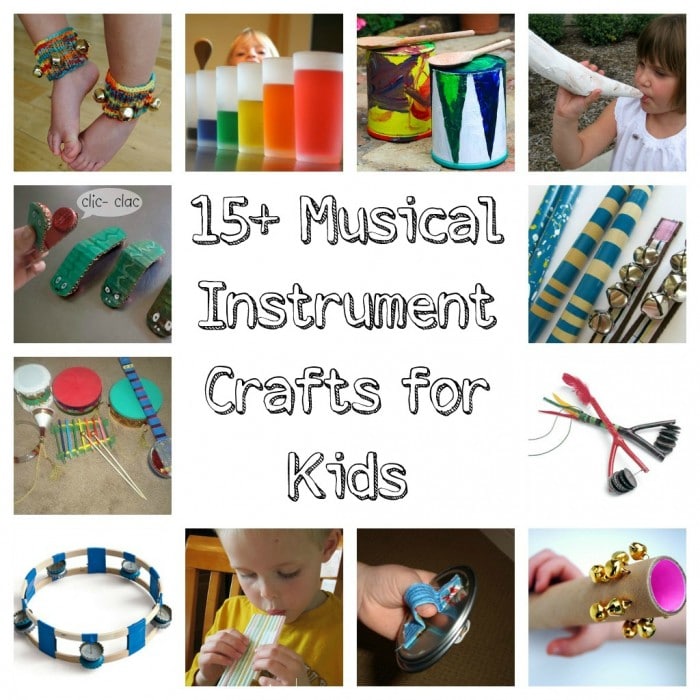
More Musical Instrument Crafts:

