Easy Fidget Spinner DIY (Free Template) – Science Fair Project Idea
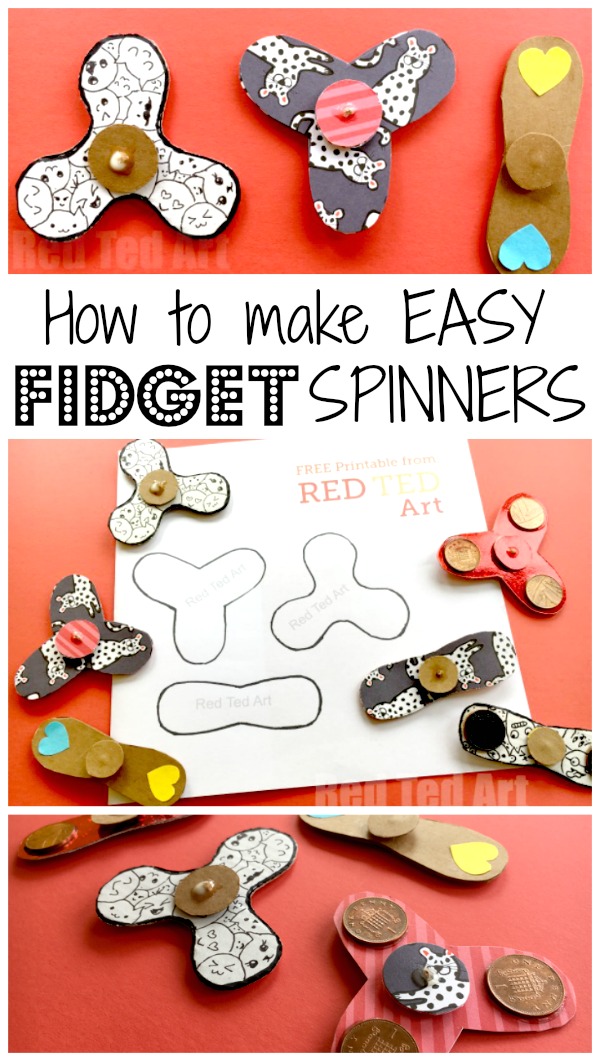
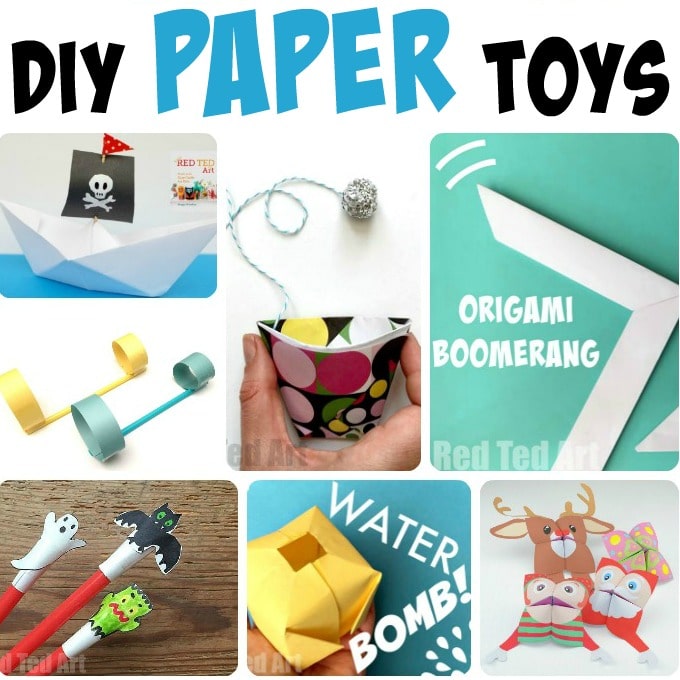
Ok. So you saw our How to Make a Fidget Spinner late last week. Since then the messages and comments have been flooding in “Try Fidget Spinner DIY please” and “can we have a template please”. So, I listened. I heard you. And I traced our templates out for you! I have 3 free Fridget Spinner Templates for you today – two Tri Fidget Spinners and one double one. Hopefully you will find them handy. I also had lost of questions from my YouTube viewer community (many kids), about different glues, the need for coins etc.. which made me think, I should add a SHORT piece about the STEAM elements of this fun Tri Fidget Spinner DIY. I talk about it BRIEFLY in the video outlined below, but will highlight key points for investigation in this post for you too. I think this could make a great “up to date” Science Fair projects (you may also want to explore these DIY Paper Toys for Science Fair inspiration!). See our SIMPLE Fidget Spinners. The perfect Craft for Boys!
To help your Science investigations along, I have also created a list of DIY Fidget Spinners to check out – from cardboard Fidget Spinner DIYs like ours, to ones using ball bearings.
UPDATE: We now have a set of Printable DIY Fidget Spinner Instructions – step by step photos and how to! Great for the classroom, summer camps, library schemes and other youth programs.
These DIY fidget spinners where first shared in May 2017
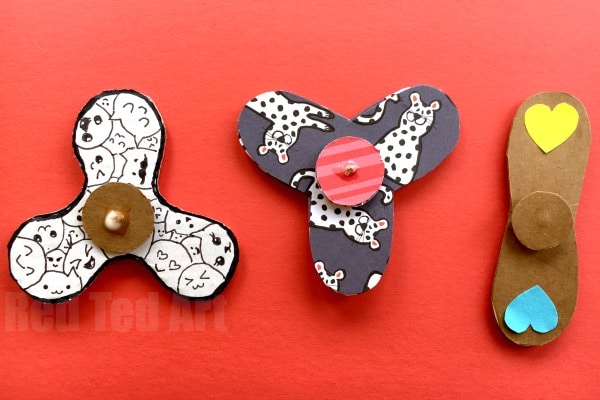
How to make a Tri Fidget Spinner – Materials:
- cardboard (though several sheets of paper can be used too)
- a toothpick
- coins
- strong PVA glue
- scissors and “pokey things” like a needle
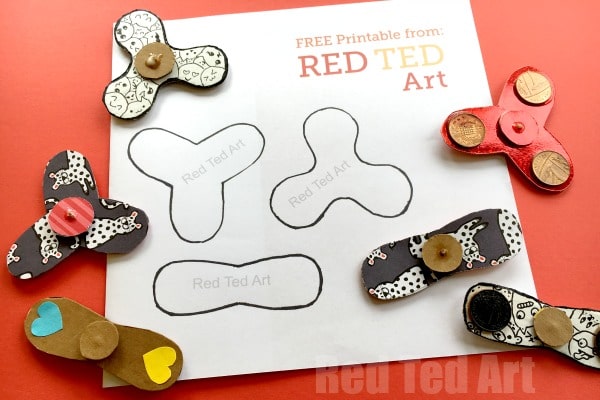
Your FREE Fidget Spinner DIY Templates:
These are hosted on Gumroad for easy of download. Enter $0 at check out for freebie, or add a tip if you wish! IF YOU also want the step by step worksheets + extra fidget spinner templates, you can get this as a printable pack in Teachers Pay Teachers.


Print this out in A4 format to get the dimensions right. If your local dimensions are different, make sure the settings result in a printed Fidget Spinner template that is 8.2cm (ish) for the dual spinner and 5.5cm (from tip to edge) for the Tri Spinner templates. These are sizes that my kids (9yrs and 7yrs) found easy to handle.
UPDATE: a NEW set of DIY Printable Fidget Spinner Templates here!
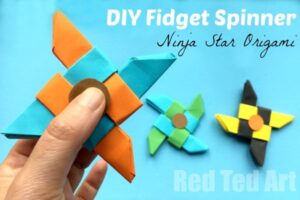
If you don’t want to use a template.. you could have a go at these NINJA Fidget Spinners – use Origami Ninja Stars and convert them quickly and easily!
The simple Science behind DIY Fidget Spinners
Here are some areas you can look at, the sort of questions people have been asking and some basic (!) answers. Needless to say, I have NOT created a controlled scientific environment for comparing like for like. At essence I am still a crafter!! But I did feel, there are some great areas for discussion here, to get kids thinking and experimenting (I encourage all my YouTube viewers to experiment and report back me!).
To me there are three key areas to discuss and explore:
- Property of Materials
- Centrifugal Forces and Angular Momentum
- Friction
- Optics (this is more of an observation you can, it will not improve or decrease the quality of your DIY Fidget Spinners)
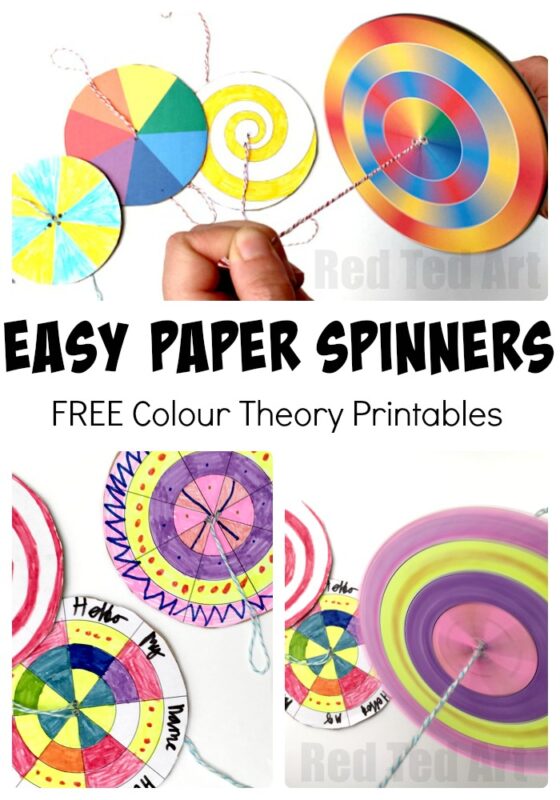
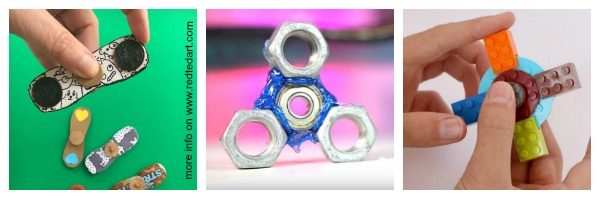
Why not compare your Cardboard DIY Fidget Spinners, will DIY LEGO Fidget Spinners and Ball Bearing Spinners? That would make a brilliant Science Fair project. Maybe you can also incorporate some colour theory as per these Paper Spinners?
Strength of materials/ adhesives – investigating the properties of glue
Questions you may asks – Can you use hot glue instead of PVA glue? Can you tape on the coins?
What you may observe and some possible answers: A lot of people think that a hot glue gun is “strong glue” than a good “PVA Glue”. Personally, I don’t think that that is the case (actually, you would need to test out different glues and hot glues etc). Why is one glue stronger than another? How does the hot glue work compared to ordinary glue?
I find that a hot glue gun shapes and molds around things easily, but doesn’t actually “grip” the material you are trying to glue, so is likely to come apart again.
Property of materials – flexiblity
Questions you may asks: How does paper vs cardboard effect your fidget spinner. Why do you need several layers of paper vs one sheet of thick card, or two of thin card?
What you may observe and some possible answers:
Weights, Centrifugal Forces, Angular Momentum
What are Centrifugal Forces? Centrifugal Forces. A centrifugal forces is a force that occurs in a rotating mass or body. It is an inertial force that is directed “outwards” from the axis of this mass. Want to observe a centrifugal force? Get a bucket over water and rotated it round and round. The force pushing “outwards”, keeps the water in the bucket and stops it from falling out. Want to FEEL a centrifugal force? Go on a roundabout on a playground and spin it.. you will feel the “push” of the centrifugal force. Read more about Centrifugal Forces here.
Angular Momentum – if something is not moving it has “no momentum”. As soon as it starts to move, it has momentum. The bigger and faster something is, the harder it is to stop or slow it down. Angular momentum is when this movement is around an axis – like a spinning top. You can read more about Angular Momentum here, and why more coins, will help your Fidget Spinner keep going.
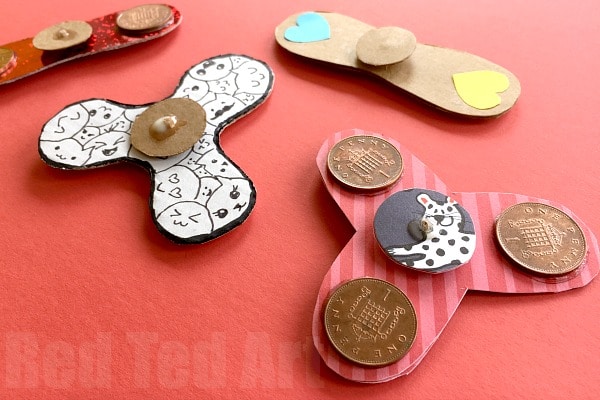
Questions you may asks: why do you need the coins at all? Doesn’t it spin without the coins? Can you use something else instead of the coins? If so what? What if you add MORE coins (e.g. a set of coins of each side of the Tri Fidget Spinner DIY)?
What you may observe and some possible answers:
Friction of Fidget Spinners
What is Friction? Friction is caused by two materials rubbing against each other. When something is moving across something (e.g. a ballrolling in the grass) it is friction that eventually causes the object to slow down. Without friction it would continue to keep moving (a ball in space, where the is no friction will just keep going). Friction absorbs some of the energy the item has and with the absorption of the energy, slows down and eventually stops movement. High friction causes something to slow down. Low friction, allows an object to move further for longer across another object. There is another simple experiment you can do at home -creating your own garden Zipwires – a great exploration of both gravity (the moving force) and friction (the breaking force).
Questions you may asks: why do some DIY Fidget spinners work a bit better than others? How can you improve the spin and reduce the friction?
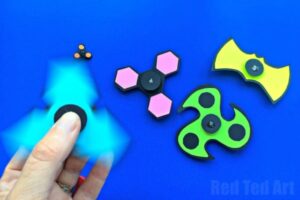
To be honest, this is probably the biggest part of the “make of fail” of your DIY Hand spinner toys. Get the friction wrong and your spinner toy won’t work very well.. get it right.. and it will be OFF! What makes a good fidget spinner diy is a fidget spinner with LOW friction. Ball bearings, which are found in the commercial fidget spinners and also in some DIY Fidget Spinners, are designed to have very low friction (the roundness and smoothness of the “balls”, reduces the friction between them). But I am conscious that ball bearings are relatively expensive (compared to a toothpick), so how you can you improve friction on your DIY Fidget Spinner?
Make sure the hole for your toothpick is big enough.
Make sure the hole for your toothpick is as smooth as possible, with no bits sticking out.
You could improve the friction, by inserting a piece of small straw (e.g. from a small juice carton) into the hole, for the toothpick to move freely in.
Also the length of the toothpick will influnce the level of friction. Are your cardboard discs touching part of the main fidget spinners? you need the cardboard sticks to help stabilise the spin. But you also don’t want them too close to the spinner… experiment with different widths.
Optics
A quick and short paragraph about optics (wow, who knew a DIY Fidget Spinner could have SO MUCH SCIENCE!!). Have you noticed that when you spin your Fidget Spinners, the patterns disappear? Or the colour even changes? This is down to optics. How light travels and how our eyes pick up this light and how quickly we can processes it. I have a great (larger) DIY Paper Spinner, where you can explore some colour theory (turn blue and yellow into green!) and Babble Dabble Do, has a great article of the “magic” of spinning tops and white light.
If SCIENCE for KIDS excite you and you are looking for MORE fabulous STEAM activities for kids.. I can highly recommend this collection of STEAM Activities for kids. Packed with FUN. Packed with COLOUR and packed with SCIENCE. You will LOVE it:
Get your copy here today – here today (and if you are REALLY tempted, there is a fantastic SEASONAL Bundle of books to check out too! here today) (affiliate links have been added)
Oh.. and unless you are using them for the Science Fair.. here a 5 Reasons to Ban them from the classroom!
How to make a Tri Fidget Spinner DIY
—–> Get your Free Fidget Spinners Templates here <——-
Print this out in A4 format to get the dimensions right. If your local dimensions are different, make sure the settings result in a printed Fidget Spinner template that is 8.2cm (ish) for the dual spinner and 5.5cm (from tip to edge) for the Tri Spinner templates. These are sizes that my kids (9yrs and 7yrs) found easy to handle.
And finally.. here is our (second) how to make a fidget spinner video! You can see the “simple fidget spinner diy” – the process in essence is the same – so choose which video you find more useful! The simple fidget spinner DIY video basically shows me making the spinners using different materials. The second video is a little shorter, and I talk a bit more about the STEAM aspect of the Tri Fidget Spinner DIY. Personally, I find either video good!!!
—–> Get your Free Fidget Spinners Templates here <——-
Print this out in A4 format to get the dimensions right. If your local dimensions are different, make sure the settings result in a printed Fidget Spinner template that is 8.2cm (ish) for the dual spinner and 5.5cm (from tip to edge) for the Tri Spinner templates. These are sizes that my kids (9yrs and 7yrs) found easy to handle.
Enjoy!
Here are more fun ideas you can make from Paper – DIY Paper Toys!
Also see how these spinners compare to these fun paper spinners: