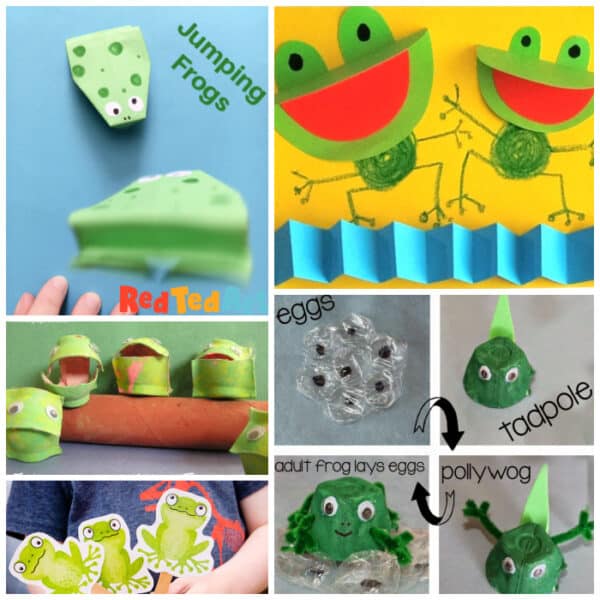
Easy Jumping Frog Origami
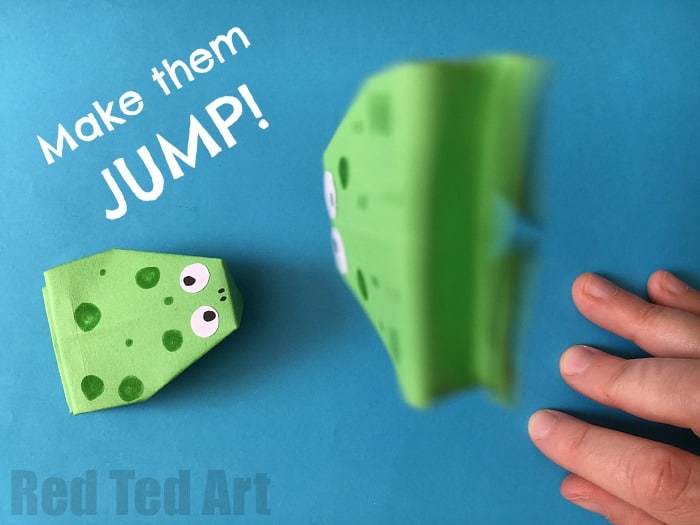
Learn how to make a Jumping Origami Frog. A fun and easy origami project for kids! Make this easy Frog Craft for kids using this easy to follow origami pattern for beginners! The best thing about this crazy frog? Is that it doubles up as a fun paper toy. Use it as a tiddly winks frog alternative!
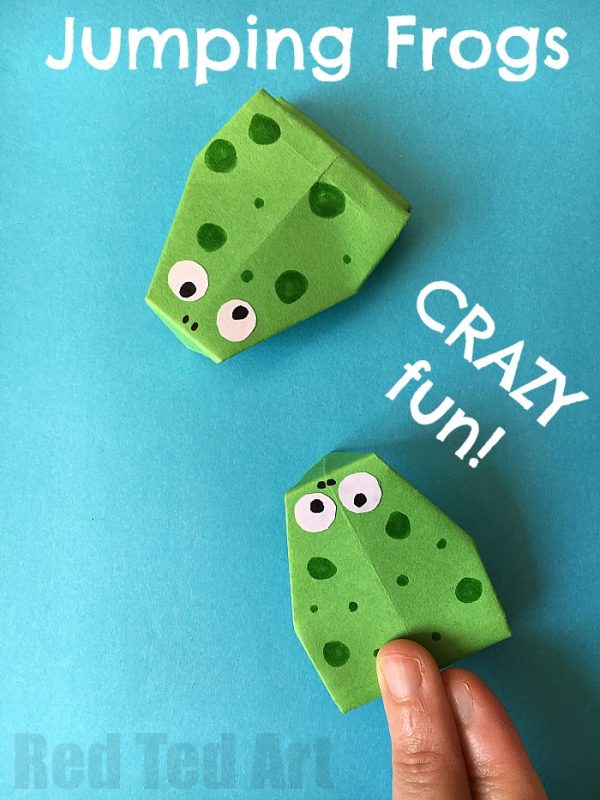
There are many different times of Frog Origami. Some frogs are wonderfully intricate. Other frog origami are GREAT at jumping.
After researching and looking at all the different frog patterns, I decided that THIS is the BEST Jumping Frog Origami – simply because it is quick and easy to learn HOW TO DO AND it actually works. Great for a game of crazy frog tiddly winks!
So this is a great origami pattern for beginners and kids – especially if you just want a bit of fun!! Make them in any colour to suite your taste and needs!
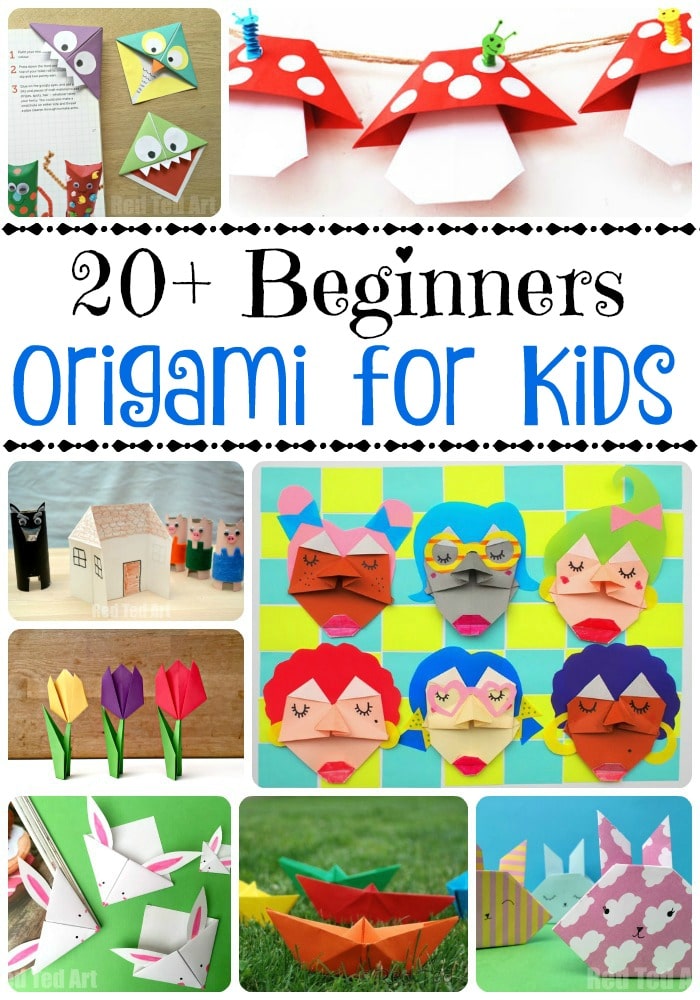
Don’t forget that we have LOTS more Origami for Kids inspiration! There are huge Educational Benefits to Origami and it really is worth a try! They vary in terms of difficulty, but the majority are “easy” and great for beginners.
Jumping Frog Origami Materials:
You simply need paper to make these origami frogs – and markers/ pens if you wish to colour and them in afterwards/ decorate them!! If you don’t have a square piece of origami paper or pretty craft papers, take ordinary printer paper, some scissors and cut it down to size. I would avoid using construction paper, as it is a little thick and some of the folds will get tricky. So:
- per frog – 1 square sheet of paper – any size. We like using between 12cm x 12cm and 15cm x 15cm
- OPTIONAL: marker pens, glue stick & white paper for decorating
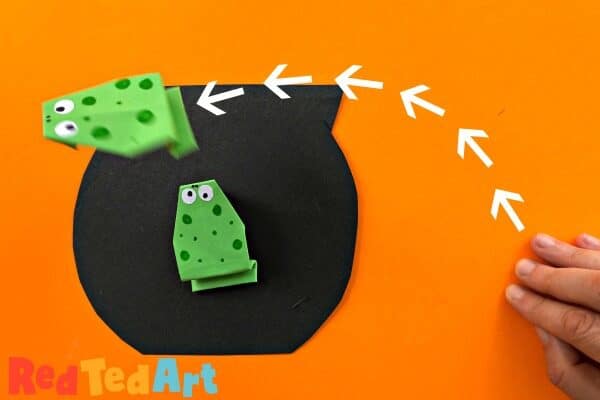
You can also have fun draw or make a simple “paper pond” or “paper cauldron” to use as tiddly winks crazy frog target practice!
Printable worksheets (ad-free) are available in my Teacher’s Pay Teacher’s store.
How to make Easy Jumping Frog Origami:
We made a little video for you – as Origami is MUCH easier to learn and follow on video! The video is on autoplay, so do take your time to check it out. I have however, of course, also added some photo origami frog instructions, so you can browse those at your leisure too! Whatever tutorial you find easy to follow!
Follow our Origami Frog Step by Step Tutorial
For those of you who prefer the step by step photo instructions.. read on! As mentioned you can make these cute little frogs and colour you wish. we went for the “traditional green paper frog”… but of course you can make them in black paper, red paper or even blue paper if you are going exotic! Just have fun and as always work with what you have.
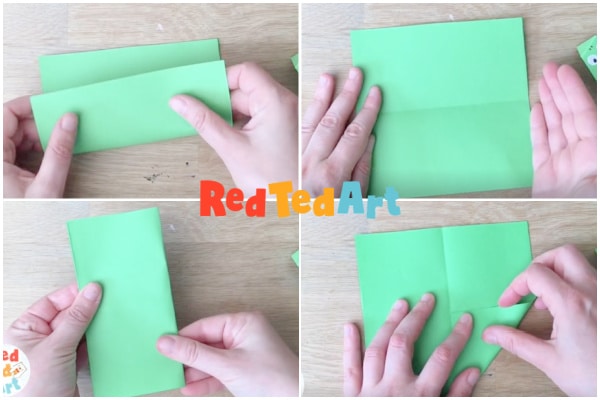
Make a smaller square
If using origami paper, place with the white-side up on the table.
The beginning of this origami project is very similar to the basic folds of a classic fortune teller/ Cootie Catcher. You first need to create two guide lines.
Take the bottom flap of your square and fold up.
Open up again.
Now make a second fold from left to right.
Open up again.
You should have a square with a cross folded on it.
Take the bottom corner and fold to meet the centre of the cross.
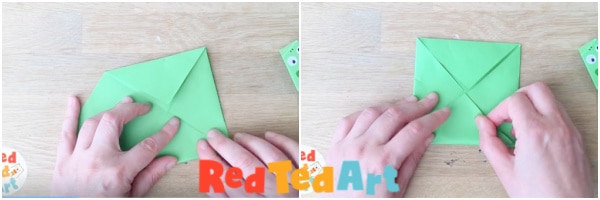
Now work your way around each corner and fold into the middle.
Make nice neat creases as you go as that will make later folds easier.
You should end up with a “new” smaller square!
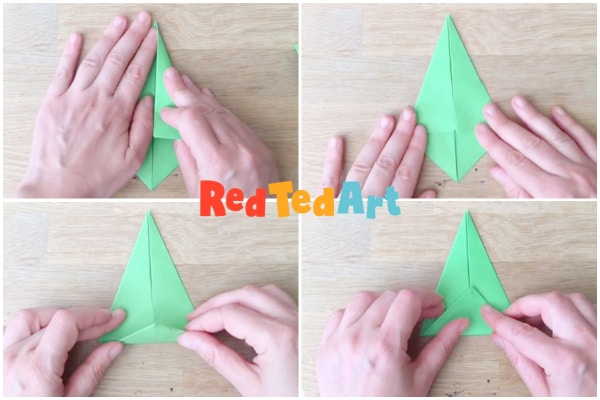
Create a kite shape
Rotate the square by 90 degrees, so you have a diamond in front of you (top left image).
Fold down the top right edge, to meet the central line.
Repeat for the left edge and meet the central line. You should now have a kite shape (top right image).
Take the bottom triangle and fold up. (Bottom two images).
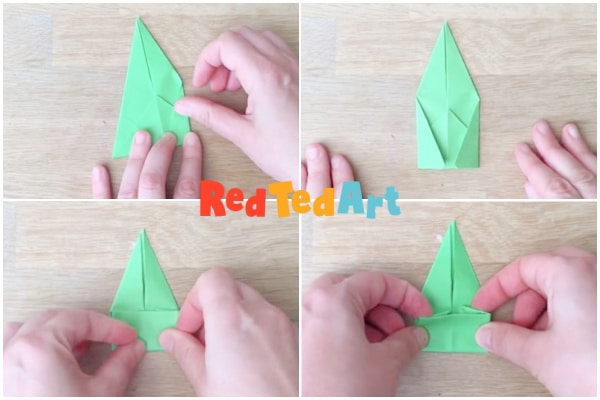
Keep shaping your origami frog
Take the right corner and bring to the middle. Make a neat crease (top left image).
Repeate for the left side (top right image).
Fold the bottom edge up (bottom left image).
Then fold half way down (bottom right image).
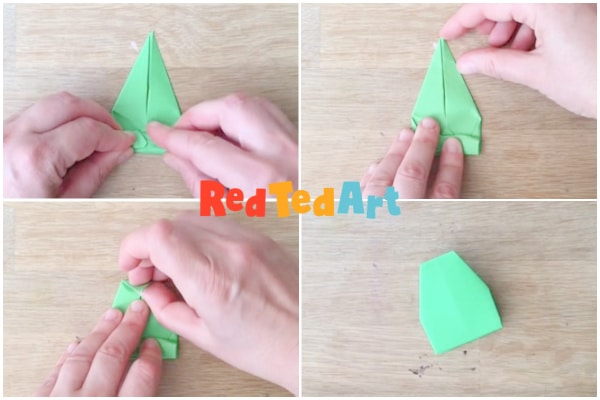
Make a neat crease (top left image). The layers of paper folded down will be your “jumping” mechanism.
Now take the narrow top point and fold down.
Flip over.. and you have your basic frog shape (bottom right image), that now jumps.
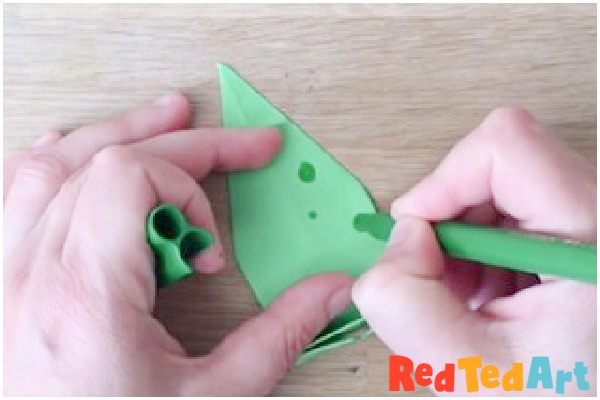
Now decorate your frogs as much as you wish. We added darker green dots with a green marker pen and cut out paper eyes to glue on with a glue stick! You could probably use some googly eyes too.. but they will change the weight of the frog and maybe not make it jump as well!
The frogs jump best if you use two fingers to press down and release!
Later, we revisited our crazy frogs and turned them into a little frog and cauldron paper game for Halloween fun! They also make cute Halloween decor – just take the top “lip” of the frog on hook over some string or baker’s twine to make a simple Halloween garland and hang in the doorway this October. Such a fun one to add to any Halloween origami planning.
What do you think? Aren’t they fun? We LOVED making these little paper frogs. They are so simple and much fun to play with.
Don’t forget to take a peak at all these Easy Origami for Beginners ideas – we regularly update this post and add more and more wonderful origami ideas to keep you busy!:
More fun Frog Crafts for Kids:


