Felt Flowers Daisy
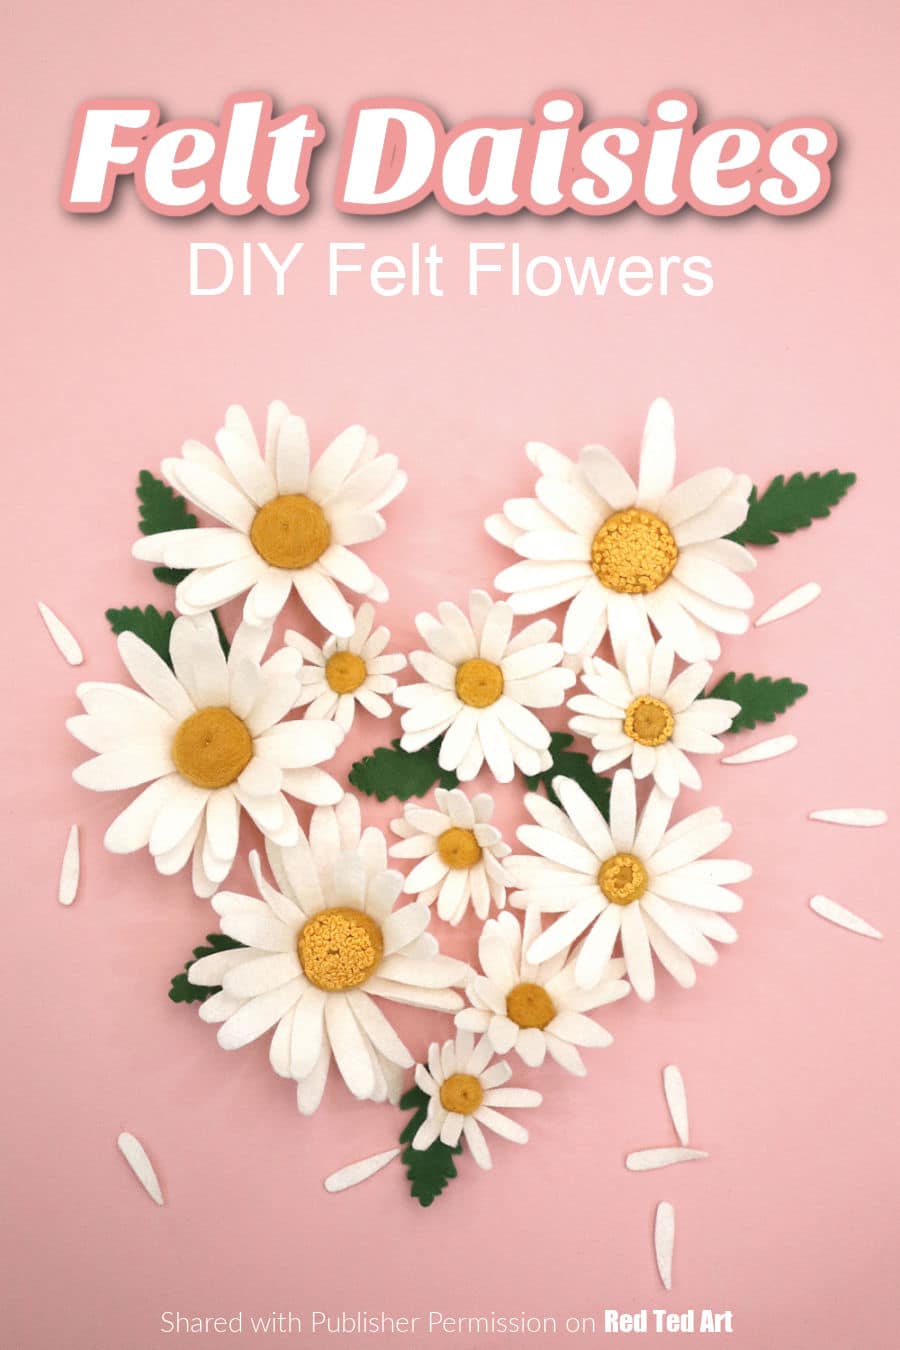
Learn how to make beautiful Felt Daisies today! Having a go at the whimisical of the hand made.. these felt flowers are simply beautiful. A taster project from the brand new Felt Flowers by Paula Milner – where you can learn how to make a variety of felt flowers – be it to decorate your home with a vase of beautiful stems or for felt details on other makes (wouldn’t these look wonderful as a headband or on a bag?). Anyway.. let’s take a look at this lovely felt sewing project.
Please note: this project has been reproduced with permission from the publisher and is not allowed to be republished in any way, without their consent. It is for personal use only.
Also note: affiliate links have been added to this post – should you choose to purchase via these, I will earn a small commission that goes towards the upkeep of this site!
Felt Flowers
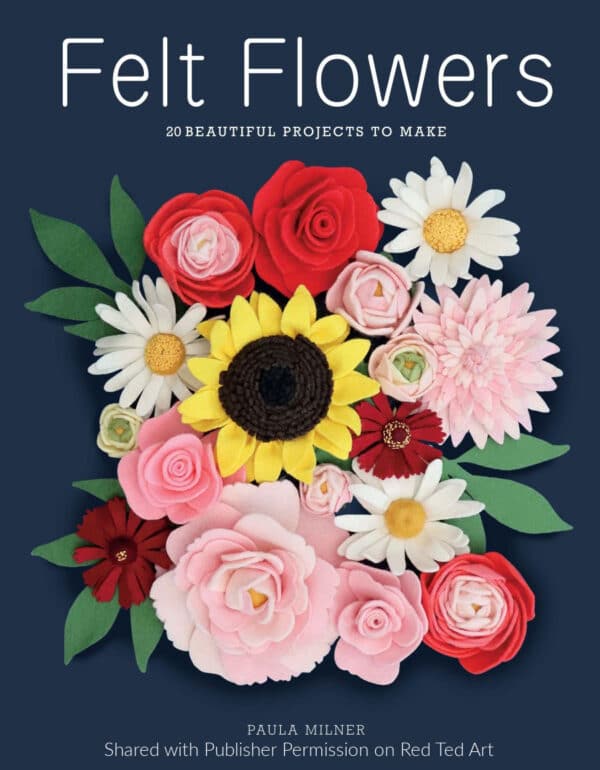
First to the book by Paula Milner. You may already be familiar with Paula as The Crafty Lass or here on instagram. Paula is an expert at beautiful design, and today’s Felt Flowers is her third book! In this book, you get to learn how to work with felt and create 20 beautiful different felt flower designs.
The book begins my walking you through all the tools you need, two different (gorgeous) ways of making the flower stems (especially if you plan to display your creations in vases) and some handy stitches (how I love a French knot). Then it is straight into the different flowers – all of which come with templates in the book or SVG files. The flowers are quite varied – from large sunflowers and poinsettia, to darling pansies and lovely daisies. The Daisy we will have a go at here today, as a fantastic taster project for you to get stuck into!
You can buy Felt Flowers from Gifts to Me for only £13.50 (+P&P)! Usual RRP £16.99
Visit giftstome.co.uk and use the offer code R6129
Offer ends 30th November 2026
Ox-Eye Daisy
Leucanthemum vulgare
The daisy is such an iconic flower, and there are always hundreds of them in the surrounding countryside near where we live in Northamptonshire. These felt versions would make a lovely spring posy or fabulously fun hair clip as shown on page 150, nestled among a spring garland or in a summer bouquet. The embroidery detail takes some extra time, but it is totally worth it for the fabulous texture!
Materials
- Felt fabric in white and green
- Coordinating sewing threads in white and green
- Yellow woollen felt balls, diameter either 3/8 in (1cm) small, 9/16 in (1.5cm) medium or 3/4 in (2cm) large, 1 per flower
- Yellow embroidery thread (optional)
- Stem wire (optional) – SEE BOOK FOR THIS – today we share the flat Daisy
The templates:

Tools
- Fabric scissors
- Embroidery scissors
- Sewing needle
- Tapestry needle (optional)
SIZE
Woollen felt balls for the centre of the daisy flower often vary slightly in size. The number of petals you require varies depending on the diameter of your felt ball, and how closely you overlap each petal.
As a rough guide:
- small flowers: need 15 petals
- medium flowers: need 16–20 petals
- large flowers: need 22–25 petals.
NOTE: There are slightly different leaf versions to use with or without a stem.
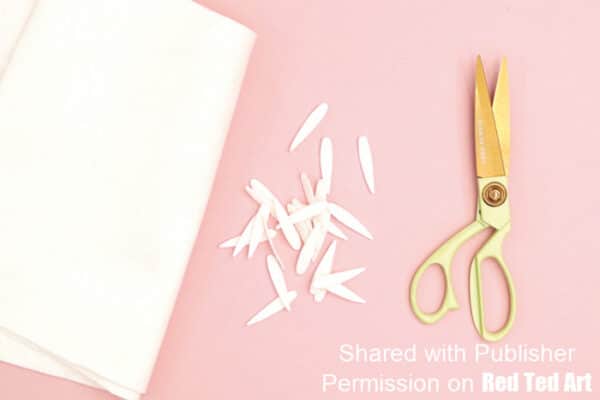
Choose the Daist size
- Choose your daisy size based on the size of your felt ball: cut out the corresponding petals using either the templates (enter $0 at check out) or digital SVG files provided.
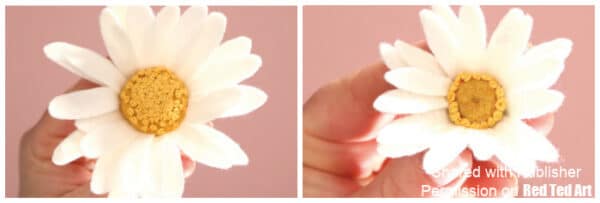
ADDING TEXTURE
If you want to add texture to the middle of the daisy, embroider some French knots (see page 16 in the book, or check out my basic hand stitches post here) with yellow embroidery thread. You could embroider these in a circle around the edge of the top of the daisy or all over.
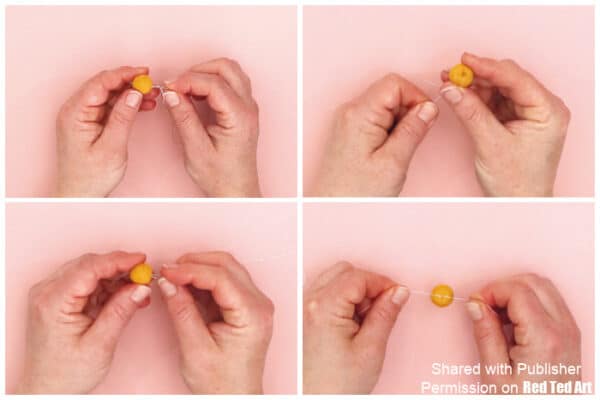
Prepare your felt ball.
- Thread the sewing needle with a double length of white thread and make a knot at the bottom to secure together. Push the needle through the centre of the felt ball and pull the thread all the way through.
- Make a small stitch before sewing back through the felt ball to where you started. Pull the thread taut to create a small pucker in the felt ball.
- Repeat steps 2 and 3 again over the first stitch to make the pucker slightly deeper. The puckered part of the felt ball will form the top and middle of the daisy head.
- Turn the felt ball over to the underneath. Knot and trim the threads to secure.
Start adding your daisy petals
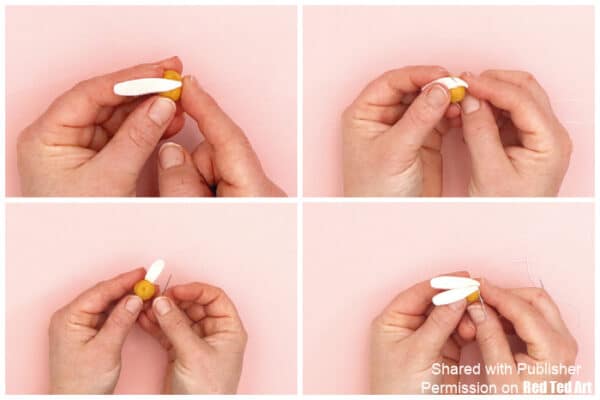
- With the puckered centre and/or embroidered middle forming the top of the daisy head, place the first petal at the side of the felt ball. The petals have been designed to go down the side of the felt ball and slightly tuck underneath, but you can experiment with how high or low you want the petals to be. If you sew them higher, the petals will be longer, and if lower, shorter. Ideally, place them lower to ensure the back will hide the ends of the petals.
- Using white thread, stitch from underneath. Push the needle sideways up through the felt ball into the petal before making a small stitch and going back through to where you started. Try to make small stitches in the felt where it can be seen, but don’t worry about any untidiness underneath – this will be covered up later on.
- Repeat step 7 so you have two stitches per petal to attach it to the side of the ball. Do an extra stitch if you need to.
- Place another petal next to the first petal and sew into position as in steps 7 and 8.
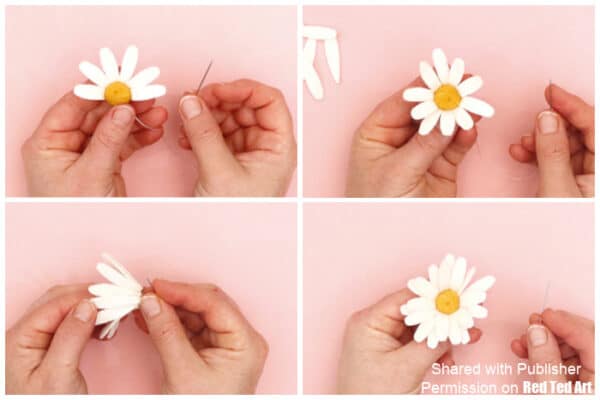
- Repeat with petals going around the diameter of the felt ball. Try to space them out evenly. The spacing doesn’t need to be perfect, but keeping the petals neatly together will help to replicate the natural form of a daisy.
- Continue until you have completed a full circle of petals.
- Now add a second layer of petals. Sew the petals on in the same way, placing them in the gaps between the existing ones.
- Keep adding petals until you have completed two full layers. Keep any spare petals for future daisy projects. Make a small knot and trim the threads to secure.
STEM
I have chosen to stem my daisies using the wool stem method (the book has different types), along with two or three leaves, as this closely represents the thin daisy stem and greenery.
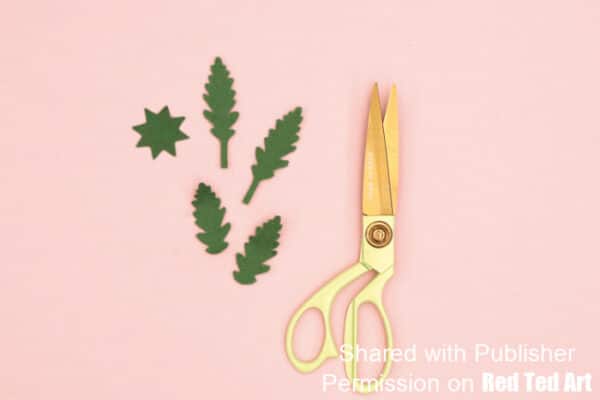
- Cut out one back piece in the corresponding size (small, medium or large) from the green felt. If you are using leaves, cut out as many as you want from the green felt. Use either the back piece either the templates (enter $0 at check out) or digital SVG files provided.
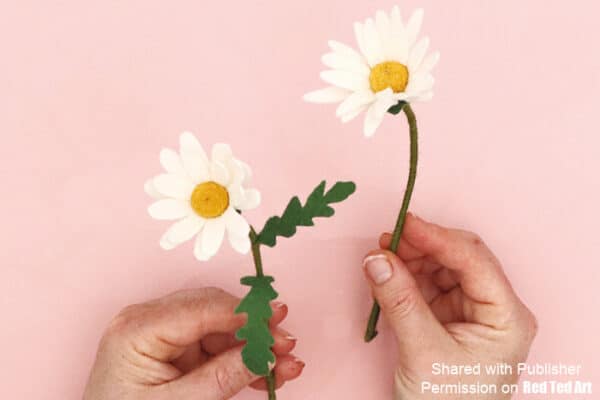
Felt Daisy on a Stem
The book has a detailed section on how to create different felt stems for your flowers. Treat yourself to the book today, if you wish to have a go at these flower stems!
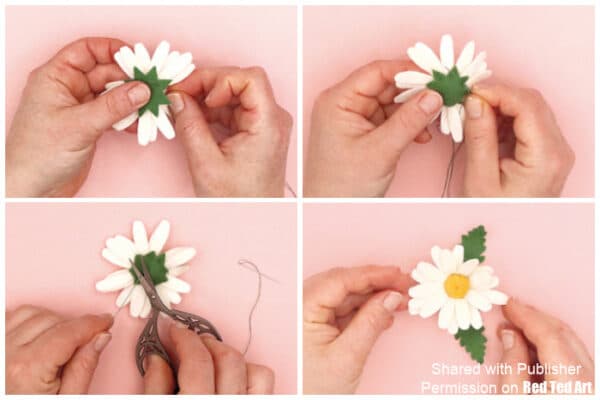
Flat Daisy Head – Step by Step
- Place the cut-out back piece on the back of the daisy head in the middle. It should be just wide enough to cover the back of the petal ends and the back of the felt ball. Using green thread, push the needle up from underneath through the middle of one of the back outer triangles and pull the thread all the way through the felt.
- Make a small stitch back through the triangle and into the felt ball, then push your needle up and out through the next outer triangle. Continue to do this, working your way around, to secure each triangle into position.
- Make a small, concealed knot at the edge of the green back, then push the needle back up through the middle and pull the thread through. This will help to conceal the thread ends. Trim the threads.
- And you are done! You can now use your daisies however you choose. Incorporating some leaves among the daisies would look lovely.
Credit: Felt Flowers by Paula Milner, GMC Publications, RRP £16.99, available online and from all good bookshops.
You can buy Felt Flowers from Gifts to Me for only £13.50 (+P&P)! Usual RRP £16.99
Visit giftstome.co.uk and use the offer code R6129
Offer ends 30th November 2026
or grab yourself a copy on Amazon here.
Other books featured with taster projects by GMC Publications include:
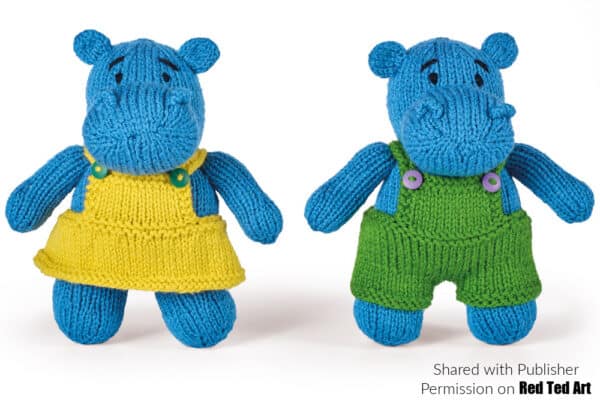
- How to knit a Hippo from Knitted Safari Friends by Sarah Keen
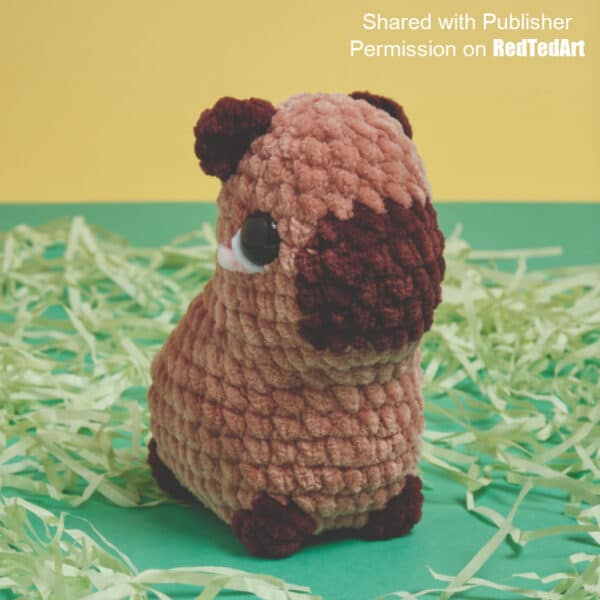
- Capybara Crochet from Crochet Kawaii Pets
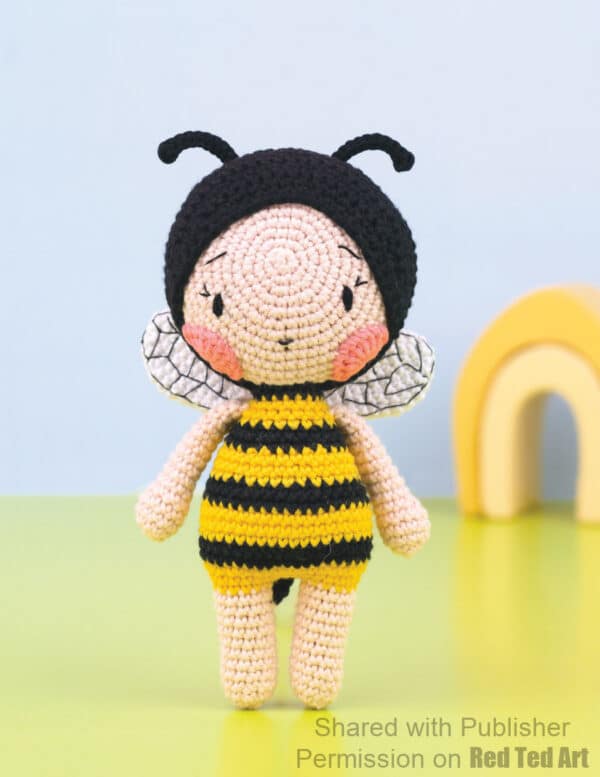
- Bee Doll Crochet from Amigurumi Adventures by Clare Cooper