
How to Make Dried Orange Slices & Craft Ideas
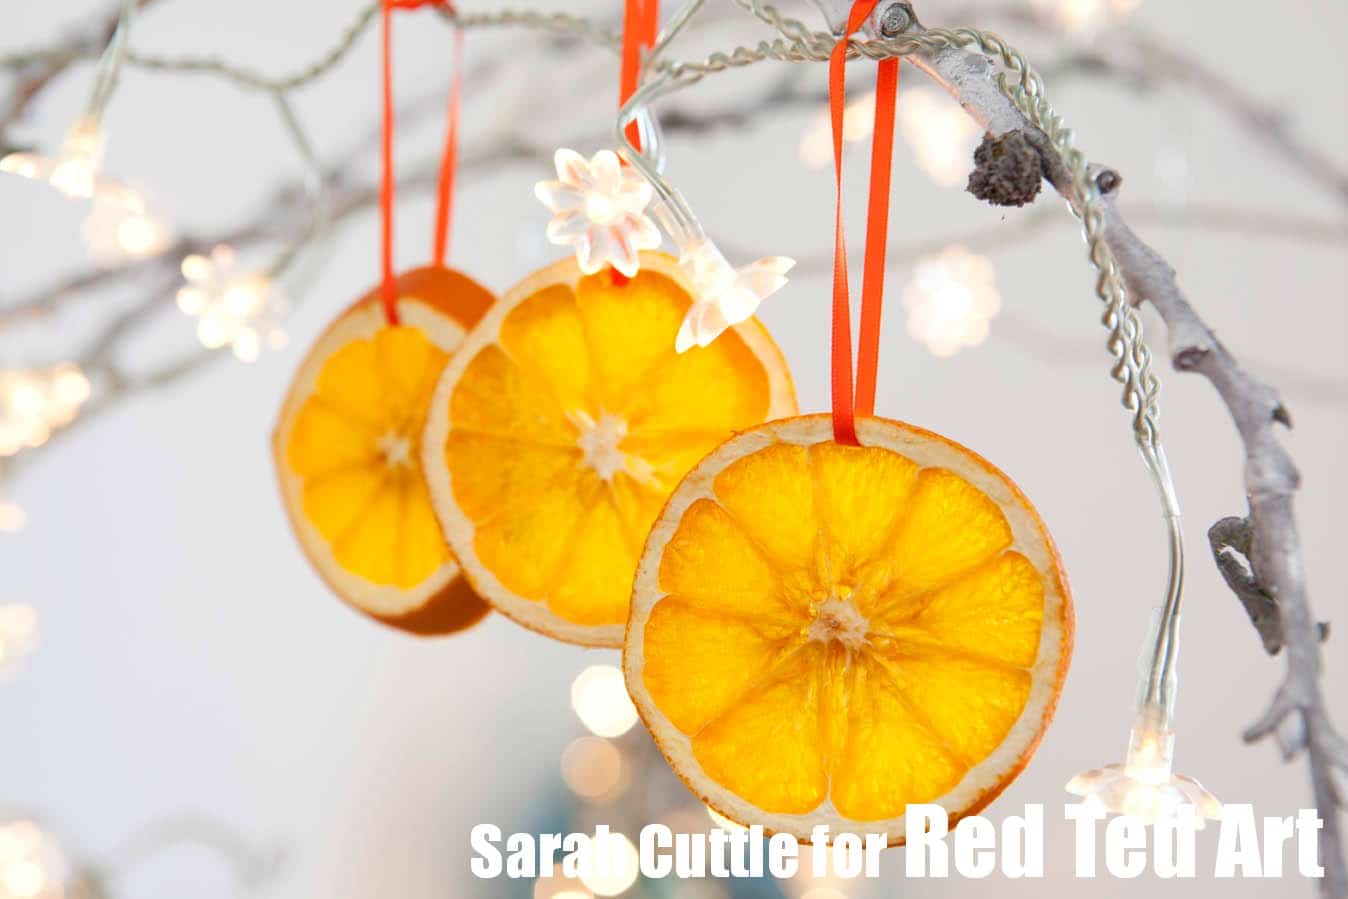
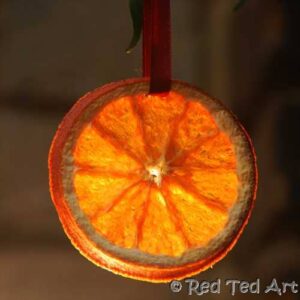
A very quick craft for you – how to dry orange slices for Christmas. I love the “rustic” look of dried oranges – they are so simple and yet so cheerful and Christmassy (many more Christmas Ornament DIYs for you here).
I have only really had time to dry our slices and to hang them by a ribbon (I do actually think this looks quite lovely that way), but I have also selected some orange slice crafts below for you to be inspired by! Wouldn’t they be fabulous combined with some Cinnamon Ornaments too?
Once you get a hang of drying orange slices.. why not go a step further and try our DIY Orange Slice Foxes?!

Or how about a dried orange slice reindeer?

More Ornament Fun, in our downloadable eBook
Supporting the upkeep of Red Ted Art

These fabulously traditional orange slices are also included in our practical, easy to download and print out Christmas Ornament Book. Each craft is shared on one page – making the perfect worksheet print outs. Lovely to have them all in one place too!
Only $7.99 – Get yours today and keep it forever!
How long will dried orange slices last?
Dried orange slices, if stored properly can last pretty much forever. However, I find that they really darken over time. If you want a vibrant bright orange, you will need to make these annually. If darking into brown oranges is fine by you, then stored properly these can last indefinitely! The more dried orange slices are perfect for our Fox Decoration!
Can you dry orange slices in the microwave?
Believe it or not, but YES you can dry orange slices in the microwave. The process is very simple and fast than the oven. Though we still like the traditional method of using the oven. Learn more about how to dry orange slices in the microwave with Rainy Day Mum!
Can you dry Orange Slices in the Dehydrator?
Yes! Like all fruit drying that you do in the oven, you can also use a dehydrator.
How can I make my Dried Oranges really bright and really orange?
The darkness or brightness of your orange slices are all to do with drying times. If you want a lighter orange slice, you need to bake it for less long – it may still be a little sticky AND it may be susceptible to going mouldy. Also, even lightly dried orange slices WILL darken with time. So if you are after the “bright orange” look, you will need to make a fresh batch each year. As they will go a rich drak brown over time – unless of course you use chemicals, which I advise against.. Having said that, our dried orange foxes, have darkened beautifully over time and kept really well. I have kept our three little foxes hanging on a photo display in the hall way all year.
If you want a darker orange slice… dry it for longer. There is no real rule of “how many minutes”.. i would basically keep an eye on the oven and take then oranges out, when they look and feel right to you! The key thing, is that they are not too sticky and feel “mostly” dry.
So.. how do you dry out orange slices?
Time for our quick “how to make dried orange slices”! Making dried orange slices is really straight forward. All you need is oranges and an oven!
How to Dry Orange Slices – Materials
- Oranges (haha),
- an oven (really?) and
- a knife (of course)!
- An oven rack (the big secret!)
How to Dry Orange Slices – How to

1) Slice your oranges approx 1cm wide

2) Place on a rack (if you put them on a tray they will *really* stick) in the oven at approx 120C (250F)
3) Leave for 2-3 hours. Turn 2-3 times and keep checking on them. I had to make two batches as I burnt the first lot (the oven was too hot). Turning (especially at the beginning) them will prevent them sticking from the rack.

Once cooled, add a ribbon and hang! Add fairy lights as a “back light”:
I found my were still slightly moist, but ready for crafting with and that over time they dry out completely.

Dried Orange Slices DIY
Equipment
- Oranges
- Oven & rack for oven
- Ribbon for hanging
- Sharp knife
Instructions
- Slice your oranges approx 1cm wide.
- Place on a rack (if you put them on a tray they will *really* stick) in the oven at approx 120C (250F)
- Leave for 2-3 hours. Turn 2-3 times and keep checking on them. I had to make two batches as I burnt the first lot (the oven was too hot). Turning (especially at the beginning) them will prevent them sticking from the rack.
- Once cooled, add a ribbon and hang!
Notes
 Part of our Christmas Ornaments ebook, available for $7.99. https://www.redtedart.com/christmas-ornaments-book/
What to do with Dried Orange Slices
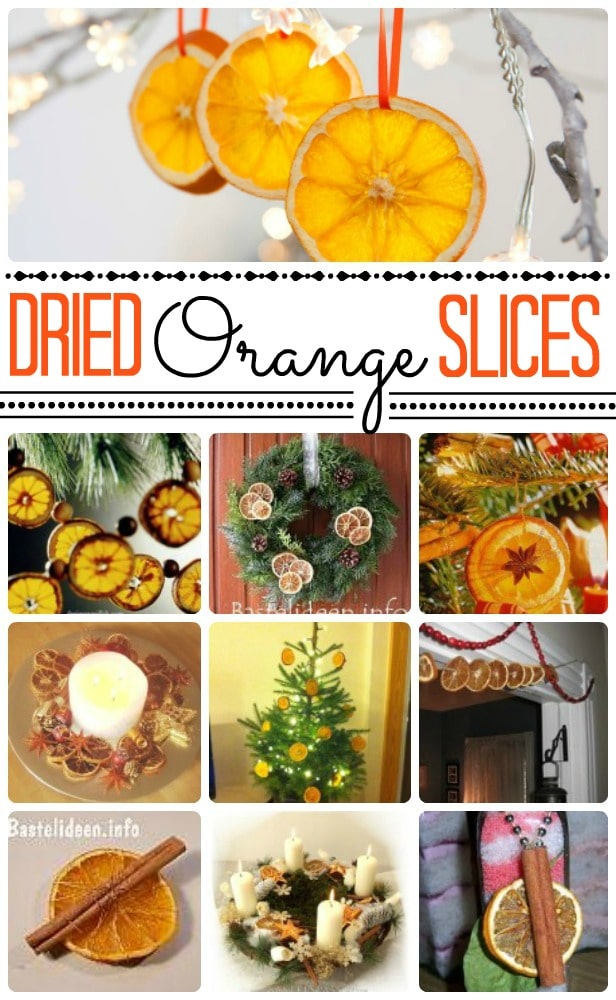
Here are some great ways to use your homemade dried orange slices for ornaments and decor!

NEW: Dried Orange Slice Foxes.
NEW: Dried Orange Slice Reindeer
1. A GORGEOUS garland by Design Megillah [UPDATE: Website no longer available]
2. A traditional advent kranz (version 1) select tab 21 by Wunderweib [UPDATE: Website no longer available]
3. Traditional advent kranz (version 2) by Bastelspass [UPDATE: Website no longer available]
4. Gypsy Daisy makes another easy and fun garland. Combine it with berries
5. A wreath by Bastelideen.info
6. Simple table decoration by Bastel Elfe – collect and scatter! [UPDATE: Website no longer available]
7. Anis Decoration from Canadian Country Woman [UPDATE: Website no longer available]
8. Cinnamon & Orange Decoration by Bastelideen.info
9. Gift embellishment by Lea
10. Making DIY Mulled Wine Kits is super fun and easy – they look supper pretty if you add some dried orange slices and star anise!

Oooh and a lovely tree from a reader on twitter (www.twitter.com/@SineadGray)
You may also like our Cinnamon Dough recipe:

Find ALL Our wonderful Handmade Christmas Ornaments here:
