Kids Crafts: Solar System
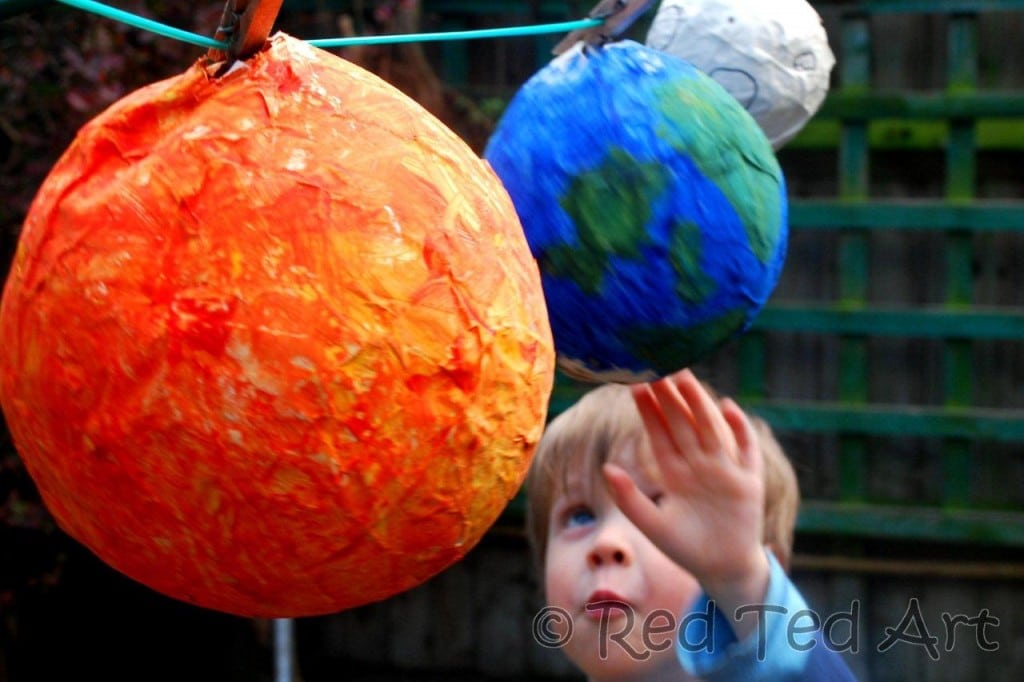
Welcome back to this week’s Kids Crafts – our very own paper mache Solar System – ok, so it is “only” the sun, the earth and the moon, but it is a start and something to add to over time. We actually made it , mainly because the lovely people from Cubbykit sent it to us to make (more about them at the end)! It has taken as a while to “get round” to doing it – basically the Easter holidays – I think any paper mache craft is perfect for the holidays – you have much more time actually craft, more time to let things dry and then paint.. as well as some time to enjoy it! These make a great Crafts for Boys contribution too!
UPDATE – later we also made these awesome shredded paper mache bowls – a solar system where you can explore the CORE of your planets too and see the differences of each one! These Layers of the Earth Bowls would make a great Science Fair Project!
Use our easy peasy guide to how to make paper mache from flour – inexpensive, environmentally friendly and quick!
Red Ted really enjoyed making these – he was fascinated about talking about the sun, the earth and the moon – and how they are all different sizes and colours. We talk about how the sun is a big fire ball and that most probably no one lives there. When we made the earth, it was very important for Red Ted to get Great Britain “right” – more specifically London… and he loved painting a boot for Italy! We decided that there may be some aliens on the moon. Largely due to our handprint aliens we made last week! It was also a great opportunity to explore colour theory: yellow and red make orange for the fire sun, yellow and blue make green… for the earth.
Materials: old newspaper (or white packing paper), paper mache paste (or try homemade paper mache), 3 balloons, string for drying, paint (or a fab Cubbykit pack)
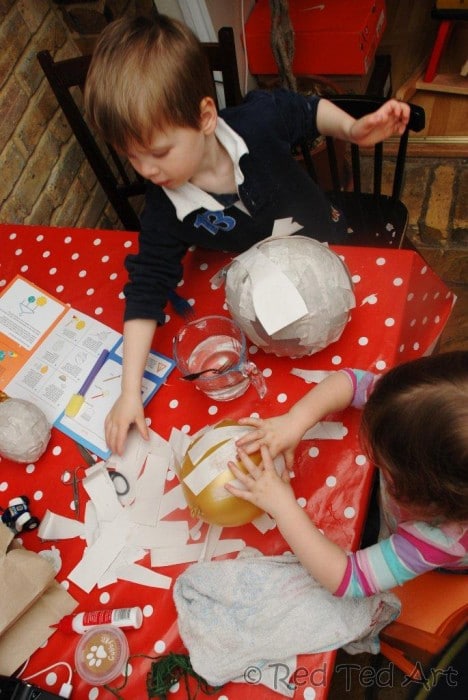
1) Blow up your balloons in 3 different sizes. 2) Tear you paper into strips and pieces. Personally, I find it help to not the pieces around 2-3cm wider and 10 cm long. It really doesn’t matter too much though, I just find it easier to handle. Especially for the smaller hands!
3) Dip your paper in the mache and apply to the balloon. Add 2-4 layers of paper! The balloon will feel quite heavy and probably be rolling around lots!
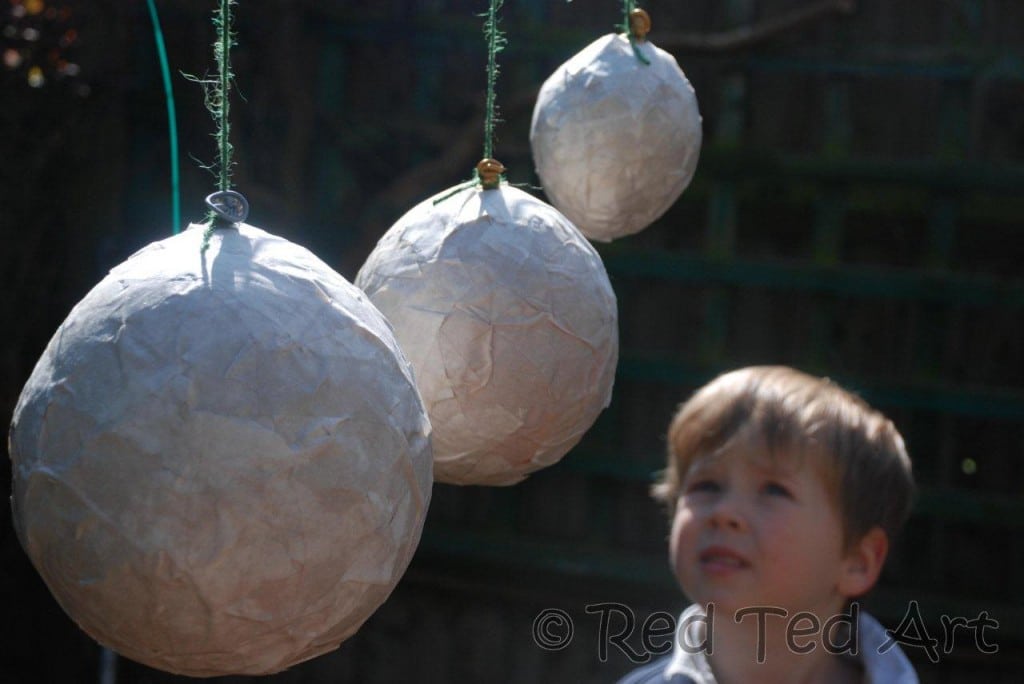
4) Hand up to dry. If you are drying these indoors, it is helpful NOT to put them near a radiator! The balloon *could* pop before the mache is dry, leaving you with a mis-shapen call. Drying slowly is good!
5) Once dry – either leave the balloon inside – so you have something to hold whilst painting… or pop it… your choice. I think keeping it in and popping afterwards is easier. Paint a firey sun, a blue and green earth and a white moon. It was easier for red ted to paint the whole earth blue and then add the green on top. Needless to say, it would look better/ neater of you were able to paint the green directly on. But I don’t think it matters too much. And it didn’t bother Red Ted. We got our atlas and globe out and really enjoyed looking at it and discussing it, whilst Red Ted painted! We even left some white parts for North and South Poles! For the moon we just added black circles for the craters (Alien houses). When we did remove the balloon – Red Ted was FASCINATED! Especially that our paper mache creations would stay for ever and ever and not shrivel up like balloons do! Oh to experience things for the first time!
6) Dry.. and then hang! Red Ted wants me to hang these up above his bed, which I will.. maybe we can add the other planets over time! Enjoy! And talk lots of space and solar systems!
Now to Cubbykit – I confess – I am not much of a “kit person” myself – but then I am a crafty so and so and I have tons of craft materials stashed away in my house! So much so, that I am in desperate need of a crafty supply declutter! However, kits are great for those of us who either have less time or less space or just need a helping hand/ motivation to get crafty with their kids. The Cubbykit is a great concept – once a month, they send you a box with 3 craft ideas along a theme – we had “Space” – and got to explore rockets and stars and of course our craft above. The activities are a nice variety and have appeal on different levels. Everything you need to make is contained within the box, plus a little extra. The materials are of good quality too and each craft comes with excellent and wonderfully printed instructions. These really would make a great gift to a niece/ nephew, godchild or grandchild or just to a child who wants to get crafty regularly but needs a lending hand! I was under no obligation to write about them and it was left to me to do so -so this really is my opinion and Cubbykit kindly let me show the craft step by step above. *Thank you*.
What have you made from paper mache? And what are your favourite Solar System Crafts?


