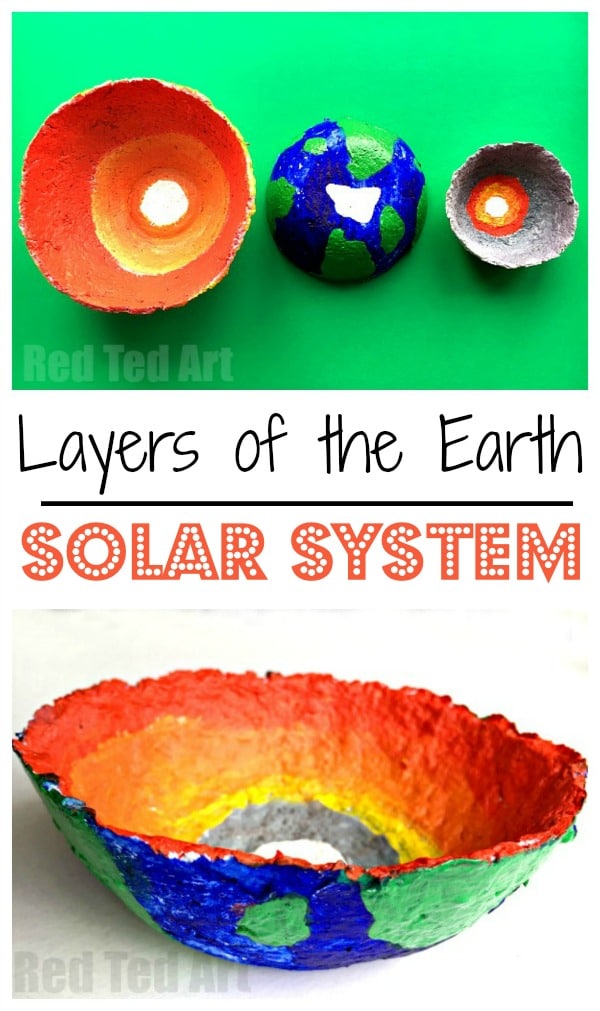
Layers of the Earth Bowls – Science Fair Project
You may have seen our previous Science Fair Project before (our erupting volcano – a classic of course – but still fun to make). We have another fun and hopefully easy science fair projects to have go at today – Layers of the Earth Bowls. We made a papier mache solar system many moons ago, and this solar system craft is inspired by it.
Laters of the Earth Craft
They are both easy, recycled (we use shredded paper) and I hastened to NOT to scale, which may be a no no for some of you very precise people, but in terms of models that demonstrate something and making science easy and fun for kids, I do hope you will look past that.
Also, with our solar system DIY bowls, they are also meant as something practical for science nerds. They would make a great little gift to a science teacher or if your kids adore science, they would be a great little desk organiser too.
So this really is a great Science Fair Project that has lots of practical uses afterwards too. No need to make, display, and then toss… keep it forever. Oh.. and of course – thanks to the recycled elements and the fact that we did indeed make planet Earth… this is also a great Earth Day project for kids! Hooray. Win win all round.
Use our easy peasy guide to how to make paper mache from flour – inexpensive, environmentally friendly and quick!
This post is Divided into – skip to the parts that interest you most!
– Materials
– How to make a shredded Paper Bowl (and alternative suggestions to shredded paper)
– Painting your Earth Day bowls
– Layers of the Earth, Sun & Moon Scientific Facts
Layers of the Earth Bowls DIY – Materials
IF YOU DO NOT HAVE SHREDDED PAPER – make this THIS papier mache solar system – but only cover HALF the balloon and trim it down to a neat bowl before painting it!
for the paper pulp:
- shredded paper
- a large bowl for soaking
- hand held blender
for the papier mache paste:
- 1 cup of flour
- 2 cups of water
- a microwave
to make 3 bowls, we used only one very small cup of flour… you really won’t need much!
for making the bowls:
- other bowls as moulds (different sizes is great)
- cling film
- acrylic paints in the right colors (we LOVE these – US/ UK (affiliate links))
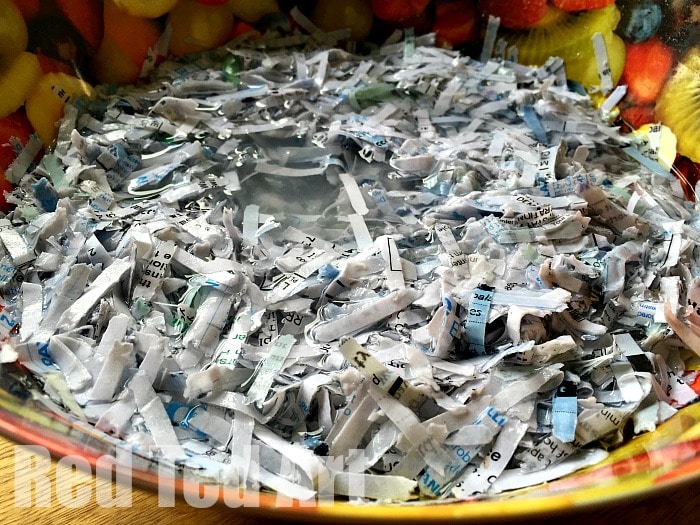
How to make a shredded Paper Bowl
You may recognise our papier mache bowls.. as our Fruit Bowls that we made last summer. Oh how we love a handy two for one craft (even if they are months apart). Last summer I made a Melon Bowl, Orange Bowl, Lemon Bowl and Kiwi Bowl set – they all nestled wonderful. Just gorgeous. At the time, I made a large, medium and small extra bowl set. That I have been waiting to paint into a simple solar system set of bowls ever since. So first.. here is how you make a papier mache bowl
IF YOU DO NOT HAVE SHREDDED PAPER – make this THIS papier mache solar system – but only cover HALF the balloon and trim it down to a neat bowl before painting it!
Watch this video or follow the steps below it!
1) Soak your shredded paper overnight (or for a couple of hours)
2) Use your hand blender to pulp it as smoothly as you can.
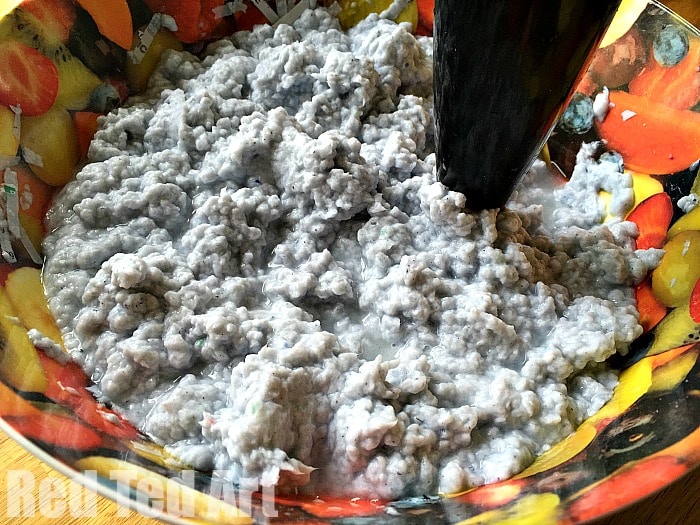
3) Make your papier mache paste – mix 1 part flour with 2 parts water. Pop it in the microwave at full heat for 10-20 second intervals. Keep stirring. Ours took about 50sec. It is ready when you have a thick paste. Try and squish out any lumps.
4) Mix 1 part papier mache paste with 3 parts of the papier mache pulp – BUT SQUEEZE OUT AS MUCH WATER AS POSSIBLE FIRST.
Time to FORM you bowls
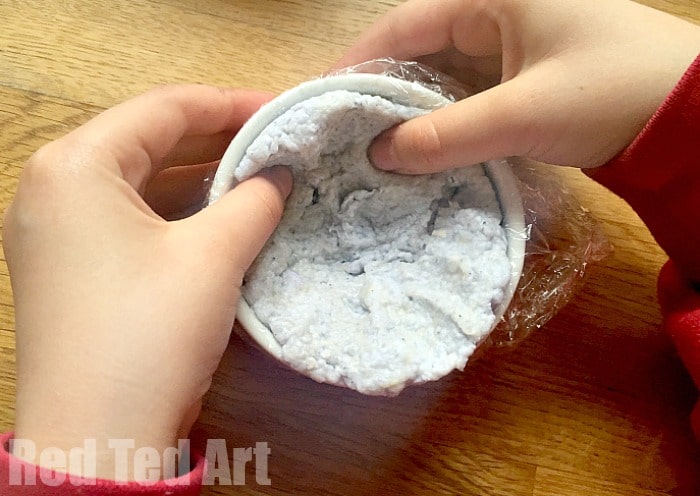
5) Line your bowls with cling film. You can use the OUTSIDE of the bowls too – BUT – these bowls tend to shrink as they dry, so if you use the oustide of a bowl, be sure to remove your bowl, when it is still a little damp, else it will be quite tricky to get it off the bowl. The inside is easier, as the bowl shrinks and actually pushes away from the sides.
Carefully layer up the bowl approx 1/3 of a cm. Not too thick. Not too thin.
LET DRY – this can take UP TO A WEEK!
If you remove when still ever so slightly damp, you can use scissors to trim the top of the bowl a little (if you wish!)
6) Once dry, peel of the plastic carefully. If you need to pop them into the oven at low heat for an extra blast of drying.. I tend to pop it into the oven (without plastic!!) AFTER I have cooked something – ie using the energy used to heat the oven already – no “extra energy used”!
Painting your Earth Day bowls
Now to turn our paper bowls into a Layers of the Earth Craft!

Now comes the wonderful arty party! As a basic guide – don’t worry about being TOO accurate. These bowls look fantastic, even if a toddler paints the outsiders in rough colours – we had a WONDERFUL time with our Papier Mache Solar System and you can replicate those with these bowls.
When it comes to the INSIDE, you may want to assist your child and guide them as to what colours need to be painted where. Or make this a collaborative project – they paint the oustide and you do the inside for them in order to get the details a little more accurate. See the video below for how I painted them. Or follow the colour guide in the “Layers of the Earth” section below.
Layers of the Earth, Sun & Moon Scientific Facts
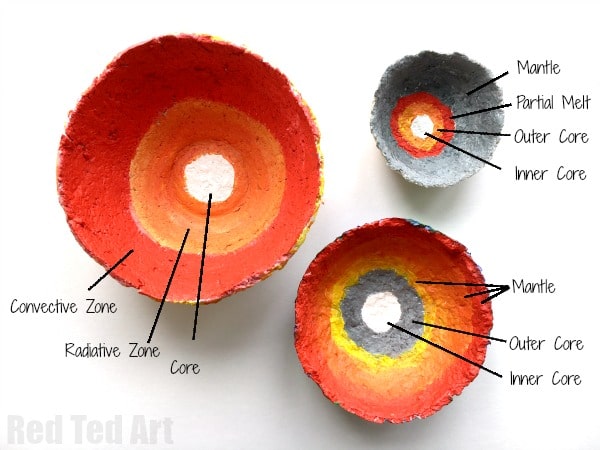
So, here are some of the basic facts about each of the three plants. Plus links for more in depth information, as well as more images if you need more details for your science fair project!
Layers of the Sun
The sun has a radius of 695,700 km (pretty huge!), made up of –
- CORE – this has a radius of approximately 20-25% of the full radius, so about 140- 170km. It has a temperature of 15.7 million kelvins!
- RADIATIVE ZONE – the further you get to the edge of the radiative zone, the close you get to a lower temperature of 2 million kelvins. Which is tranferred through radiation and not convection
- TACHOCLINE – this is the layer between the Radiative and convective zone
- CONVECTIVE ZONE – this zone is 200,000 km wide
- PHOTOSPHERE
The sun’s surface temperature is 5,800 Kelvins (compare that to the core tempature of 15.7 MILLION K).
- Mass: 1.989 × 10^30 kg
- Surface temperature: 5,778 K
- Distance to Earth: 149.6 million km
- Radius: 695,700 km
- Rotation period: 24 days 0 hours
- Absolute magnitude: 4.83
Source and find out more about The Sun here.
Layers of the Earth
The Earth has a radius of 6,371 km, this breaks down as follows –
- INNER CORE – radius of approx 1,280km
- OUTER CORE – radius of approx 3,500km
- MANTLE – radius of approx 6,340km – with an upper mantle that is 25km thick sitting on top of that
- CRUST – remainder – approximatel 35km thick
More statistic from the Earth
- Mass: 5.972 × 10^24 kg
- Area: 510.1 million km²
- Surface area: 510.1 million km²
- Distance from Sun: 149.6 million km
- Age: 4.543 billion years
- Density: 5.51 g/cm³
Source and find out more about The Earth here.
Layers of the Moon
The Moon has the following layers – the Moon in total has a radius of approximately 1,750km – this breaks down as follows –
- INNER CORE (solid) – Probably metallic – 240 km radius
- OUT CORE (liquid) – primarily made of liquid iron – 300km radius
- LOWER MANTLE or PARTIAL MELT – Between Mantle & Core is a 500km radius of a partially molten layer.
- MANTLE (solid) – solid – approximately 1,700km thick
- CRUST – approximately 50km thick
More facts here –
- Distance to Earth: 384,400 km
- Radius: 1,737 km
- Orbital period: 27 days
- Gravity: 1.622 m/s²
- Age: 4.53 billion years
- Orbits: Earth
Source and find out more about The Moon here and here.
————————————
Now you have **finally finished**.. check out my friend’s AMAZING “Layers of the Earth” Pudding cups and reward yourself with a science-y sweet treat!!!
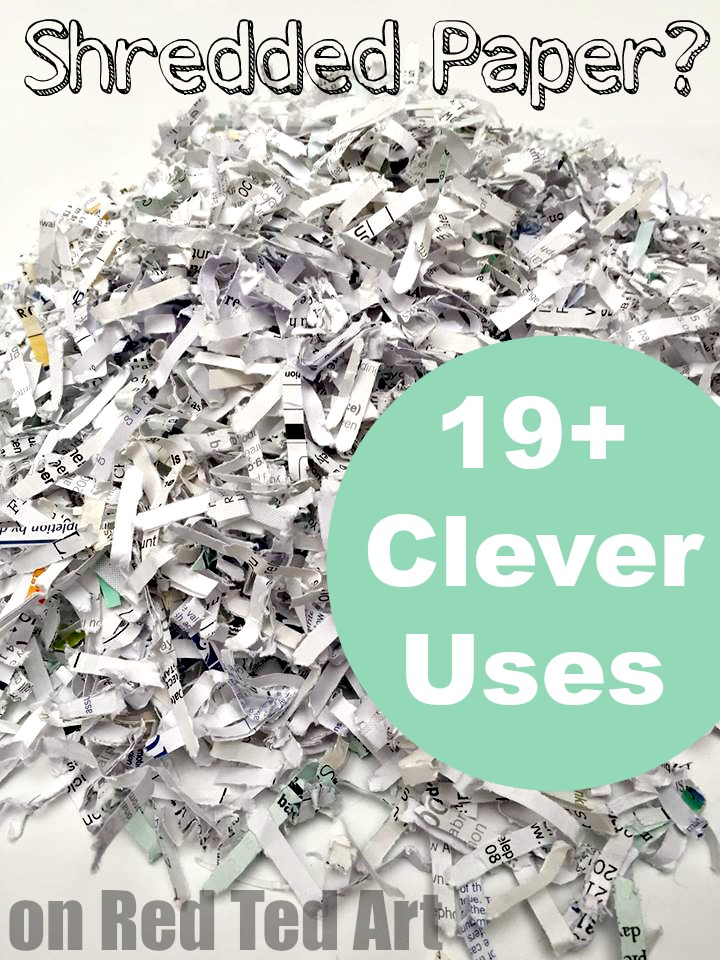
Check out these other 19 fabulous uses for shredded paper: