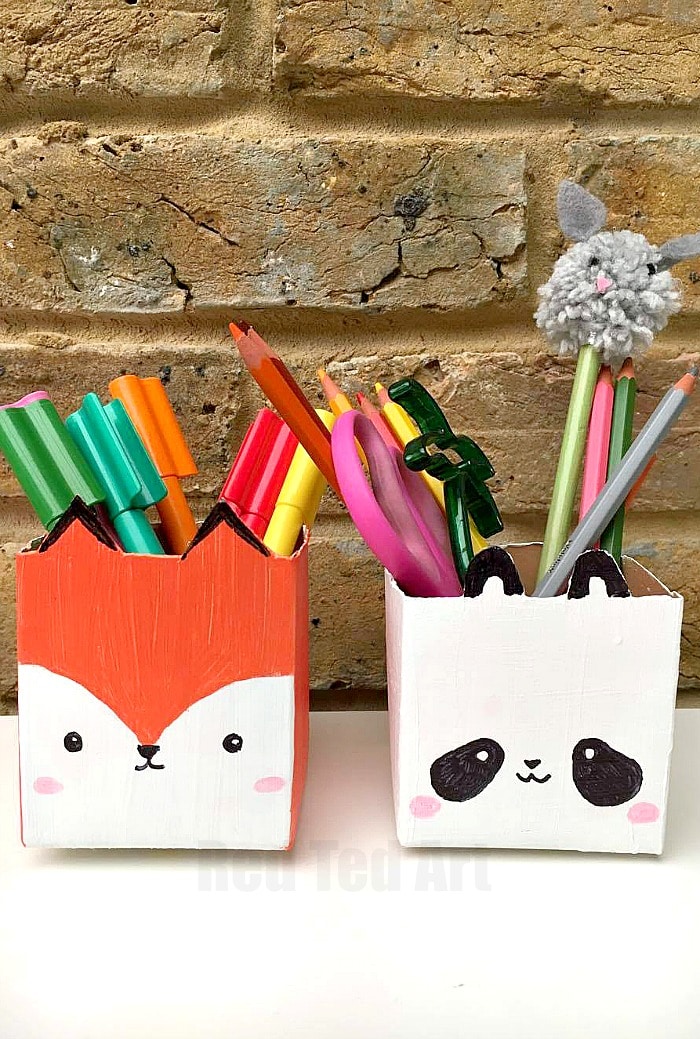
Milk Carton Pen Pot Crafts
I was about to say that we haven’t had any Milk Carton Crafts in a while.. but then remembered that these cute Upcycled Pen Pots (which by the way are stackable!!!!) are actually part of a 2 for 1 craft I did earlier in the year.. you may recognise these juice carton desk tidies as being the “bottom half” of our Winter Village Luminary.
Yay. Hooray for being SUPER thrifty!! I love that you can stack these pot – so you could keep all sorts of desk trinkets in each one and stack them high – maybe rubbers in one, crayons in another, stickers in a third – making this a fabulous Back to School DIY too! Right! Let’s make this Milk Craton Pen Pot Craft!
Milk Carton Pen Pots DIY – Materials
- milk cartons/ juice cartons/ tetra packs (one per pot)
- acrylic paints (we used these in white US/ UK and orange US/ UK)
- black marker pens (we used these US/ Uk)
- paper and pencils for sketching
- scissors
(affiliate links added for covenience)
Now if you don’t have any milk carton too hand, tin cans make fabulous pen pots too and they are quite easy to decorate – love these pretty paper pen pots here and you may LOVE these printable Minecraft Pen Pots too! They stack really well too!

Milk Carton Crafts – Pen Pot How To:
As per usual we have a lovely little How To Video for you to watch at your leisure, I do hope you find it useful! But for those of you that prefer to read, I have added written instructions for this milk carton craft below the video. These little stackable Pen Pots really are easy to make!
Pen Pots DIY – written instructions
Time needed: 20 minutes
Timings focus on active time not “paint drying” times
- Design your character for the milk carton
Design your character. I decided that wanted my pen pots to have “cube” dimensions, i.e. all sides the same length. I drew a cube on a piece of paper that fits across the width of my juice carton and sketched out different designs.
- Cut out your sketch to make a template for the pen pot
Then I cut out my sketch and used it as a template to draw on the juice carton – use a pencil. If you use a marker pen (which I did at first), it is possible that the marker pen will show through you paint (yes, very annoying). I had to paint over it 3-4 times! Argh.
-
Cut out your shape. Don’t forget your ears.
- Start painting the pen pot milk carton
Now it is time to apply your paints. Acrylics and enamels work well for this kind of material. If you don’t have any, mix paint with a little glue. If you don’t want to do that, you can add a layer of paper or tissue paper (a bit like decoupage) to create a surface that is easy to paint. Remember this method will leave a textured on your milk carton or juice carton too. The textured wouldn’t be a “bad” thing, but it would just give a different finished to your animal pen pots!
- Add final details to your fox pen pots
Once your paint is dry, you can add the details like the eyes, nose and rosey cheeks with your marker pens.
- Make more animal pen pots in different designs!

And voila, your upcycled pen pots are finished? Aren’t they cute? Love that they are made from recycled materials!! These stackable pen pots make a fabulous desk tidy for back to school, but I also think would be a lovely little gift for kids to make!
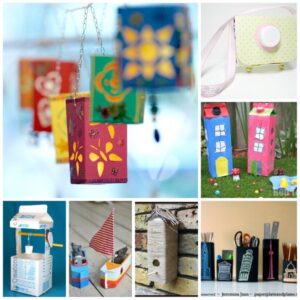
Check out more Milk Carton Crafts here:
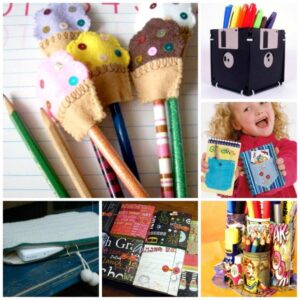
and we have a fabulous set of Back to School Crafts for you here: