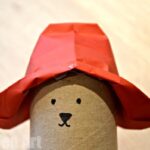
Easy Paddington Bear Craft using Paper Rolls
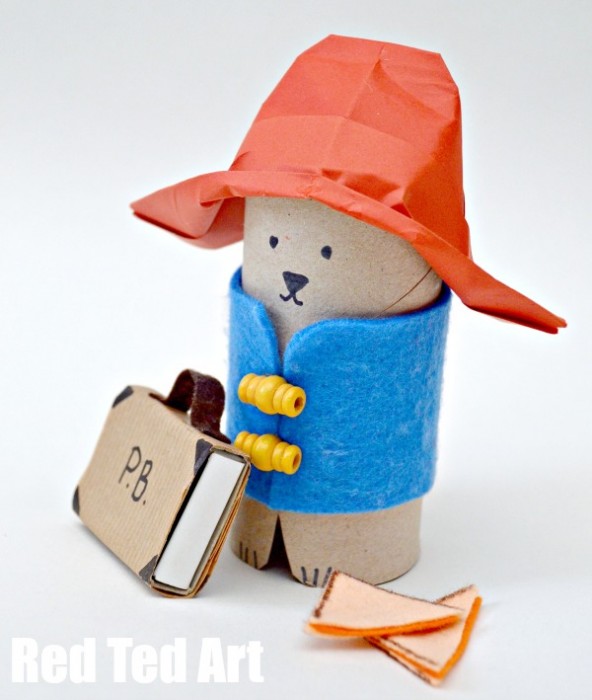
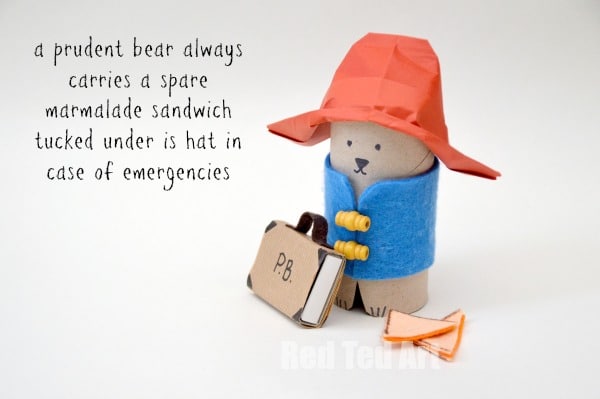
For all the Paddington Bear fans out there.. let’s make ourselves our very own r.. and a little origami hat! So cute. So easy. Our Paddington Bear Craft comes complete with suitcase and peanut butter sandwiches. Scroll down to see a whole set of Paddingtons that ended up filled with party favours. TOO CUTE!
So.. my kids and I recently were lucky enough to go and see the new Paddington Bear Movie in London town recently. Oh and how much we enjoyed it. I was particularly impressed to hear The Englishman chuckling away. I could go on and on about what we thought about the Paddington Movie, but I will send you over to my Film Blog to read all about it! In the meantime, I rather fancied doing some little Paddington Bear Crafts. As a huge fan of TP Rolls, I thought a TP Roll Paddington Bear would be our best bet (though I have some more ideas up my sleeve **come back for more**).
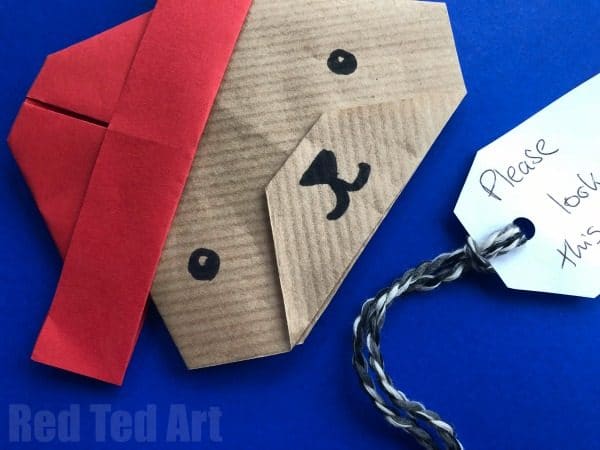
UPDATE: This Paddinton Craft Idea goes really well with out Origami Padding Bear that we have made since (really easy too, I promise!!) and the two together would make a great addition to any Paddington Party Ideas – treat bags + party invites!
Our TP Roll Paddington Bear was quick and easy to make using a TP Roll, Paper and felt, as well some wooden beads I found. I appreciate that not everyone has felt and beads that happen to be JUST perfect… you could easily PAINT on a blue coat or use blue paper too. But why not have a rummage around your craft stash and see what you have?!
TP Roll Padding Bear Craft -Materials
- TP Roll (plain, it is the perfect bear colour already)
- A5 sheet of red paper
- Some blue felt (or paper or paint)
- Some beads (or paint or, felt or pens… )
- Glue
- Pen
But before you move on.. make some tasty Paddington Cupcakes – I love Amy’s delicious recipes… then sit down for a yummy crafternoon with your kids!!! If you are making our craft as part of a Paddington Bear Birthday Party, you may LOVE our simple paper bear party invites too!
TP Roll Padding Bear Craft – How To
Watch our Padding Bear Craft video tutorial on auto play – I confess it is one of my longer videos, as it comes in three parts – Paddington’s red hat, Paddington himself (with his lovely blue duffel coat) and of course little brief vintage suitcases!
If you don’t have time for the video.. skip down and read the step by strep instructions below (though you may like to view the hat making in the video first! Origami is always so much easier in video format!)
Begin with the Paddington Bear’s Paper Hat
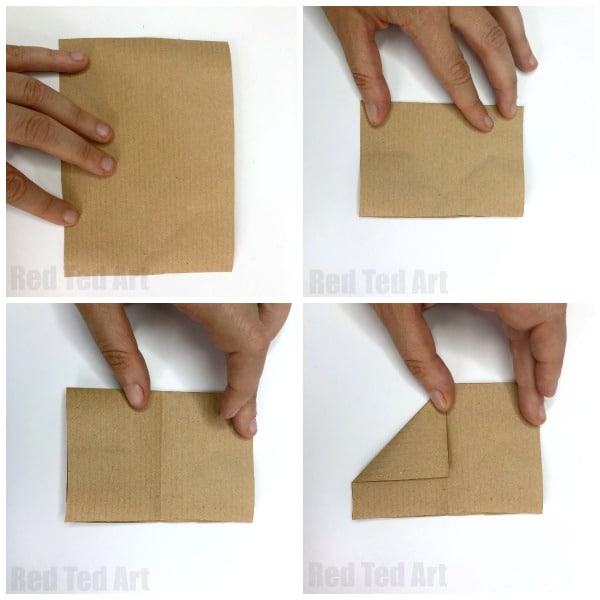
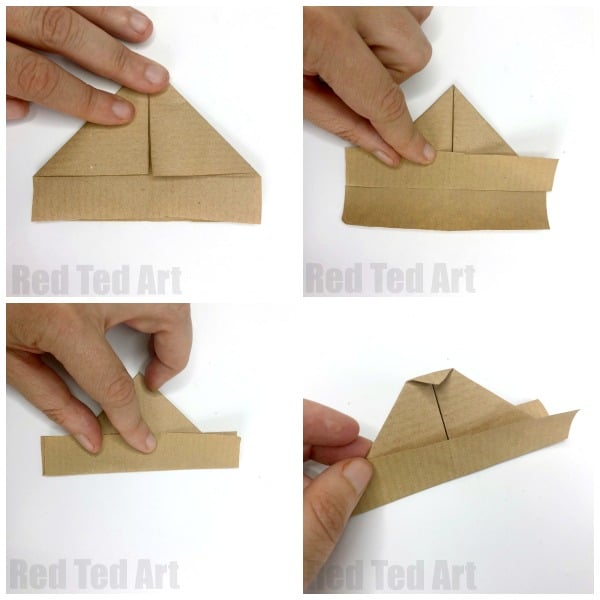
Begin by making a simple paper hat (follow these paper boat instructions – just do “half” and you will have your hat). The step photos shown below are borrowed from our cute Toilet Paper Roll Scarecrow craft! But it is of course the same origami hat!
We are making a “classic” paper hat. It is the same Origami Paper Hat pattern that you use to make an Origami boat – so if you wish to see a video on how to make a Origami Paper hat – hop over to our Paper Boat post!
Fold your paper in half and make a neat crease (image 2).
Fold in half again – then open it – so you have a crease down the middle (image 3).
Next, you will need to fold the corner in (image 4).
Repeate on the other side (image 1).
Now fold the bottom flap up (image 2).
Flip your paper hat over and fold the second flap up (image 3). If you wish, secure with a little glue!
Finally (optional), you can fold the top of your paper hat down too (image 4).
How to make an Origami Hat
Equipment
- Rectangular piece of paper 10.5 x 15cm
Instructions
- Fold paper in half across it's width
- Fold in half again and open up to show a central line
- Take the right tip and bring it in to meet that central line, aligning the edges
- Repeat with the left tip. You should now have a triangle with two flaps at the bottom
- Fold one flap up
- Flip over and lift the other flap up
- The basic hat shape is done. You can fold over the edges to secure or bend down the top to shape
Now it is time to make Padding Bear himself
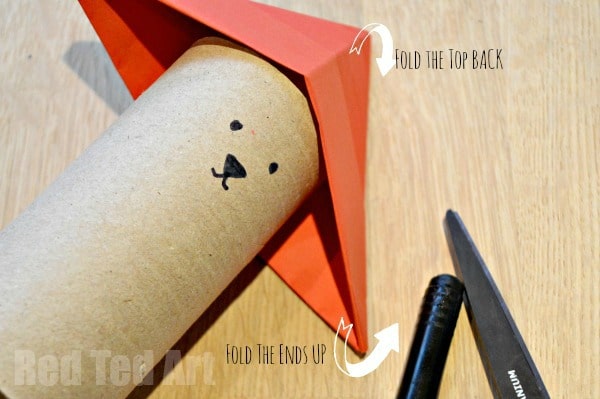
2) Then fold the tip of the hat back wards (to give it that square top) and the sides of the hat up, to give it that brim. It is a bit of a “fudge” and to be honest, I pretty much squished it all into shape. But think the end result is pretty effective, no?
3) Glue onto your TP Roll and draw a face.
4) Cut some felt – I measured the felt according to my TP Roll – making sure their was space for the feet to peep out.
5) Glue on – but leave the top bits “unstuck” – a bit like a collar.
6) Snip some little feet and add paw claw lines as details.
7) If you can find some beads that look “toggle” like, glue these on with LOTS of white glue or a hot glue gun. If you don’t have any, some black felt strips should look v nice too.
Paddington Bear’s Suitcase and Marmalade Sandwiches
Finally, Paddington Bear’s suitcase is made from a small matchbox…
8) Let dry… in the meantime, we made a quick little Matchbox Paddington Bear Suitcase. Literally, I just wrapped a matchbox in brown paper. (We added two layers, so that the writing doesn’t shine through). Glued on a felt handle and with a black pen added the initials and details. Done. Ready for some Marmalade Sandwiches to go in.
**Cough** then I got carried away and decided to make some orange Marmalade Sandwiches too for Paddington Bear- in case of emergencies of course (no cookies, cake or popcorn for Paddington! Ha) – just cut out some felt pieces and glue together and then with a brown pen, add some crust!
So.. I hope you enjoyed our little Paddington Bear Craft and that you will have a go too! Afterall, “It is nice having a bear about the house”.
Hosting a Paddington Party?
I love how my lovely reader Claudia, turned these Paddington Bears into little Party Bag Treat boxes!!! They make great party decor too, to then hand out to each of your guests at the end of your Paddington Bear Party!
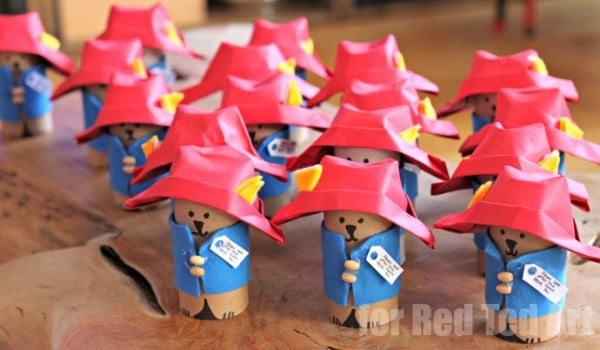
Don’t they all look fabulous together!?
And another fabulous photo sent to me via a YouTube reader!
Hosting a Paddington Bear Themed Party.. these Party Ideas are just the thing for you!

