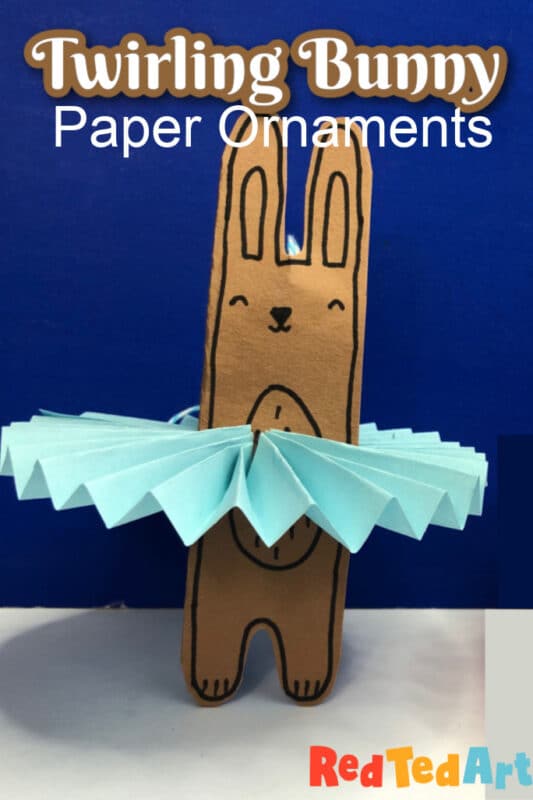
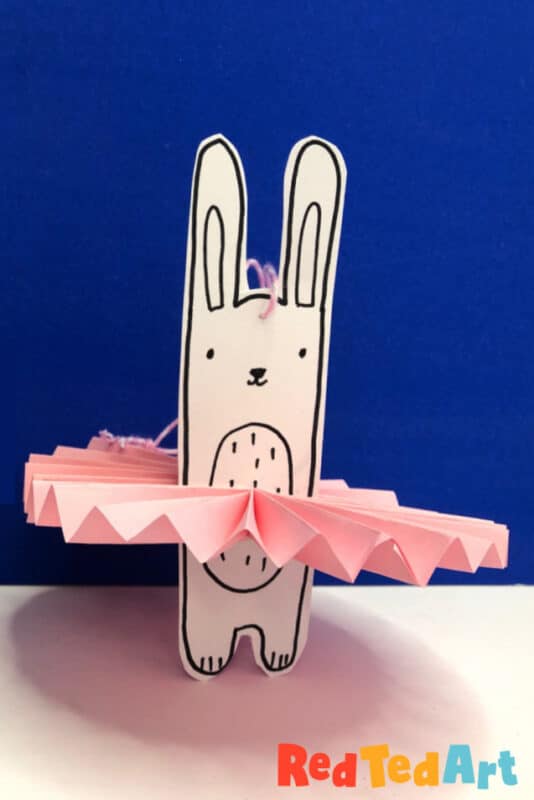
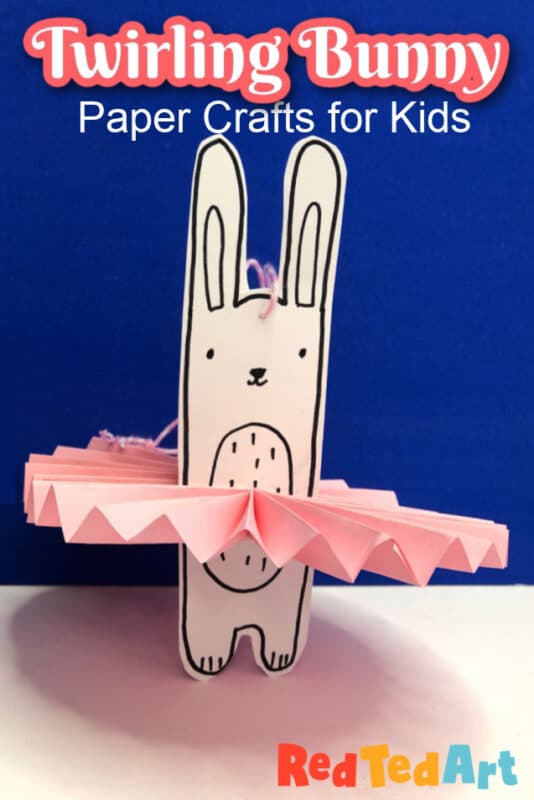
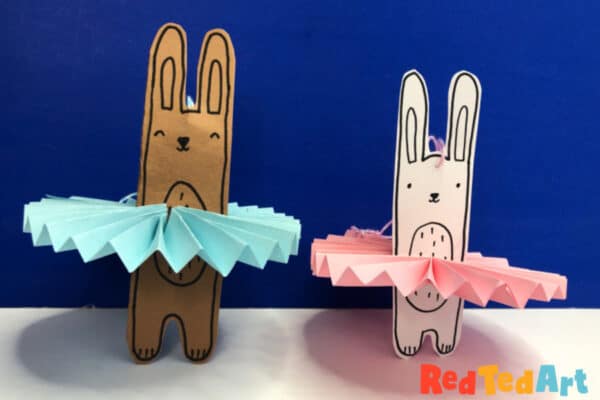
Paper Bunny Ballerina Ornaments
Time for some more fun with easy paper crafts for kids. I love love love to craft with paper, as it inexpensive, accesible, eco friendly and above all VERSATILE. There are SOOOOO many cute things you can make with just paper! Lots of fun to be had. Today, I share this wodnerful Paper Bunny Ballerina Ornament – a little twirling bunny craft to hang in your Easter Tree (to be fair, these would be ridiculously adorable as Paper Christmas Ornaments too, don’t you think??). Who doesn’t love a cute Bunny Craft all year round?!
This lovely little paper bunny craft, is part of our Best Makes Ever Series that we did for Sky Kids UK in 2021! The aim of the series was to make a set of easy, fun crafts, using every day materials. Making the crafts accessible to all! I hope you enjoy today’s little Bunny Craft from the series. Perfect as we head into spring and start thinking about some Easter crafting!
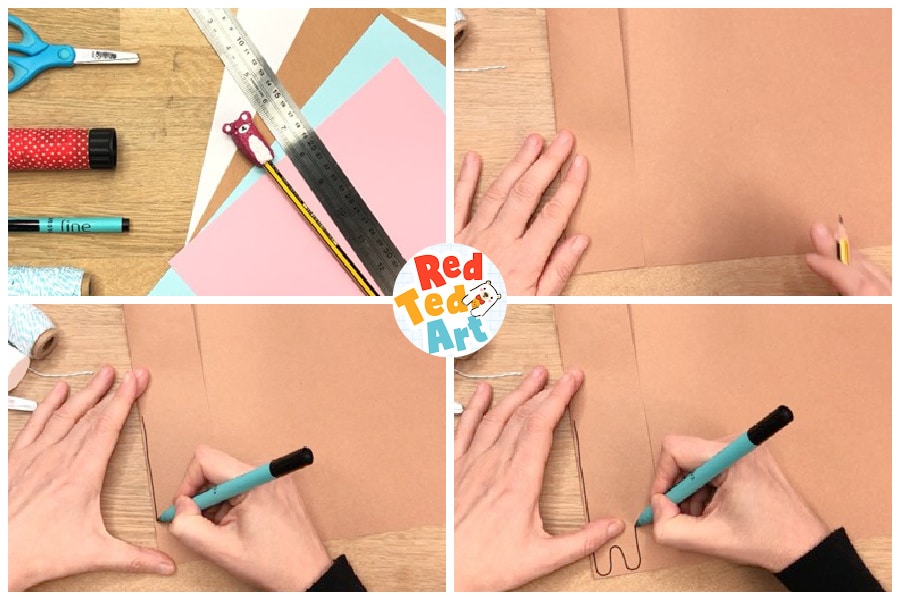
Supplies
- Construction paper/ paper in bunny colors
- Contrastic paper for the tutu
- A little ribbon/ string/ baker’s twine for hanging
- Pen/ pencil
- Ruler (to cut the right strips of paper for the tutu)
- Scissors
- Glue sticks
How to make a twirling bunny ballerina decoration – video tutorial
Once again, I share how to make this super cute paper craft for kids with a video tutorial, but you can also follow the step by step written instructions (with step photos) below! Choose which ever method works best for you (personally, I love to watch the video first and then use the step instructions for reference!).
How to make a Bunny Rabbit Ornament for the Easter Tree – Step by Step Instructions
On to our step photos!
Prepare the paper & sketch a bunny
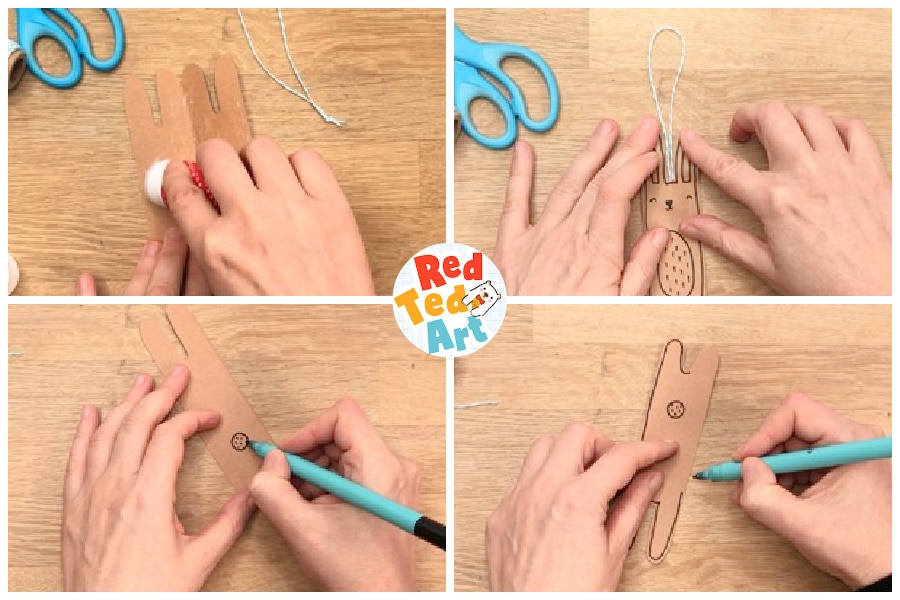
Now it MAY be worth drawing a quick sket of the bunny first, so you have a rough idea of height and positioning of features. I did free hand it in these step photos, but I had made the white bunny already. And you can see they are both a little different at the end (which is fine, as it gives them personality)
Take your paper and fold a strip of it down (about 4-5cm, 1,5 – 2inches). You will fold, as you want to make “two bunnies” that are connected, they don’t HAVE to be connected, but it just makes a nice neat finish).
NOTE: you can sketch your bunny in pencil first and then use a black pen. I used the black pen straight away as it photographs better!
Now start drawing. I started on the left hand closed) side and drew a straight line down – close to the edge.
Then drew some bunny feet.
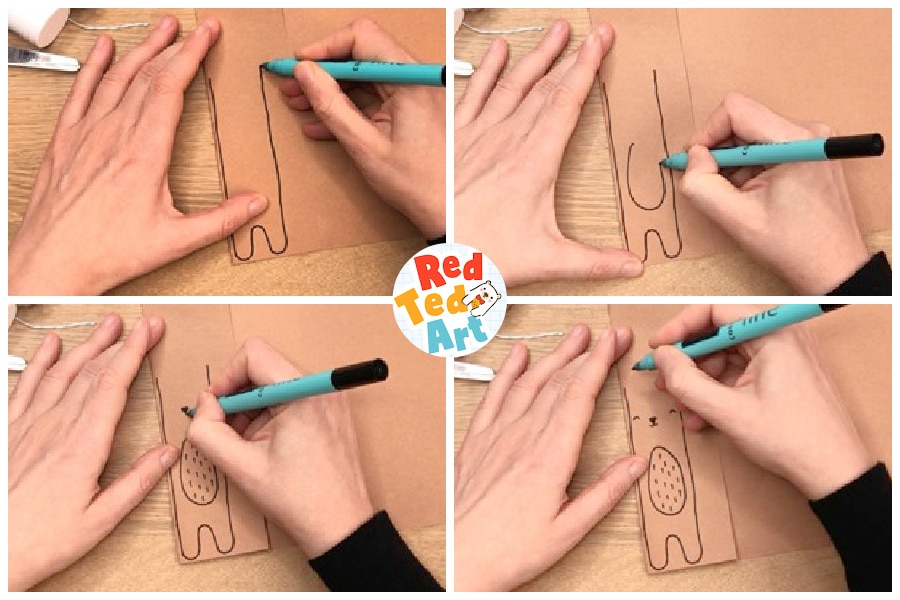
Sketch and draw the bunny rabbit
Next, I went back up again – to the top of the ears (this is where a previous sketch is helpful).
Draw a big soft belly.
Add a nose and eyes.
Then finished off the ears.
NOTE: if you used a pencil, draw over it with a blank pen. LET DRY FULLY and then carefull rub out the pencil marks.
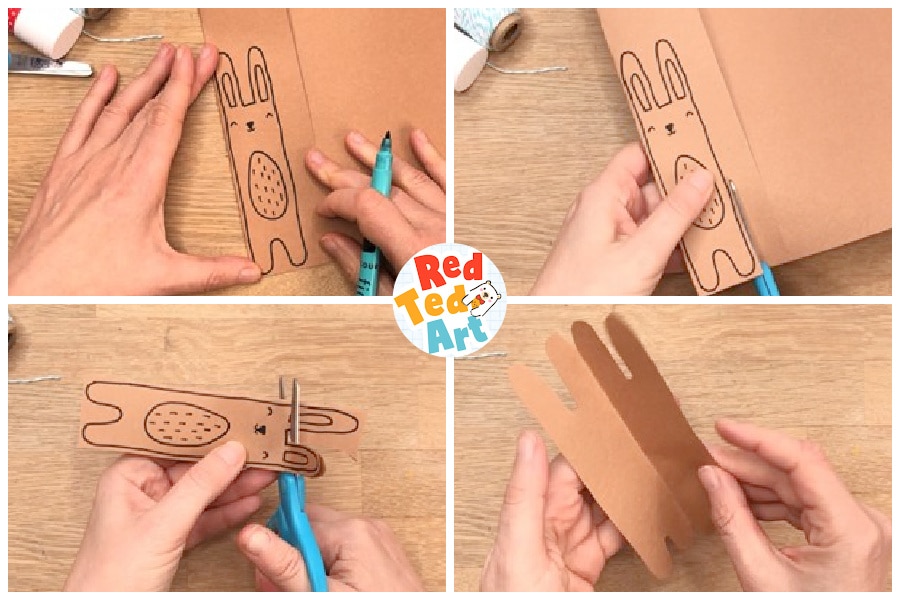
Cut the double sided bunny shape
Cut out the paper bunny shape. I left a little edge on purpose, as I liked the look of that.
As we did a fold before the bunny will have a back and a front! But if you cut yours that is fine, you can glue it in the next step.
Secure the hanging ribbon & draw the back of your paper bunny decoration
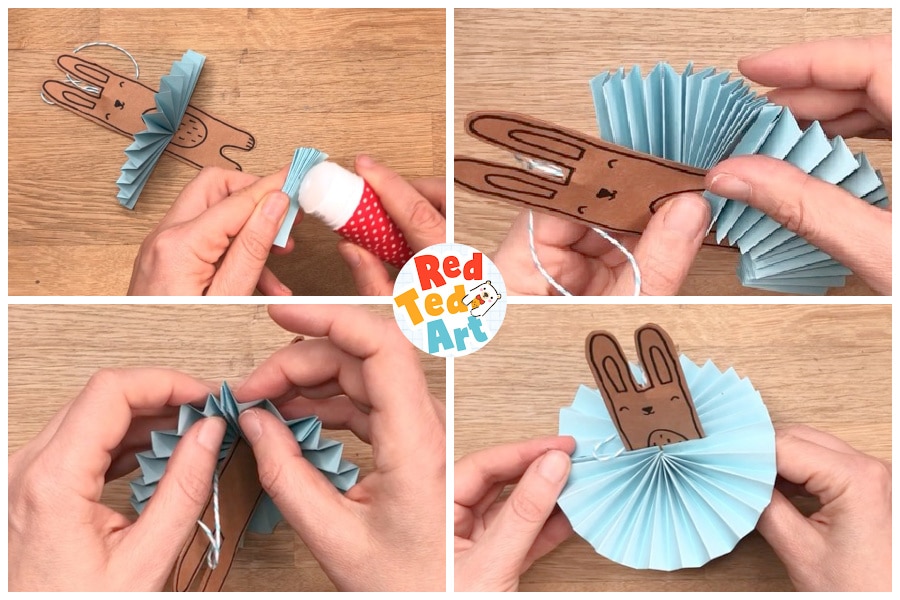
Grab some ribbon, twine or string.. cut and tie a knot. Add glue to your two paper halves and glue the ribbon inside.
Now you need to decorate the back of your twirling bunny ballerina – basically draw a little cotton tail for your bunny and the outline.
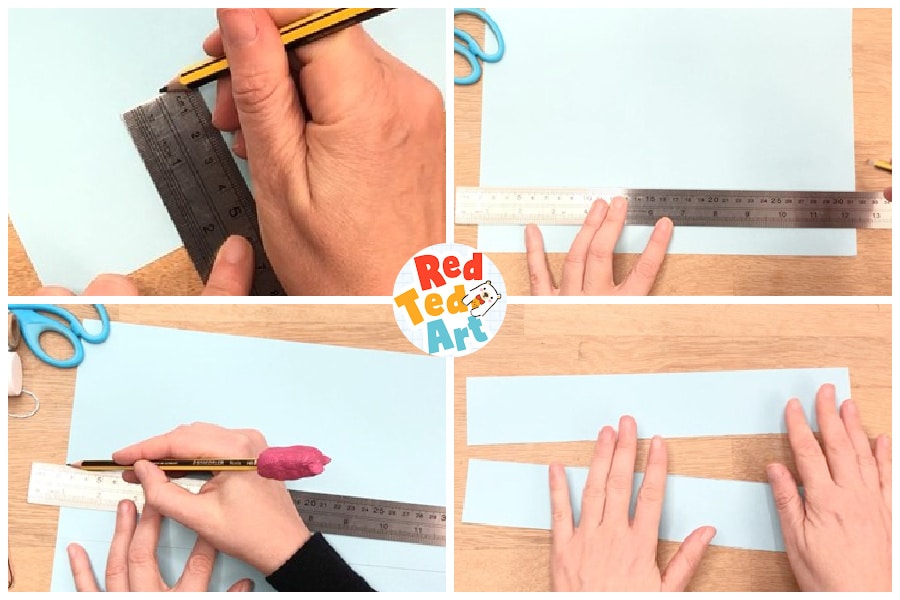
Prepare the tutu paper
Now it is time to cut two strips of paper for your tutu.
I measured 5cm (2inch) from the paper’s edge and drew two lines, so I could cut out two strips of paper. You will need two strips – one for the front and one for the back!
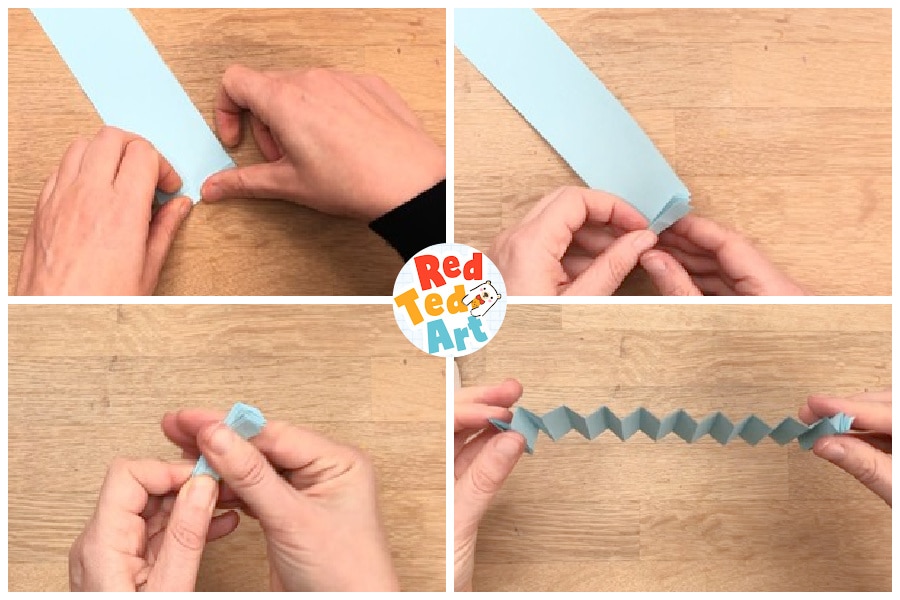
Fold the concertina tutu
We love making concertinas. Basically you need to fold the paper up 1cm (1/3 inch) and then back down again. Keep going until you reach the end of the paper.
Give it a could fold and then when you pull apart you should have the zig zag effect.
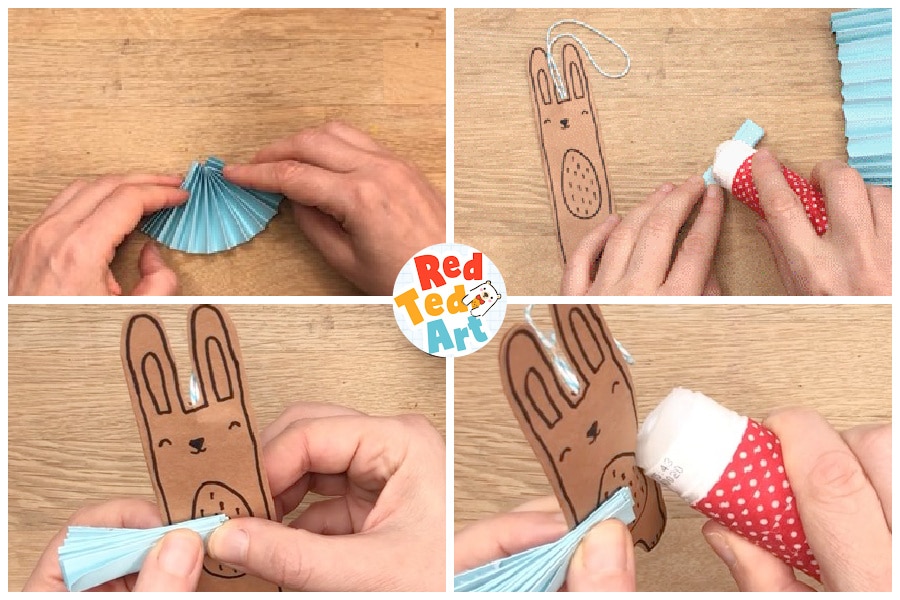
Fix the tutu to your paper
If you push two ends together you can already see that tutu shape.
Add glue to HALF of one side.
Secure to the bunny half way.
Add glue to the other half. Fold the paper over and secure.
Give it a couple of seconds to dry.
Add the second half to your bunny tutu
Now repeat for the back of the twirling ballerina bunny.
This can be fiddly – especially if you didn’t let it dry enough. But take your time and it will work out just fine!
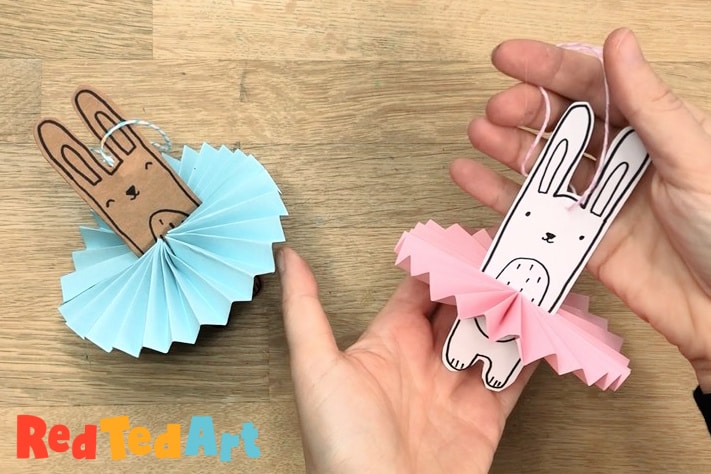
What do you think? Aren’t these Paper Bunny Easter Decorations simple adorable?!
Come and make more wonderful Easter Crafts for kids and Paper Easter Crafts with us here: