
Easy Paper Photo Ornaments – Paper Baubles
Today I am sharing with you a Christmas Craft VLOG – how to make Photo Christmas Baubles… remember the kid’s art paper baubles from last year – we do love Christmas Ornaments? Well this year, thanks to the clever peeps at Kodak, I am making some Photo Christmas Baubles. Same principle, but an adorable keepsake of the year gone by…
 This photo bauble ornament was first shared in Dec 2011 and has been updated and republished for your convenience!

A version of these ornaments feature in our new Christmas Ornament Book. 30 of our favourite ornaments brought together in one place. Sorted by age. Each craft is shared on one page – making the perfect worksheet print outs. Lovely to have them all in one place too!
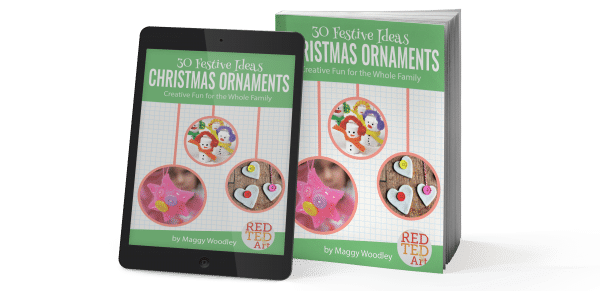
Only $7.99
Get yours today and keep it forever!
Easy Paper Photo Ornaments – Materials:
- coloured paper (use a free printable),
- selection of photographs,
- scissors,
- circle template (e.g. glass),
- glue (a glue stick is best) and
- ribbon for hanging.
How to make an easy Photo Ornament from Paper
As you know we love love love PAPER ORNAMENTS.. and have a HUGE selection for you on the blog already. Everything from Paper Princess Ornaments to Unicorn Paper Ornaments. Here is a “Photo Keepsake” version of this oh so favourite craft of ours! I confess that this video is a little bit old.. but hopefully it will still provide you with the inspiration. Alternatively, look at the step by step instructiosn below!
Paper Photo Ornament Keepsake – step by step instructions!
You can make these paper bauble using 6-8 “paper discs” / Photos. Normally, I like to use “more”.. but with these photo baubles, I love “less”, so that you can see the photos better!
Make a paper circle template (we used a glass). Cut out six colourful pieces of paper.
Measure your circles.
Prepare your photos – make sure that they are smaller than your colourful paper. I made sure that there is 1 cm rim.
Print them off.
Glue your photos onto your siz circles.
Fold your circles in half.
Glue on half to the next half.
Add all the 6 halves together, until you have a stack of circles.
Cut a piece of string for hanging.
Add glue to the top and bottom of your stack. Align your string.
Then bring the bottom half of the circle flip it over and glue to the top one.
You now have a photo bauble.
Your keepsake Photo Ornament is finished. Enjoy!
This is a sponsored post.