
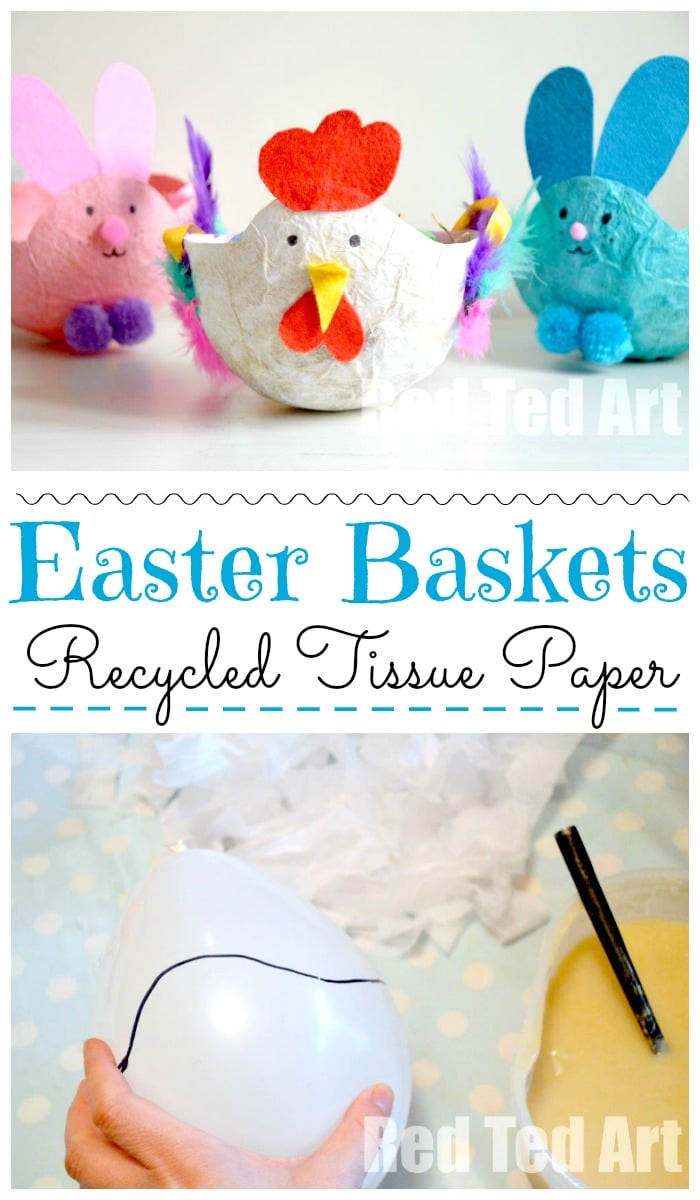
Kids Craft: Easter Baskets
We love Papier Mache Projects and Easter Crafts are just a great an opportunity to get your homemade papier mache paste out as any other time of the year.
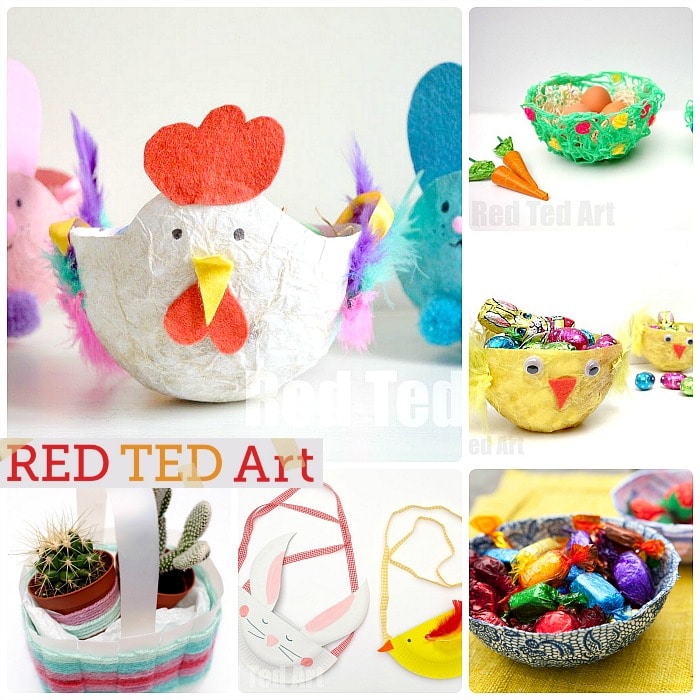
Today we recycle old tissue paper – salvaged from gift wrap or shop wrapping paper – and turn it into a super fun and easy Hen Easter Basket. There are some Bunny Easter Basket versions too.
Note: These hen easter baskets was first published in March 2013 and has been updated and republished for your convenience!
Though we used tissue paper to make these Easter Baskets, you can of course make these out Newspaper too! We love Easter Crafts with Newspaper… and all you need to do is allow for the additional step of painting your baskets in your making process!
Easter Baskets Materials:
- Papier Mache paste (we made our own, see below),
- tissue paper in the required colours (ALL our tissue paper is recycled),
- balloon, brush,
- felt pieces (craft foam would be great too),
- feathers (optional, you could use felt too),
- wider ribbon for “handle”
Use our easy peasy guide to how to make paper mache from flour – inexpensive, environmentally friendly and quick!
Note: making papier mache from flour means that it has yellow/ cream colour – which means that if you use white tissue paper for your craft like us, you will not get a “brilliant white” finish. If you do want a white white finish – use store bought paste or mix some PVA glue with a little water and use that instead. We however didn’t mind the colour and love the naturalness of homemade papier mache paste!
Easter Baskets How To:
And here is how to make your own Hen Basket step by step instructions!
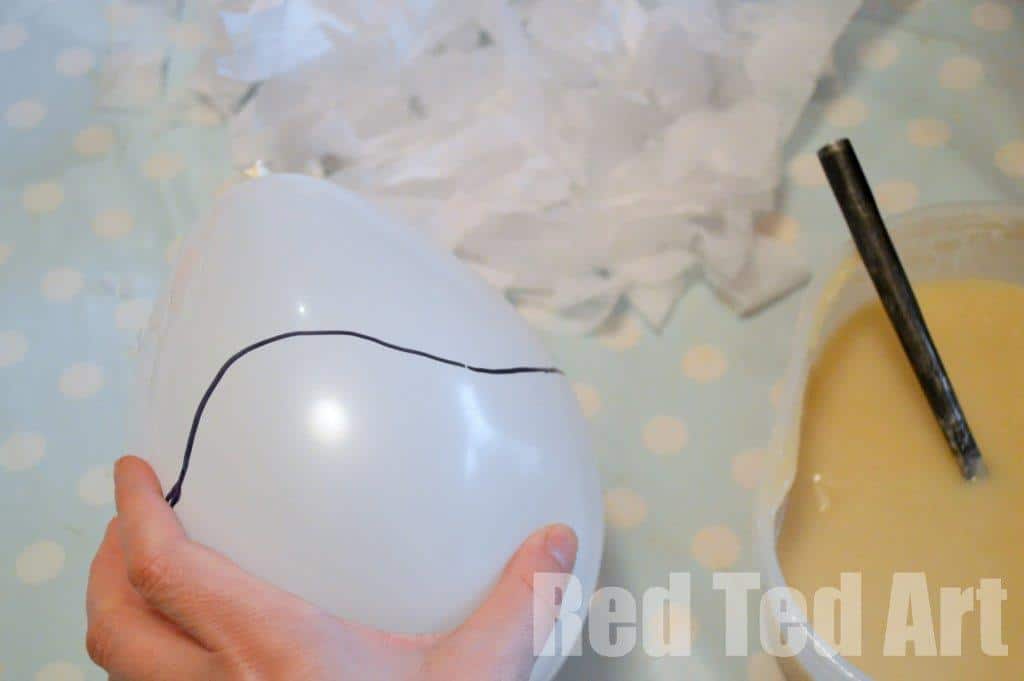
1) To help us get a neat ish edge on our Easter Baskets, I drew on a line of where to papier mache – note the little bump at the front for the face! The pen DID come off onto the finished basket, which we the trimmed off. So do bear that in mind when drawing it on.

2) We decided to use paint brushes for this session, as my kids have decided they don’t like the feel or papier mache paste. So I guess… we are doing “decoupage” but with papier mache! Same principle – use your brush to apply the glue, add a layer of tissue and then add more glue on top – soaking the tissue through. Pip Squeak (3yrs), helped me make a white baskets for a hen and a pink basket for a bunny. Red Ted (5yrs) then got interested and did a blue bunny… I would have loved to “only” do the hens, as those are the ones that (!) really liked, but the this was about what the kids wanted to do!!
3) Apply a good 4-5 layers if not more – tissue paper after all is thinner that newspaper and will need to be stronger. Take special care to have a thick layer around the edge – as this gives your basket structure later on.
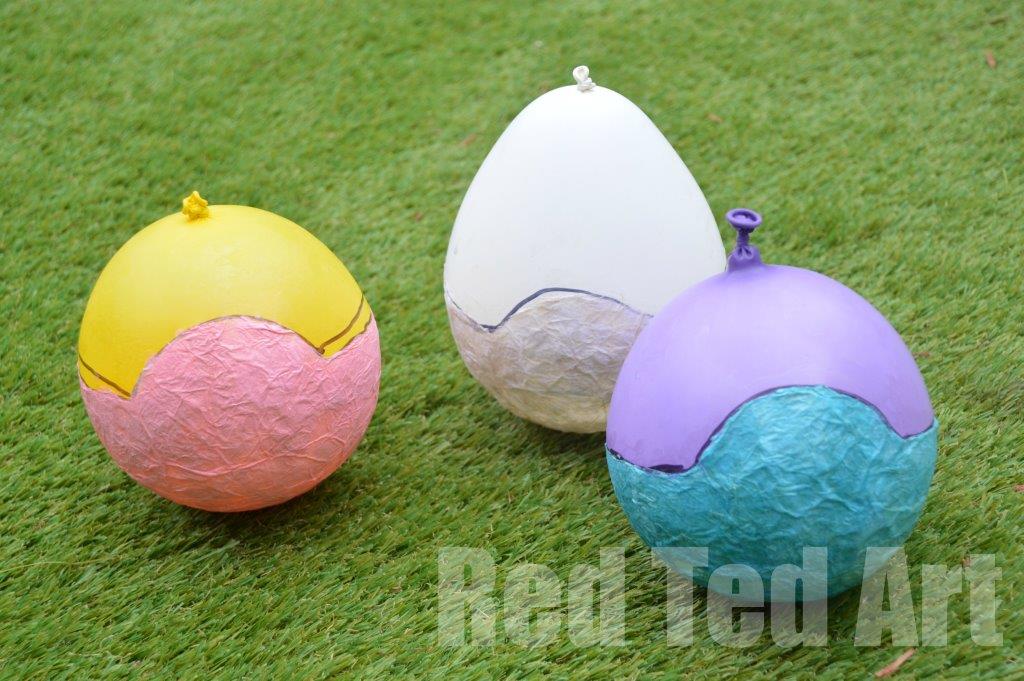
4) Let dry on a plate – prop up if necessary.
5) Once dry, carefully pop your balloon – peel off all the bits and trim your baskets.
6) Then get your embellishments – we used felt and feathers and some pompoms. I cut all the bits out the kids glued them on. This is a time when “cheap acrylic” felt is better, as it is quite stiff and will “stand up”. Better quality felt is quite floppy. If you have floppy felt, just stick a layer of card behind it first. Or use some craft foam instead. Add feathers for wings – or cut wings from felt. The bunnies got pom pom feet and cotton wool tails.
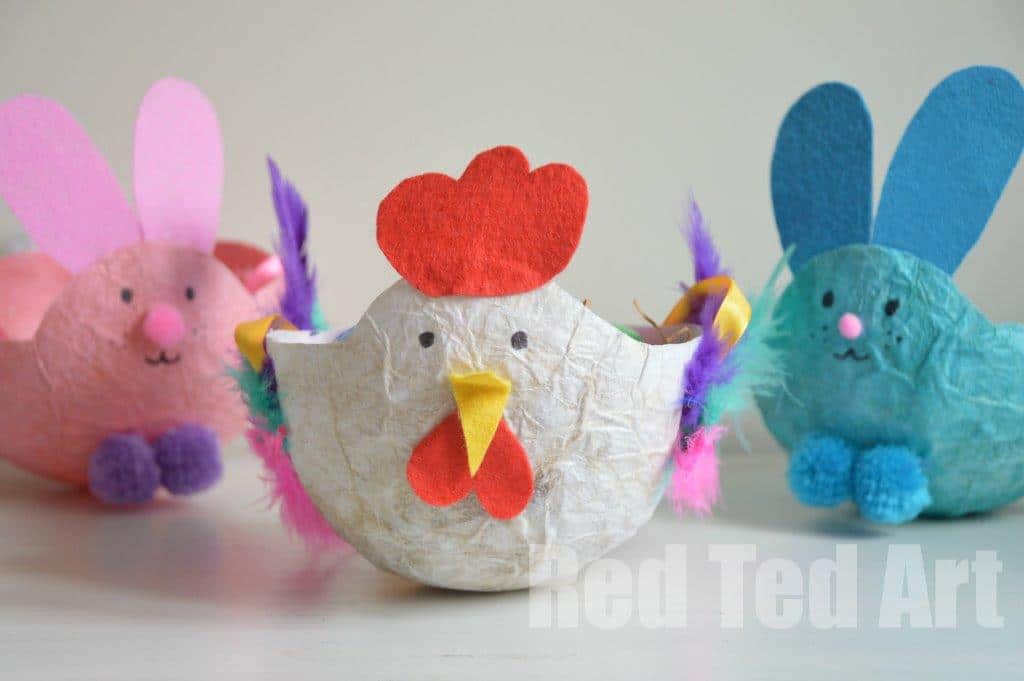
7) Finally, make some small holes, thread threw some bright ribbon for a handle and you are all set to go Easter egg hunting!!
Or watch our Easter Basket Video Tutorial here:
We have a how to video for you hear (demonstrating how to make a simple CHICK Easter Basket vs Hen Basket!) and of course you have the step by step images below!
Need more EASTER BASKET CRAFTS IDEAS? We have 8+ ideas for you here to browse and be inspired by!:
More from Red Ted Art – 20+ Bunny Crafts

and 20+ Chick Crafts
