Recycled Paper Halloween Garland
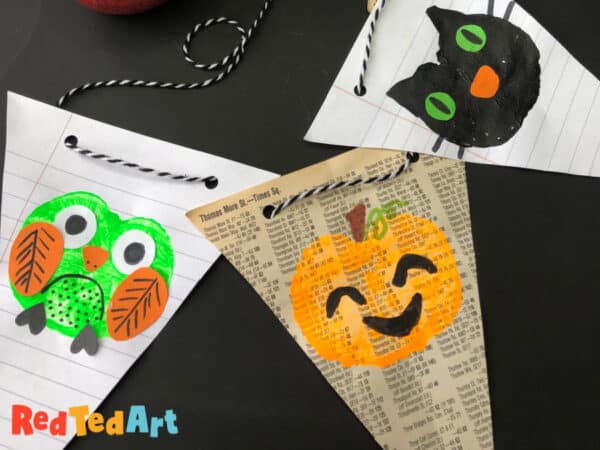
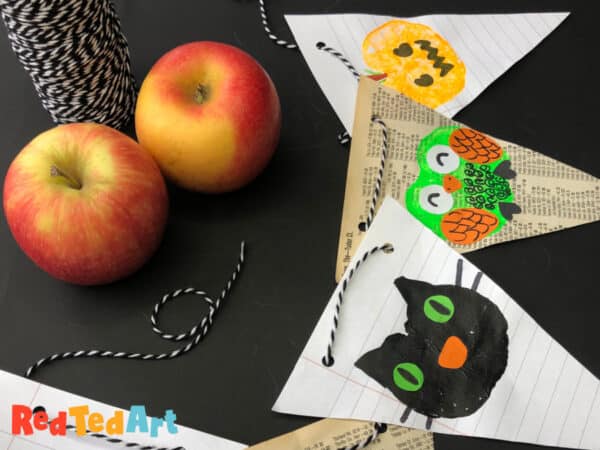
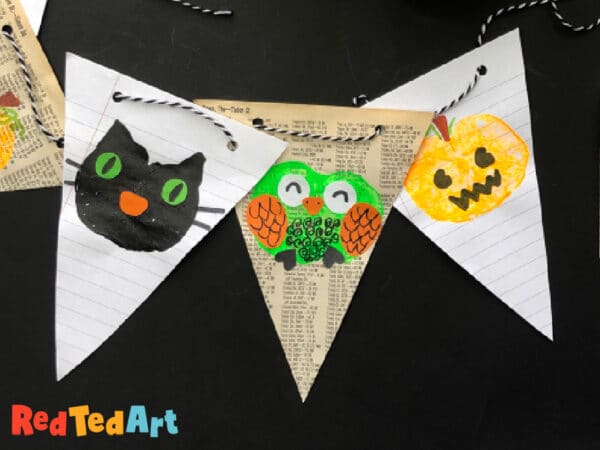
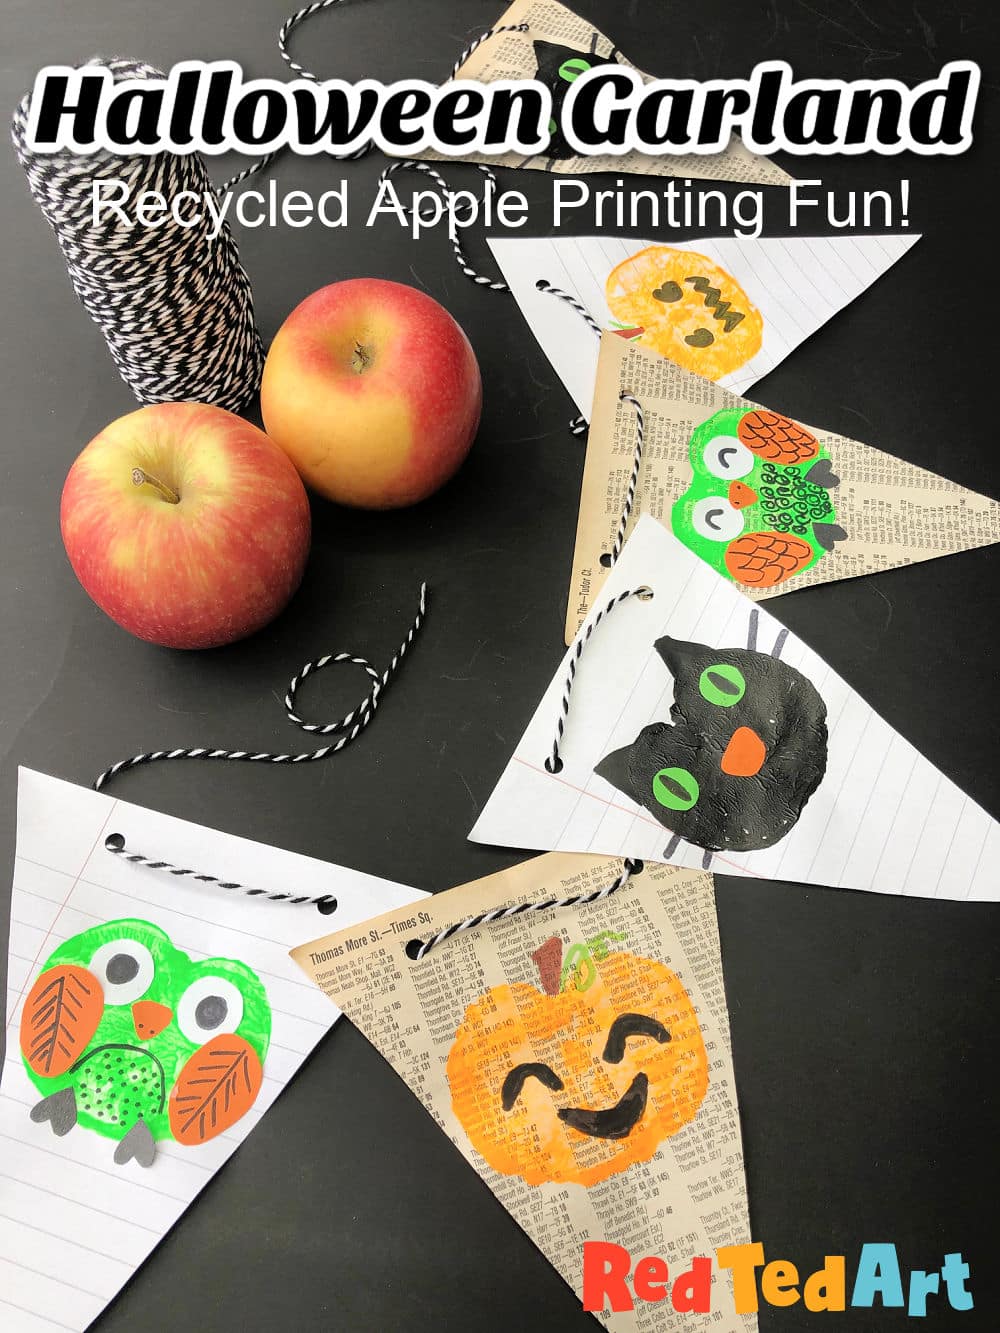
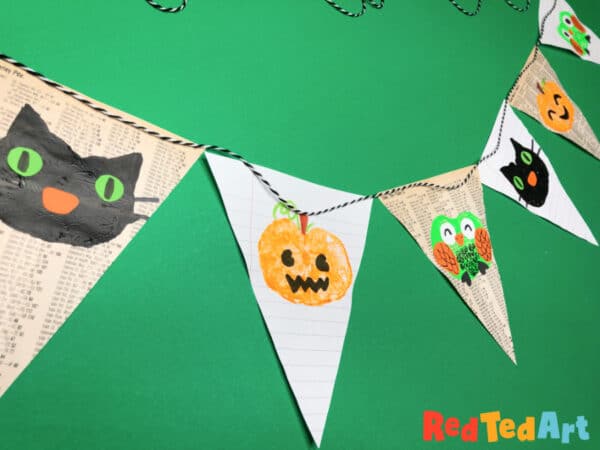
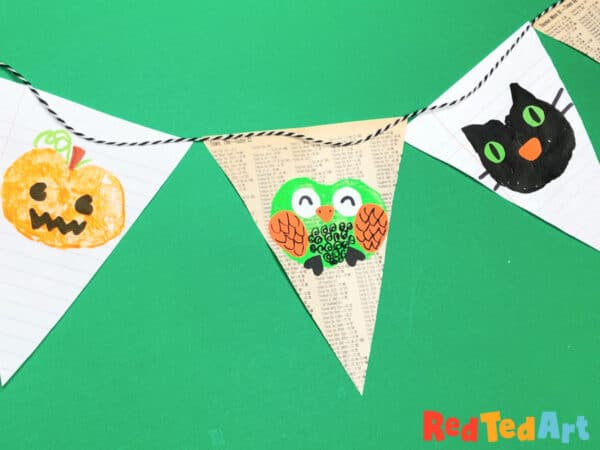
Aaaah today, I have another of our Best Makes Ever! series for you.. and not just “any old” Best Makes Ever, but one of the very speciall Halloween Best Makes Ever edition – our little Recycled Halloween Garland… a perfect cute and Easy Halloween Craft for Preschoolers, exploring one of my favourite Autumn activities: Apple Printing! Turn Apple Prints into super cute and spooky apple print Halloween characters – the Pumpkin, the Owl and the Black Cat!
Please note: affiliate links have been added to this post – should you choose to purchase via these, I will earn a small commission that goes towards the upkeep of this site!
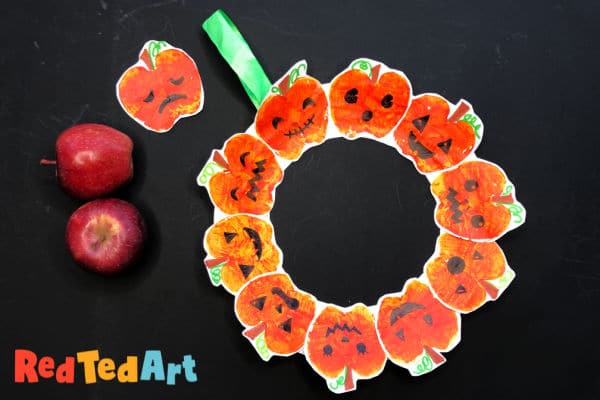
We loved this apple printing for Halloween process, so much, that we also made a little Pumpkin Wreath at the time – wouldn’t these go well together? Such a cute and easy Halloween Craft for your preschooler this cute spooky season!
About the Best Makes Ever series
The Best Makes Ever Series, is a series of art and crafty videos, that Art Crafty Kids and I produced for Sky Kids UK back in 2020-2022. They were designed to bring delightful arts and crafts projects to kids – using every day materials/ limited resources. Enabling everyone to join in and have fun! Now, 5yrs on, we are (slowly) able to share these lovely arts and crafts projects with you on our websites too! So, DO explore our Best Makes Ever Series tab for more info.. or check out some of our highlighted projects here:
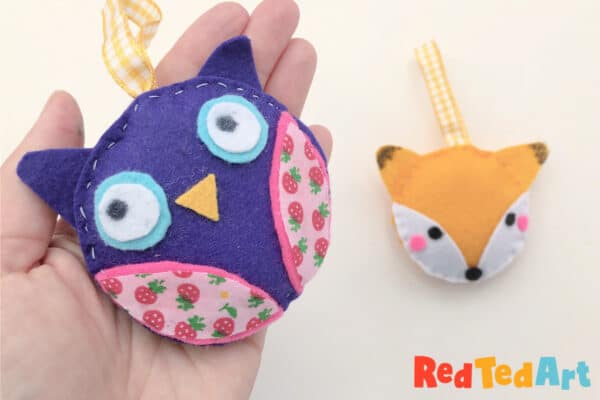
- Another wonderful sewing project – make super cute Felt Owl Ornaments or Felt Fox Ornaments (using basic shapes!)
- Make some fabulous paper finger puppets using paper scraps
- Learn how to make your board games from cereal boxes and paper!


Supplies needed for your Apple Print Halloween Garland:
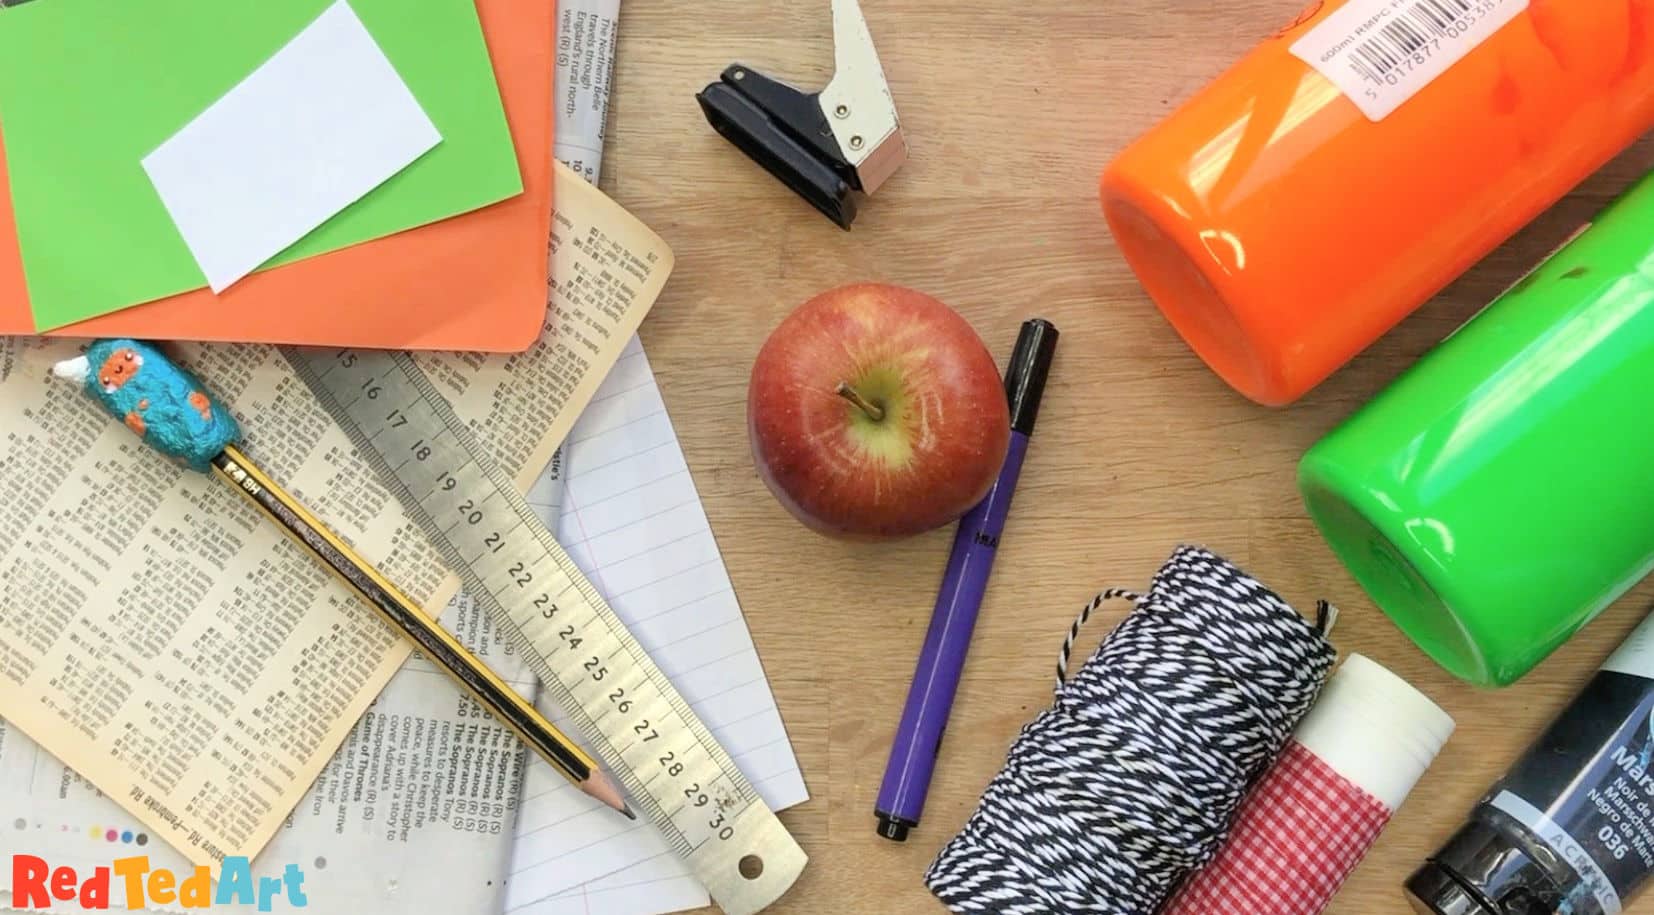
- An apple (I like to wash it to use it for the different colours)
- Paints in desired colours – we went for orange paint for the pumpkin, black paint for the cat and neon green for a Halloween Owl (the neon green would also make a fantastic Frankenstein or you could use purple for a Vampire print?)
- Recycled paper – we used newspapers, and some old exercise book scraps
- Coloured paper scraps to add some features (eyes and nose for the cat, eyes, wings, beak and feet for the owl)
- Coloured pens for details (black, green and brown)
- Scissors (the 3M children’s scissors are fantastic)
- Glue stick
- Baker’s twine for hanging (any string, yarn or twine will do, but we do love this black & white baker’s twine!)
- Hole punch
How to make a Recycled Paper Halloween Garland Video Tutorial
As with many of my crafts, I do have a little sewing tutorial for you, but you can also follow the step by step instructions below! I find, watching the video first and then going through the step photos a really good way to get a feel for this craft! Enjoy!
This video is also available on Youtube.
How to make a Paper Halloween Garland with Apple Prints – Step by Step Instructions
Make your Garland Triangles
First let’s take a look at how to make a garland traingle! You can of course make these as rectangles with a triangle cut out – basically and garland shape that you love! We decided to go for the triangle shape.
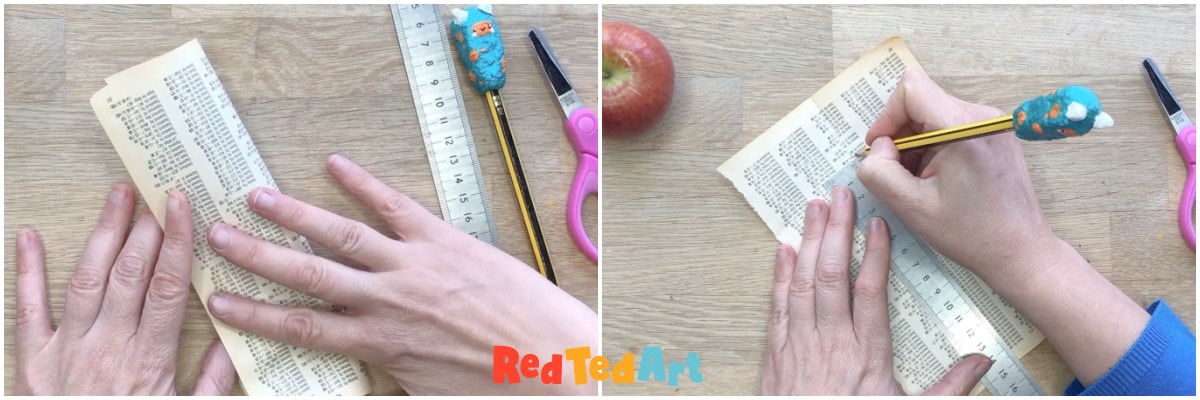
I confess, I didn’t measure the width of this little triangle – it was a book page from an old A to Z and i decied to use the full width…… but hopefully you can guess??
I folded the paper half, to give me a central line.
Then measured 15cm from the bottom – which felt like a nice height compared to the base. And made a little mark.
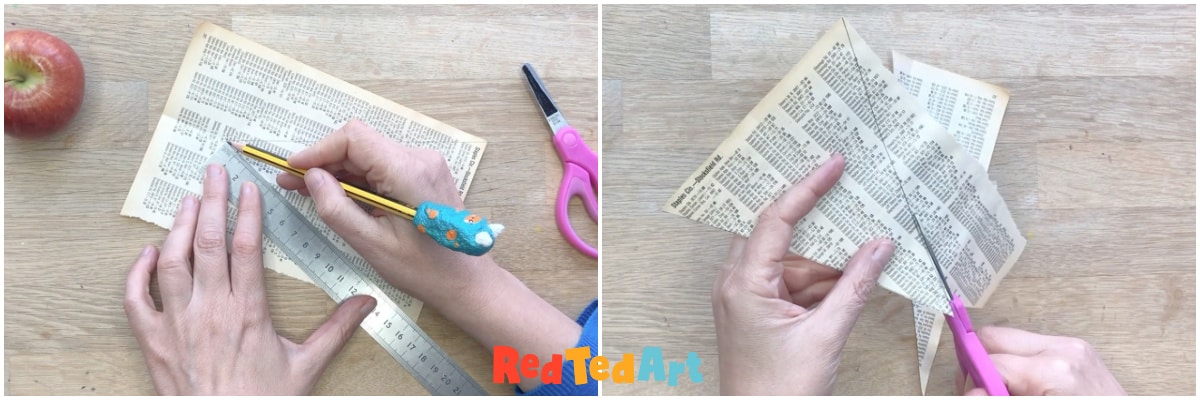
I used a ruler to draw diagonal lines from the each side to this central point. Giving me that neat triangle.
Then cut out the triangle.
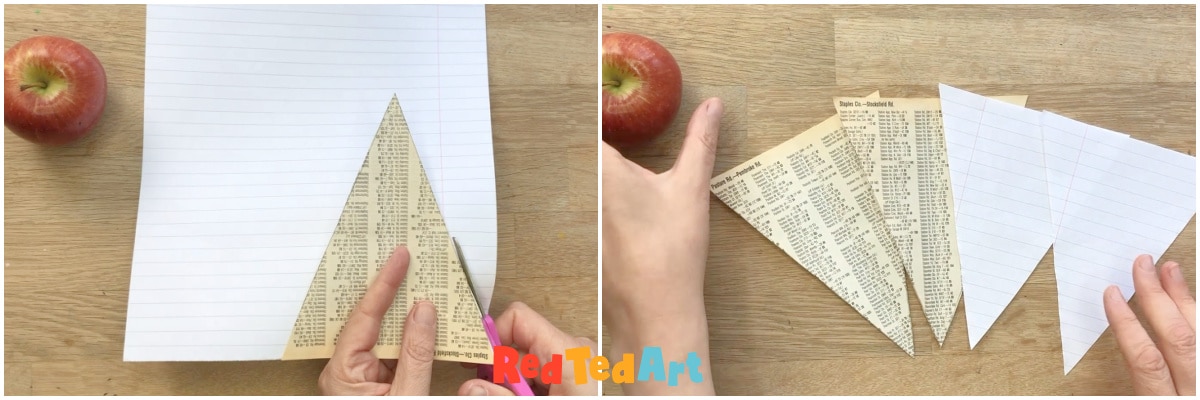
I used this triangle as a template to cut out the remaining triangles! I cut two of each time per Halloween Character. But you can of course make them all the same! Or use any kinds of scrap papers!
NOTE: if you do use different papers – make an equal amount of each time. Here we did 2 of each, ie 2 newspaper pumpkins, 2 pumpkins on lined paper. This will allow you to alternate the newspaper and the lined paper later. You can of course JUST use newspapers or used use paper scraps!
Do your Apple Printing
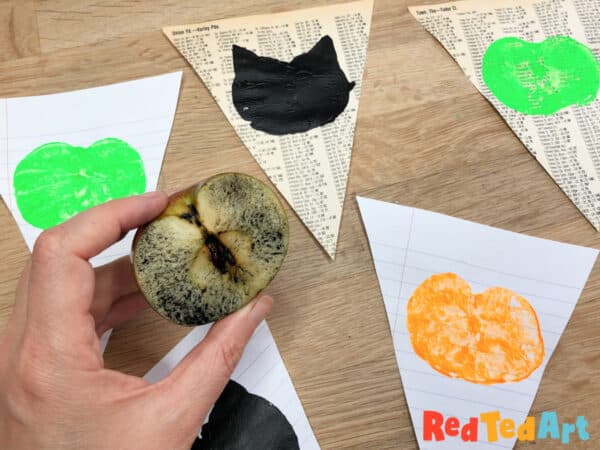
As with all apple printing – you may want to practice your printing first (you can use any practice prints to make the Apple Print Halloween wreath too). There is definitely a “skill to getting a nice neat print.
Wash the apple and pat dry between colour changes.
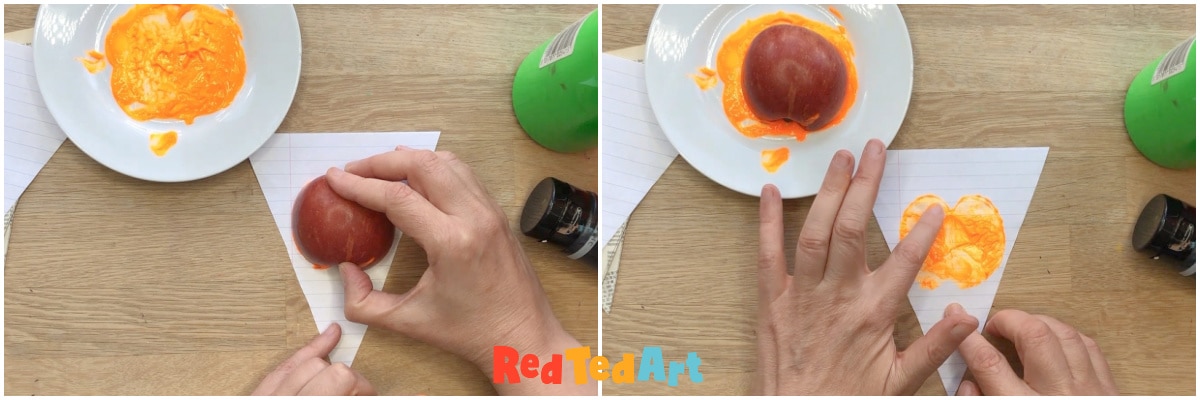
You can always add a little finger printing to fill in any gaps if you wish. We found that some paints print better than others. Our black good quality acrylic paint, loaded really well. Whilst our pumpkin need a little finger printing added. Just make sure to keep the apple shape and not go over the edges.
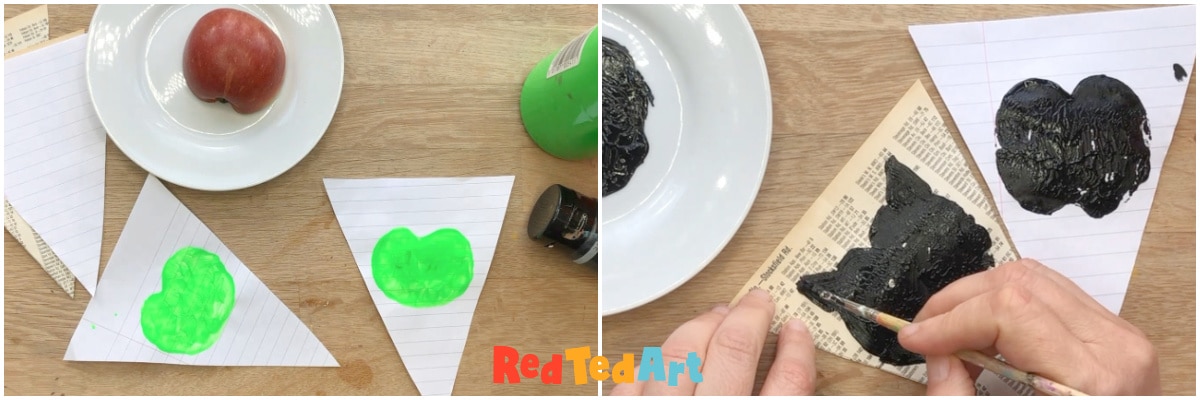
For the cat, do paint on some pointy ears. The Owl will need nothing adding. Though we did decide to round off the bottom of the apple a little.
Decorate to turn the Apple Print into Halloween Characters
The pumpkin banner:
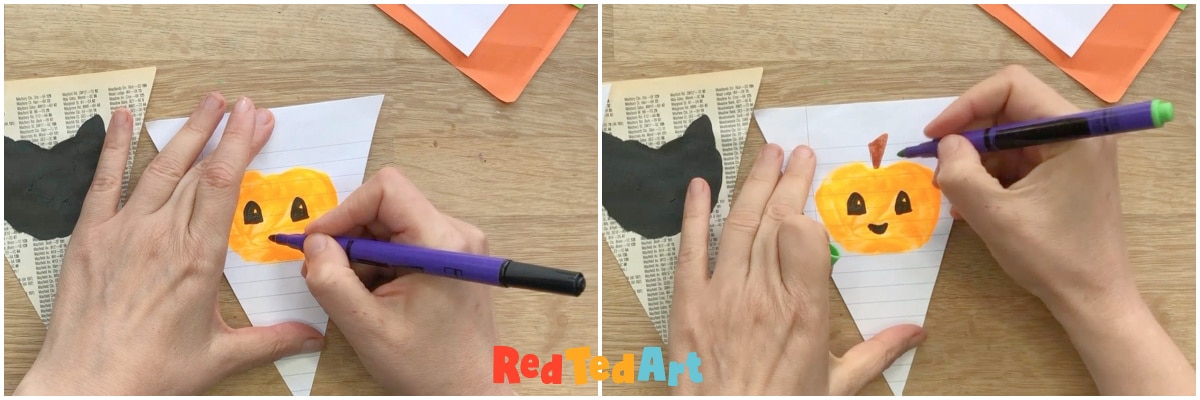
Our pumpkin paints allowed us to use felt tip pens to decorate the pumpkin! But you could always cut out some faces from black paper too. We hadded some eyes and a mouth.
Then a little stem and green pumpkin tendrils.
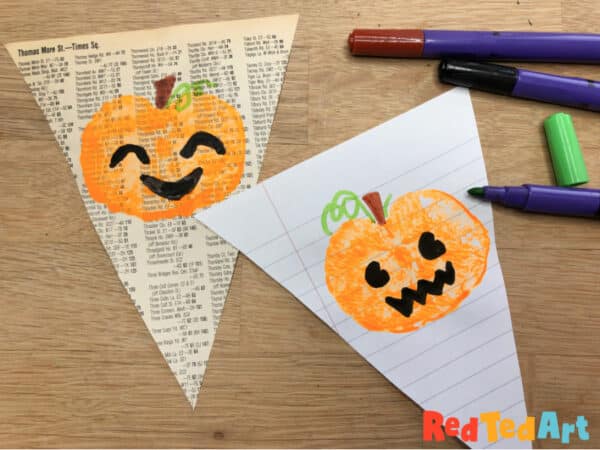
You can have fun with different facial expressions. This is especially fun when making the Pumpkin Print Wreath.
Next up, let’s decorate the Cat garland:
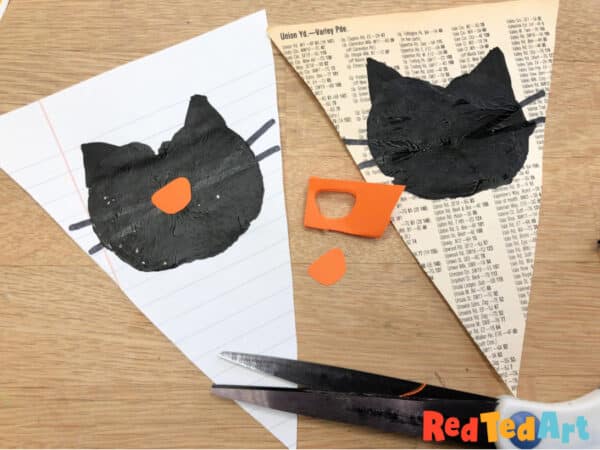
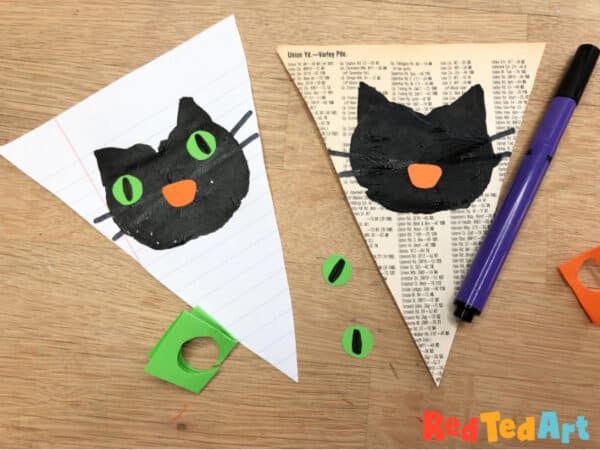
The cat needs three details – two eyes (with a black central line) and a nose.
Stick the nose in place.
Then add the eyes.
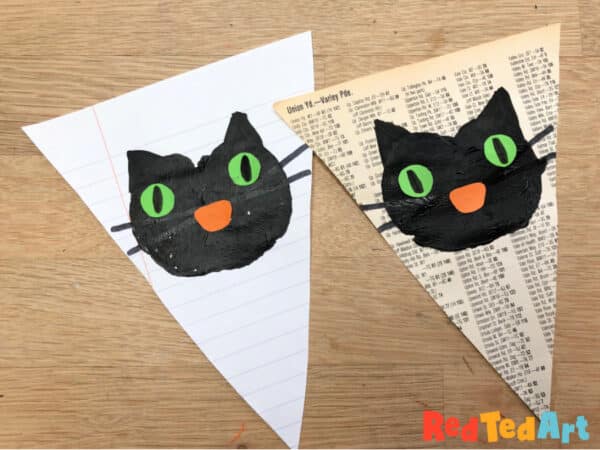
Use a black pen to add whiskers and a thick black line in the middle of the eye (if you haven’t done so yet!
Finally, let’s decorate the Halloween Owl:
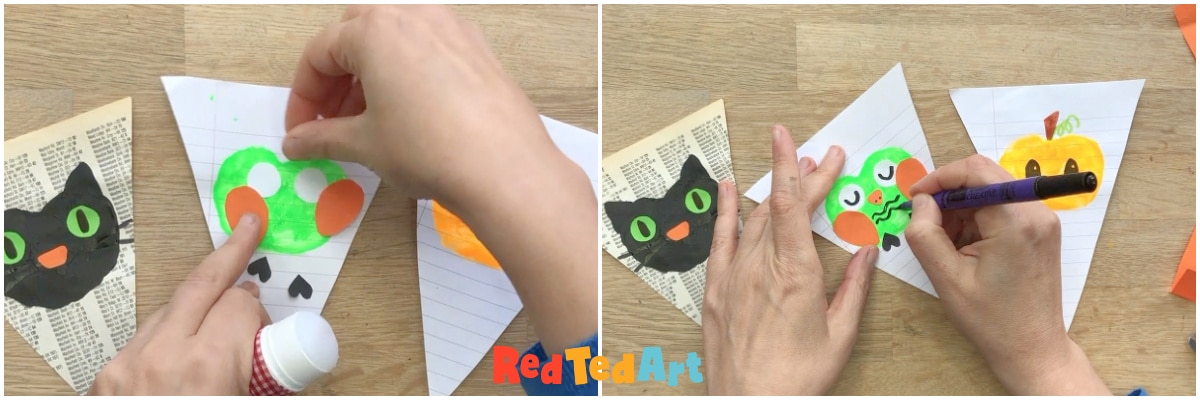
For the Halloween Owl, we chose complimentary colors to go with the pumpkin and cat, so decided to give it oranges wings and black feet. You will need to cut the following shapes:
- 2 circles for eyes
- a small triangle for the beak
- 2 ovals for the wings
- 2 small heart shaped feet
Glue these in place and then add the finishing touches in black pen – the eyes, and pattern son the tummy and wings. The pattern making is a great time to explore some doodle fun and you can make them all different!
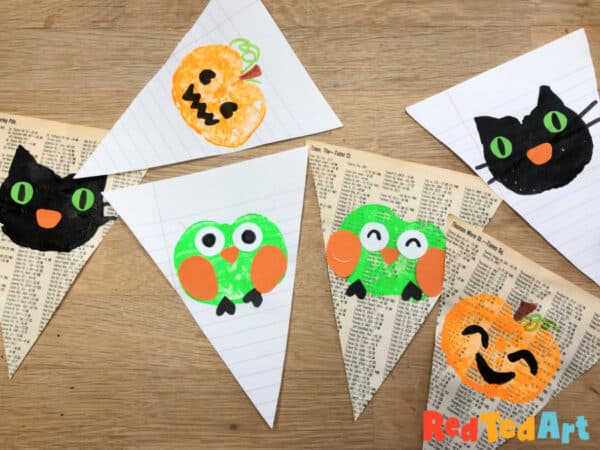
String up the Garland onto your Baker’s Twine
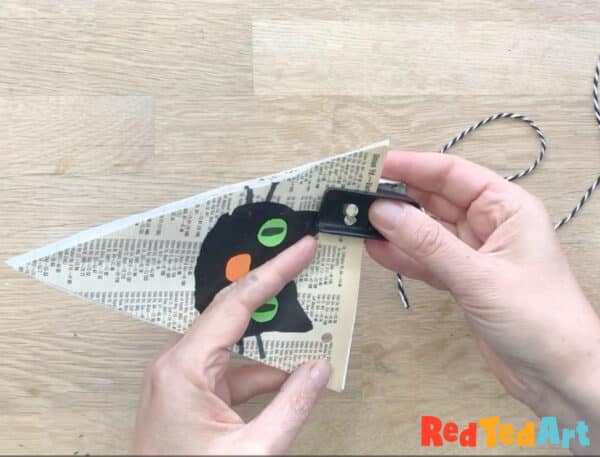
Layer up all your paper wimples.
Make two holes at each end with your hole punch.
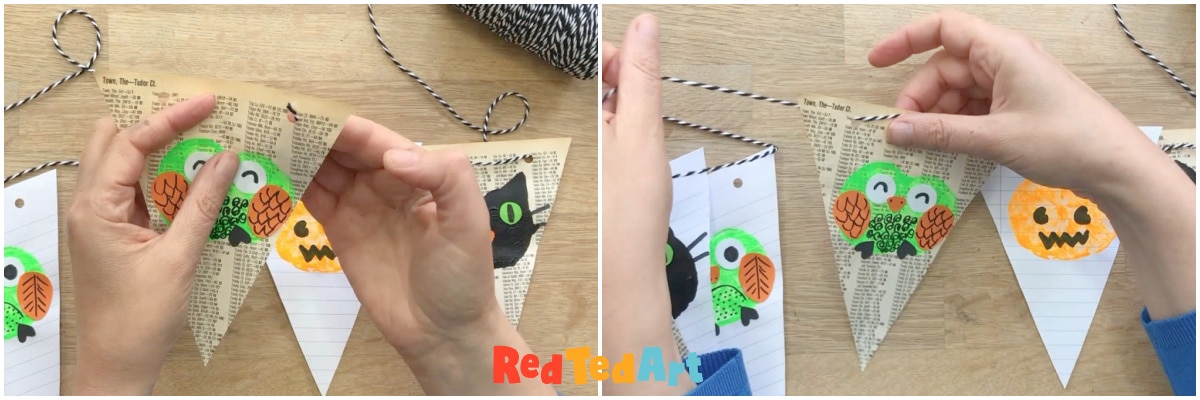
Carefully thread in your baker’s twine or yarn or string! I decided to keep the string on the front of the banner (as it is so pretty). So came in through the back of the triangle flag and left again through the front.
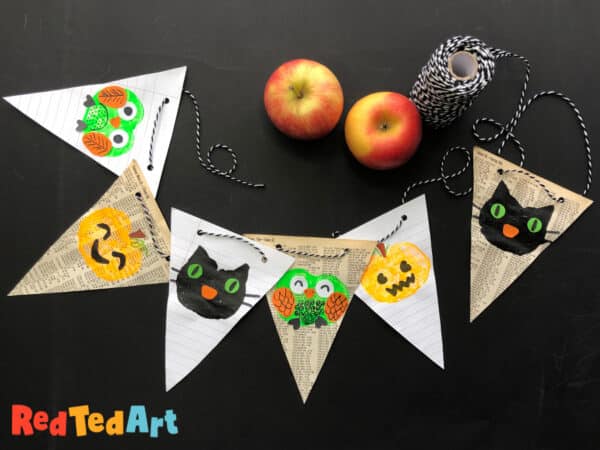
Your Recycled Paper Halloween Banner is finished! Isn’t it fun? As mentioned it would be wonderful to pair this with a Paper Plate Pumpkin Wreath! Do check out the remaining Best Makes Ever! as more Halloween crafts will be added in the coming weeks. Woohoo!
More fabulous Halloween Crafts for Preschoolers: