Christmas Tree Bookmark Design
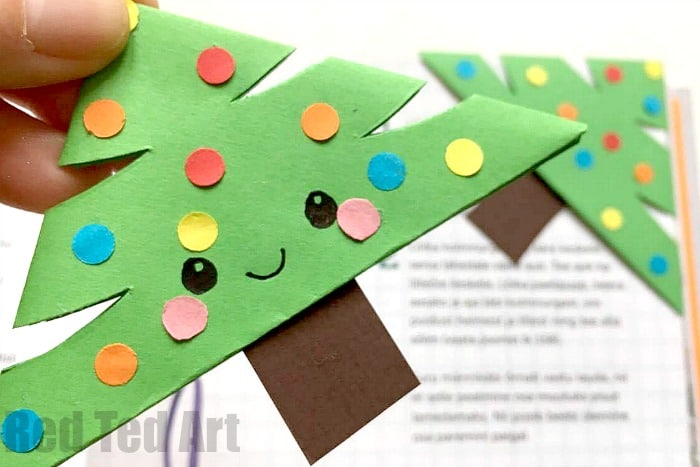
We certainly are in the festive mood and Christmas is in full swing here in Red Ted Art HQ. We have had many requests for more Christmas Paper Crafts for Kids... and your wish is our command! This is cute little Paper Christmas Tree Corner Bookmark design, is a joint effort from me and Red Ted (almost 9yrs), I made the tree and he decided how we should decorate (Kawaii face and all!).
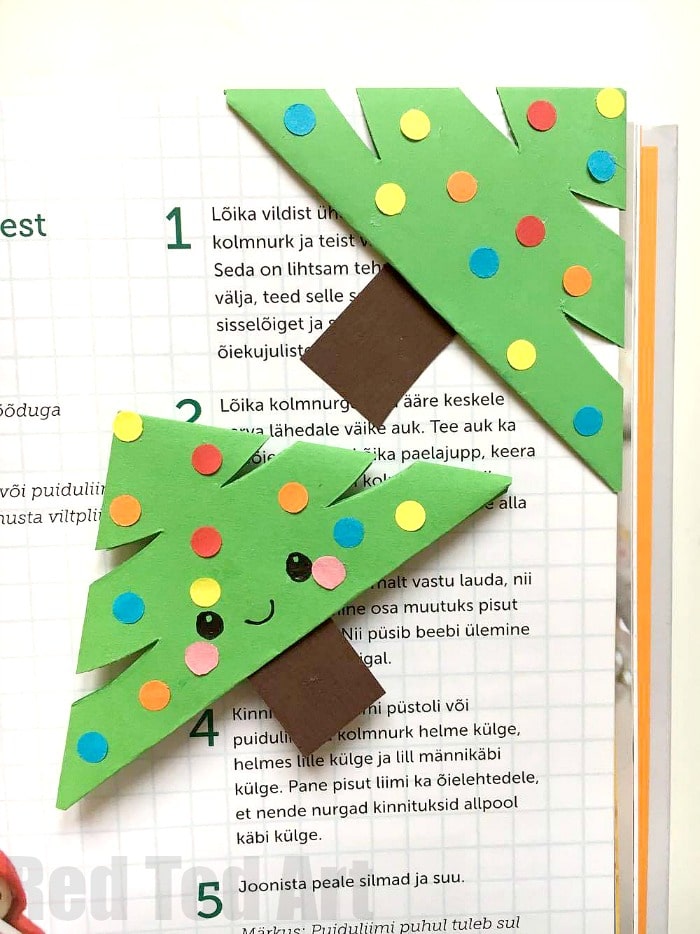
I think they turned out super cute. Remember, we have tones of Easy Christmas Crafts for Kids, as well as many more Corner Bookmark Designs for you to browse – especially our special set of Christmas Bookmark Corners!
What materials do you need to make a bookmark for Christmas?
The best thing about this bookmark corner is that you do NOT need a template. I promise you, it is so easy to make from scratch with our simple directions! Perfect classroom craft or library crafternoon session!
- a green square piece of construction paper/ printer paper (we used an A5 sheet of paper cut square) or green origami paper – most paper will work just fine! We used 15 x 15cm, but you can go bigger!
- coloured paper cut offs & a hole punch (though you can use pens or glitter glue or whatever takes your fancy to decorate)
- glue stick (good quality!)
- scissors (these are super good and work for left and right handed)
You do not need the following worksheets, but you might find them useful in a classroom or library setting:
This popular bookmark corner is now available as an easy to use Worksheet for the Classroom. Hop over to Teachers Pay Teachers and get your copy to work in a group today.
This really is one of the simplest origami projects for Christmas, that the kids will love. Great for beginners too. And it is so cute too and make a great little paper gift for the holidays! We love own DIY Gifts to make! Needless to say, today’s craft idea is just an inspiration.. what else you make using the same basic corner bookmark? What own designs can you come up with?
Christmas Tree Bookmark DIY – How To:
In summary… To make these adorable little DIY Christmas Tree Bookmarks, you need to
- make your basic Origami Paper Bookmark shape.
- We then tuck in the additional flap at the bottom into the pocket of the corner bookmark to make a Christmas Tree shape
- Cut branch shapes into the sides of the main triangle and
- decorate with a brown tree trunk and “hole punch” confetti (or maybe even add some mini pom poms or sequin baubles?)
- The kawaii inspired face is drawn on by hand. But why not watch the video on autoplay and see how it is done? Or browse the photo steps below!
Printable step by step instructions now available on Teachers Pay Teachers!
First you will need to make a corner bookmark
Begin by making a basic Origami Bookmark in the in green. I have a step by step photo instructions post for you here. It is quick and easy to make this basic bookmark. Then be sure to come back to this Christmas Tree Decorating Page!
A super neat guide to making these Corner Bookmarks is available on Teachers Pay Teachers – it is an easy to print 2 page and saves you navigating the ads or between the pages… but you don’t have to get it there, simply watch the video or follow the basic Origami Bookmark instructions and then get decorating!
Decorating your green Corner Bookmark to turn it into a Christmas Tree
Now it is time to turn your corner bookmark into a Christmas tree! It is quick and easy:

First you will need to tuck the extra edge into the pocket of the bookmark towards the top of the triangle to make a simple tree top shape (top images).
Next you need to shape your your triangle into a tree. A cut small indents approximately 1/3 along the shorter sides of the triangle. This is to mimic the Christmas Tree branches. Try and match both sides as best you can. But it doesn’t matter if they are not exactly symmetrical. Afterall nature’s Christmas Trees aren’t “perfect” either. Right?

Once done, cut a little tree trunk out of brown paper and glue in place.
With a hole punch make some paper confetti. This paper confetti will be your Christmas tree ornaments. You can of course use other things to decorate your paper Christmas Tree too – e.g. squins would look good or maybe some sticker baubles? Or maybe use some cool marker pens or posca pens to add some fun Christmas tree garlands. Work with what you have.. if using glitter, do make sure it is of the eco friendly variety!

Finally, if you wish, draw a little happy face on your Christmas Tree Corner Bookmark! Isn’t it cute?
All you need now, is a mug of hot chocolate, a blanket and a good book – and a snuggle on the sofa! Merry Christmas and Happy Christmas Reading!
If you liked this little Paper Christmas Tree Bookmark.. why not check out our other Paper Christmas Tree DIYs:
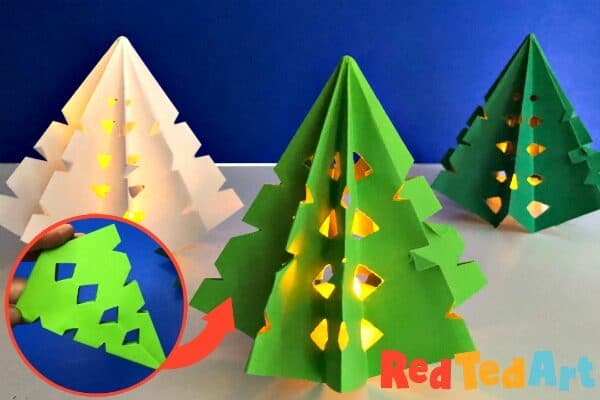
Easy 3d Christmas Tree Luminary
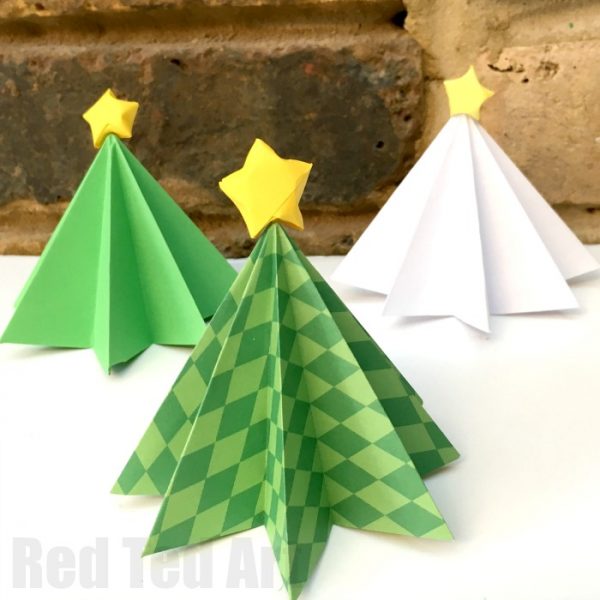
Simple Origami Christmas Tree 3d
How do you make a snowman bookmark corner? How do you make a Christmas bookmark?
Making Snowman Corner Bookmark is just as fun and east.. but needs one little “trick” to get that ROUND Corner Bookmark Look! Find out how make our snowman bookmarks, as well as many more lovely Christmas Bookmark Corners here:
Don’t forget this WONDERFUL collection of Christmas Paper Crafts:
As well as our full set of Corner Bookmark Designs!
Our slightly longer Corner Bookmark Christmas Video is also available on YouTube:


