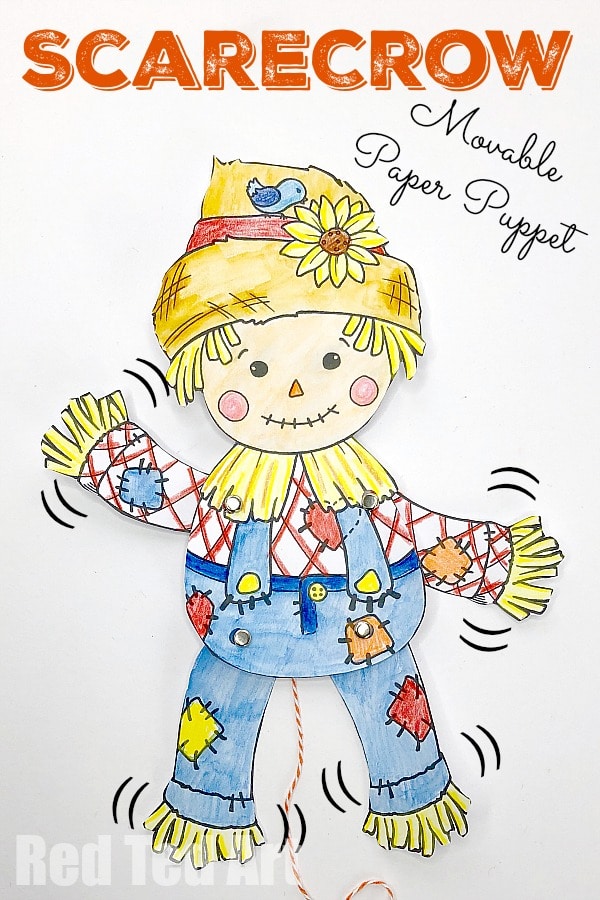
Articulated Scarecrow Puppet Printable for Harvest Festival
Another season.. another DIY Paper Puppet with Template!!! This cutie has seriously been on my to do list since the whole Christmas Puppet Making Frenzie last Winter. And it is just in time for Harvest Festivals and Fall and it joins our growing collection of Scarecrow Crafts!
Finally, with the new season upon us, we get to sahre this Articulated Scarecrow Puppet Printable with you.
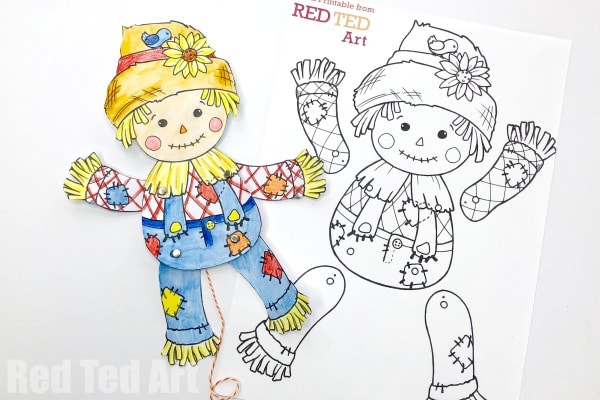
As per usual we have the two printable choices for you – “coloured in already” version (Print, Cut and Assemble) or the colour yourself version (Print, Colour, Cut and Assemble). Both are super duper cute and really just use the one that suits how much time you. Personally, I adore colouring them in myself! This Scarecrow Paper Puppet craft would make a great Harvest Activity for Kids, but also compliments any Fall Crafts/ Autumn Craft activities that you may be doing right now!
Your Scarecrow Puppet Printable – Materials
(Contains affiliate links for your convenience!)
- Light card stock is perfect for these DIY Scarecrow Puppets – you can also Laminate them if you wish!
- Either paper & a laminator and laminting sheets OR light card stock that will fit in the printer
- Hole punch (single hole hole punches are super handy US / UK)
- Brads/ split pins (US / UK)
- Bakers Twine (oh how I LOVE bakers twine) (US/ UK)
- A large pointy needle
- PENS/ Pencils – optional – if you decide to download the “colour your own” Scarecrow Paper Puppet Template
Grab your Scrawcrow Colouring Sheet, Lesson Plan and worksheet over on Teacher’s Pay Teachers or on Gumroad and help support the up keep of this website!
Our “coloured” Scarecrow continues to be available for free:
How to make your Scarecrow Paper Puppet (Articulated)
Watch the Paper Puppet Assembly video on auto play or follow the written step by step instructions below!! Enjoy.
How to make a Harvest Festival paper puppet move – step by step instructions
- Begin by choosing either your colour your own paper puppet or ready to assemble Scarecrow puppet -print the Scarecrow that suits your child best! If you are using a laminator, print on ordinary paper, if you are using just card, print directly onto the card. Be sure you use card that is suitable for your printer.
- If colouring, colour your Scarecrow now…. once fully coloured, run it through the laminator.
- It is now time to cut out all your Scarecrow “bits”. Cut them as neatly as you can.
- Using your hole punch, make holes for the moving parts – 4 in the body, one each in the arms and legs of your Scarecrow Puppet.
How to Assemble a Paper Puppet
Photo by my lovely reader!
- Thread your needle. It does help to have a large eyed, pointy needle – especially if using a laminator. If you do laminate your paper puppets you MAY need to make the holes for the bakers twine with scissors.
- Loosely connect your arms and legs with your brads / split pins.
- Now guide the thread throw the marked hole of one arm and then through the other.
- Make sure Scarecrow’s arms are in the “down position” and that the thread runs across in a straight manner – not too tight, not too loose. Knot the other end.
- Repeat for Scarecrow’s legs.
- Now you have one last thing to do – add a connecting piece of string between the arms and the legs – it is important that this isn’t too tight (the arms won’t move) or too loose (the legs own’t move).. again.. it needs to be “just right”…
And you are done! Hope you have LOTS of fun with your Scarecrow Puppet Printables!!!
Remember we have more Paper Puppets with Templates – from Christmas Elves, to Reindeers and Flapping Bats!! Have a lovely browse!!
More great Autumn Crafts for Kids all in one place:


