Kids Craft: Button Snowflake Crafts
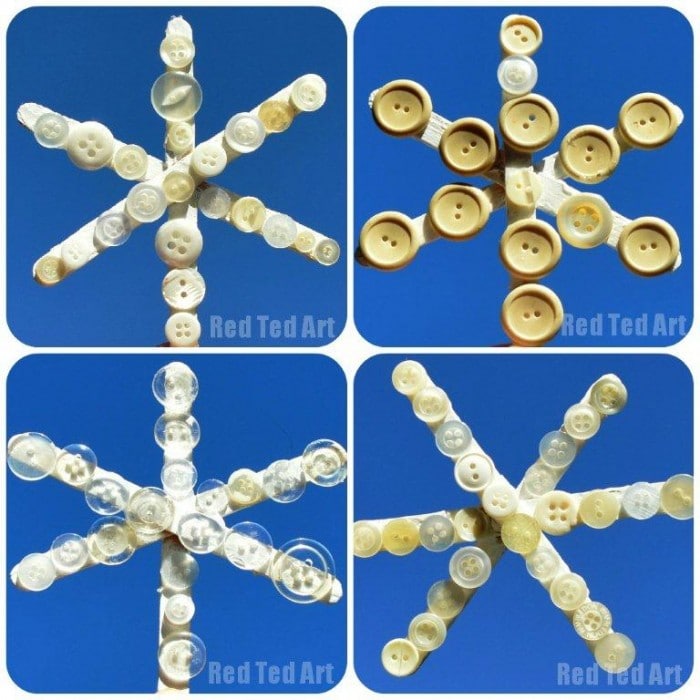
Lovely little Button Snowflakes. Fun and easy to make!! You may or may not know, that I am a terrible hoarder and this year, I have been trying really hard to “use things up”, along come these lovely button snowflakes, perfect winter crafts for kids and a great way to use up some of my craft hoard.
I saw Thrifty Fun’s snowflakes on pinterest and thought, ooh that could look nice with buttons too. Then click through and saw that she did it with buttons as well! Ha. But there you go, a classic kids snowflake craft after all! Lots more Christmas Ornament Ideas here!
This wonderful Button Ornament is also included in our practical, easy to download and print out Christmas Ornament Book. Each craft is shared on one page – making the perfect worksheet print outs. Lovely to have them all in one place too!
Only $7.99 Get yours today and keep it forever!
More Christmas Craft Stick Crafts
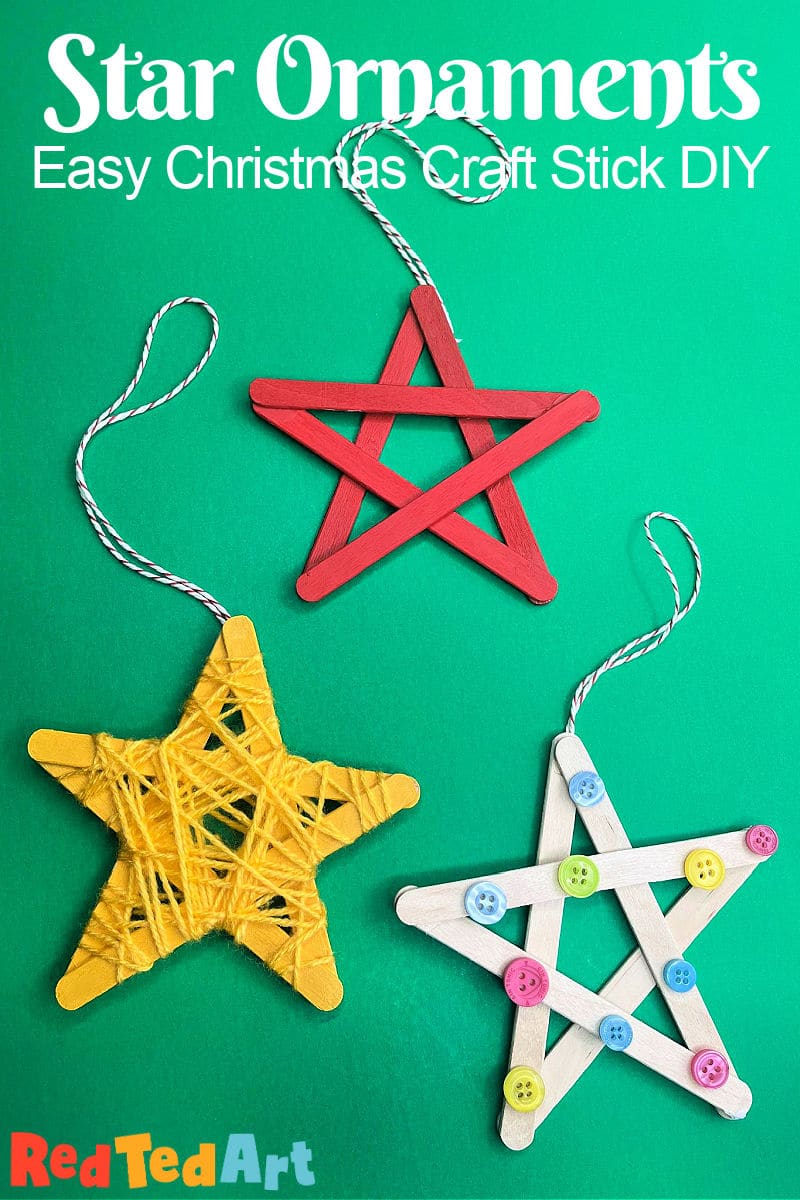
If you like craft stick crafts.. we do actually have a whole set of Christmas Craft Stick Ideas. Including our Craft Stick Star Ornaments, Handprint Reindeer, Angels and Gnomes and the darling Nativity Star Ornament:


On to our Button Snowflakes – Materials
We actually recycled our summer ice lollie sticks, as well as use buttons from my dad’s old shirts and other items of clothing. Making this a pretty recycled Christmas ornament craft too!
- 3 popsicle sticks
- white paint,
- glue,
- an assortment of white (ish) buttons (Find lots of WHITE BUTTONS here – affiliate links – US Readers UK Readers)
How to make a Button Craft Stick Snowflake
Glue 3 Craft Sticks into a Snowflake shape
1) I glued the popscicles together and let dry (a hot glue gun, does this very quickly for you, but PVA will work too – you just need to include drying times for this)
Paint the Craft Sticks White or Blue
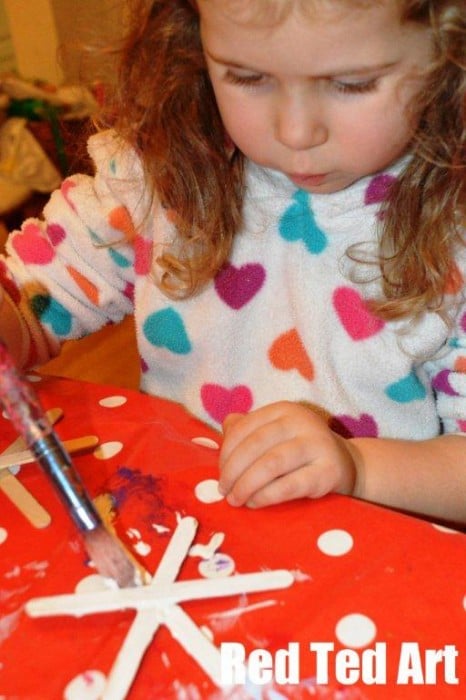
2) The kids the painted them white (they wanted to paint both sides, so we let them dry and then painted the other side the next day
Glue the Buttons onto Your Craft Stick Snowflakes
3) Once try they selected their buttons and stuck them on. Interestingly Red Ted picked all the clear ones and the large yellow-y ones, Pip Squeak went for small ish buttons.
4) Glue on some ribbon for hanging and write the kids name and dates on the back.
We will be giving two away (Opapa and Nonni will be the lucky recipients this time) and keeping two for our tree!
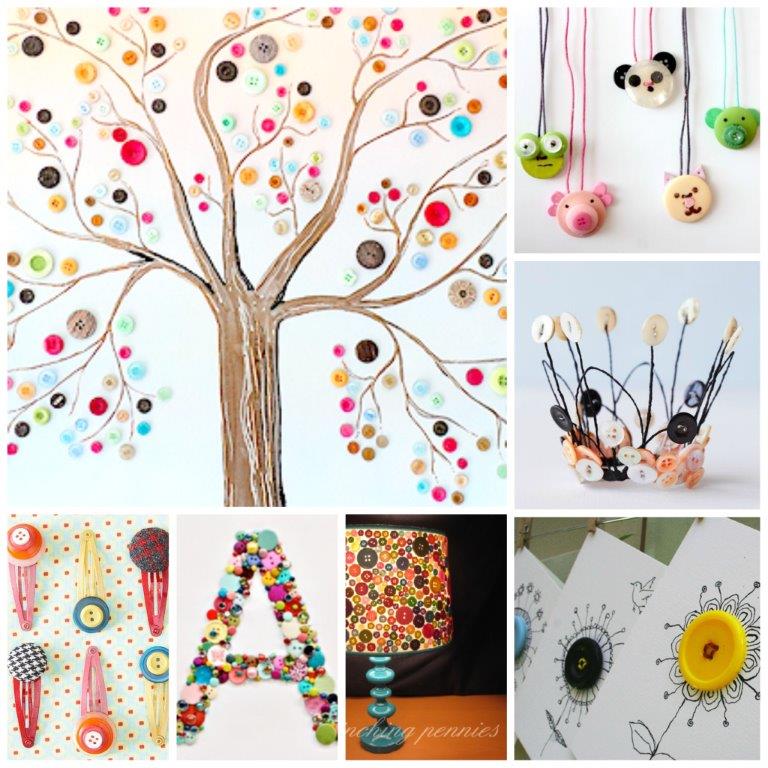
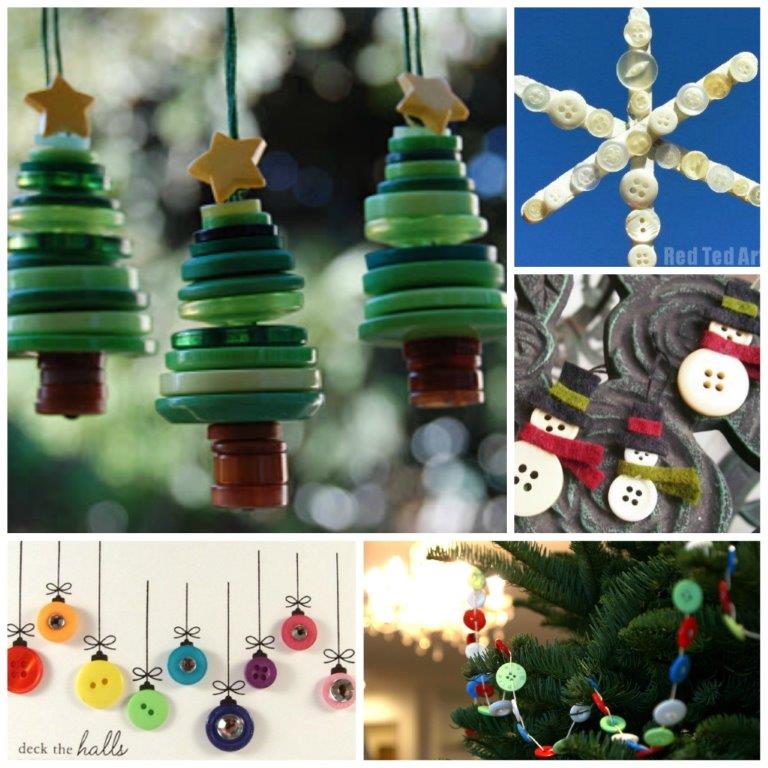
Want more fabulous button crafts? Take a look (ideas for all seasons AND Christmas!)
Sneak peak at the Christmas Button Crafts (scroll down in the article for these):
ENJOY your button DIYs 🙂

