
How to make a Paper Hat for Dress Up Day
Here is a quick craft for you – a Mad Hatters Hat or a Cat in the Hat Hat a perfect Quick World Book Day Costume Idea. So whether you love Dr Seuss or want to honour Alice in Wonderland, these paper hats a fun to make!
How to make a Cat in the Hat hat
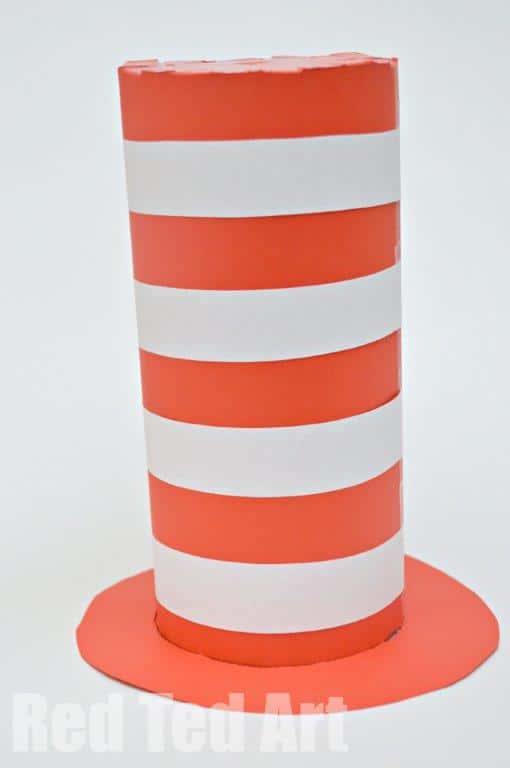
Surely, this is must for all Dr Seuss fans?!
We have been waiting to share this easy craft since the Summer. We met the lovely people from the Charles Dickens Museum in London, who were making these simple paper hats with the kids.
What impressed me the most, was that they were working with large groups of kids of all ages and they managed to make this a fun and relevant craft.
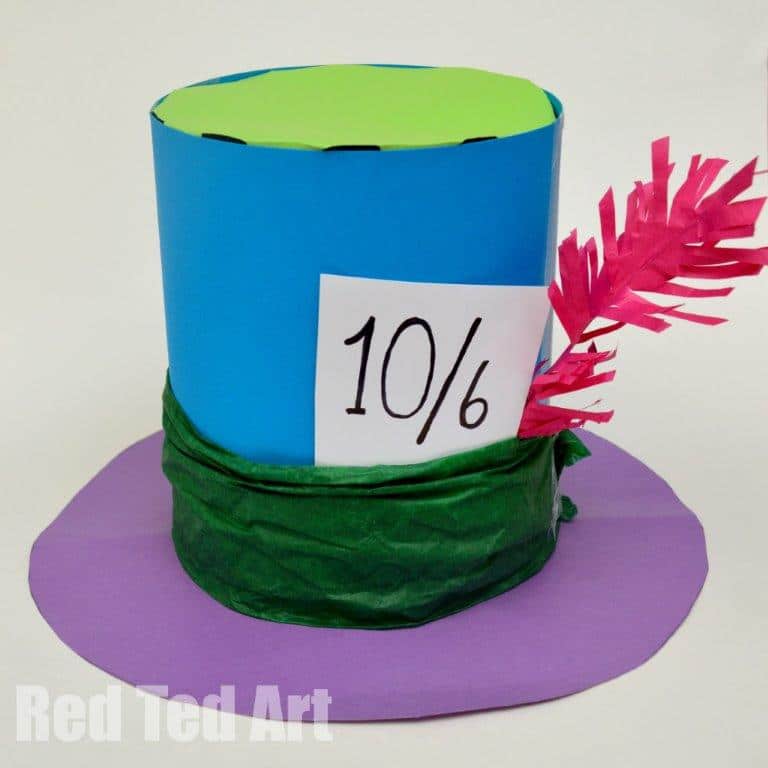
So theirs was a Charles Dickens Hat…. we call it our Mad Hatter Hat… and then I decided it would work REALLY well as a Cat in the Hat Hat too.
Whilst I have your attention.. you may also like our Dr. Seuss Bookmark Corner.
These would make a great party activity for an Alice in Wonderland party!
Supplies needed to make your Dr Seuss Hat/ Mad Hatter Hat
We made two hats – a mad hatter one (perfect if you have a variety if coloured card at home) and a Dr Seuss Cat in the Hat Hat!

- For the Cat in the Hat Hat, we used 3 sheets of A4 card, some white paper and tape.
- For the Mad Hatters Hat, we used 5 sheets of A4 card (taped together to make bigger surfaces) in various colours + tape. And then pieces of tissue paper to decorate!
- Scissors
- Tape
- Ruler and pencil
- A plate/ bowl to trace circles
How to make your Cat in the Hat Hat/ Mad Hatters Hat:
I orginially had a video tutorial for you, that went onto a third party youtube channel. Sadly they have since taken this video down. So I had a rummage aournd my old files and thankfully found some step photos for you instead. They aren’t perfect…. BUT should give you all the info that you need to make both the Mad Hatters Paper Hat and the Cat in the Hat Hat!
Prepare your paper to be big enough

You will need to connect pieces of paper to make it big enough for your hats!
For the Cat in the Hat Hat – join two red pieces of card (though you could use white card, and add red stripes).
For the Mad Hatter Hat – you will need a bigger brim. So you will need to – connect two pieces of card for the main body of the hat (in our case blue) and two pieces of card to allow for a big brim (in our case purple).
Cut out your paper hat brim

Cut out your brims.
For the cat in the hat hat, the A4 sheet of paper was just big enough. I used a plate and bowl to get my basic circle shapes and then cut them out.
For the Mad Hatter hat, I had the two purple sheets of paper glued together and then used a large plate and smaller plate to cut the brim.
NOTE: I kept the inside red circle to use it as the cover on the top of the hat later! for the Mad Hatter, we cut out another shape in a new colour… I think keeping the inside works better and is more eco friendly.
Make sure your main hat fits the circles
You can at this point roll up the paper and check it fits inside the brim. My step photos show that I did this later. But I think doing it now is a good idea!
Mark Hat Flaps with a Ruler

Use a ruler to mark an half an inch strip on either side of the rectangle paper (long sides).
Then using the ruler again, marke out half inch gaps all along it.
Do this on both sides!
Cut the tabs of the hat

Now cut out the tabs!
Paper Hat Assembly

Roll up the main hat part and check for size – ie that it fits neatly inside the circle. You may wish to trim a little off the short edge. But it doesn’t matter too much.
ADD WHITE STRIPES out of plain white printer paper to your cat hat.

Tape down the sides under neath the brim.

NOTE: This photo doesn’t quite match the process I did in the end!
For the Cat in the Hat Hat, I cut out tabs to the main body (as you can see in the photo above. So I folded these tabs down. And taped my “spare” red disc on top of these. This was more “economical” as it meant I used cut offs, rather than a 4th sheet of paper.
And finished! I couldn’t resist a quick photo with the cat… not sure she was that impressed ha! Will add pictures of the kids ASAP.
If you love Cat in the Hat and Dr Seuss, do check out these Dr Seuss Coloring Pages! Fun.
Here are some more easy makes that could be used for Dress Up Day:


- Fantastic Mr Fox Mask (with free template)
- Where the Wild Things Are (fun paper bag craft)
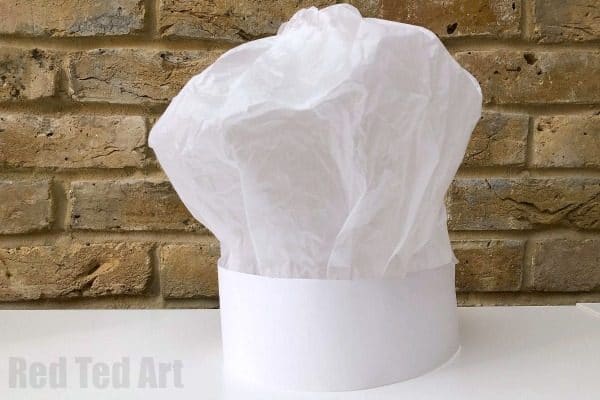
- Recycled Tissue Paper Chef’s Hat!
Need some more dress up ideas for World Book Day? Try out these fabulous DIY World Book Day Costumes!

