Easy Origami Dragon for Kids
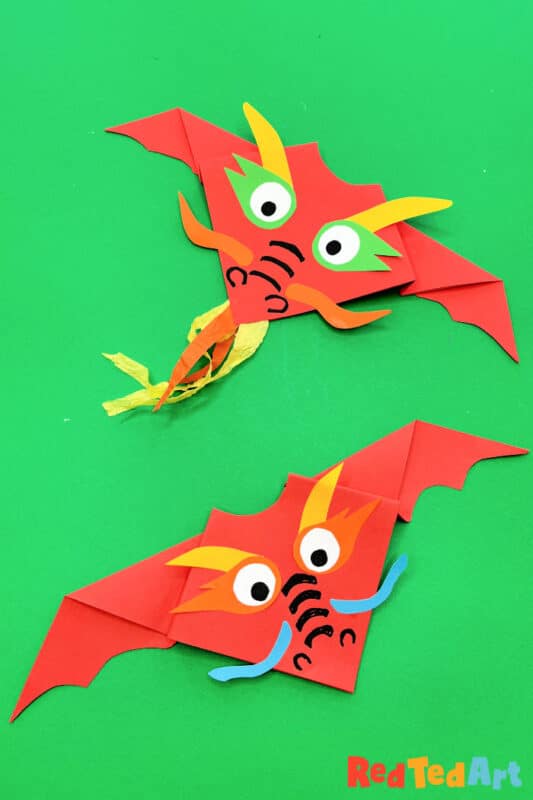
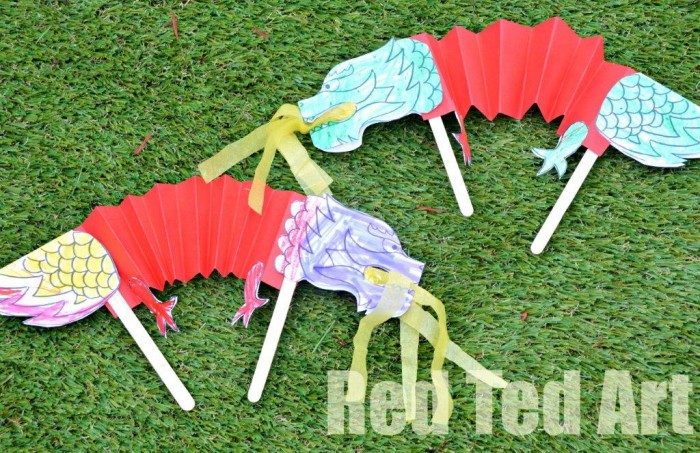
We love Chinese New Year and all the fabulous Chinese New Year Crafts to go with it! Our Paper Dragon Puppet (continues to be free to download for Red Ted Art readers!) has been popular for years.. and finally I came up with an easy Origami Dragon for kids too! This is a great beginners origami project.
How do you make an easy origami dragon for kids?
Honestly? Most Origami dragons are quite difficult to make, especially for kids! There are number of folds to remember and you have to make the super neatly for good results.
Today, I finally came up with a fabulous little and easy origami dragon for kids by adapting the super popular and of course easy Origami Bat!
Learn how to make this simple origami pattern for kids and then with some simple embellishments turn it into a fantastic dragon. The final paper dragon can be used as wall decor, as part of an origami garland or even as a dragon corner bookmark!
Difficulty level – easy! 🙂
How do you make a paper dragon step by step?
This paper dragon only has a few folds, plus some simple shapes to cut out. Come Feb this is the perfect and easy origami dragon for Year of the Dragon fans or Lunar New Year.
Follow our step by step origami instructions below or watch the easy video on auto play!
No need to buy origami paper. Ordinary paper will do!
How do you make a dragon puppet out of paper? How do you make a Chinese paper dragon?
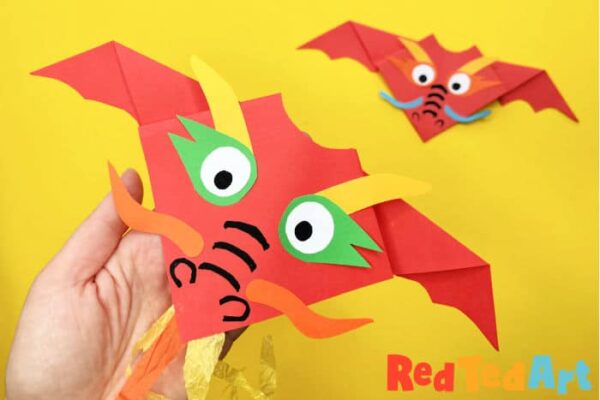
Make today’s paper dragon! Woohoo. You can see at the end of the video, that you can easily slide your fingers/ hand into the dragon’s head and use it as a paper puppet. BUT… if you want the best paper dragon puppet.. do check out this post and have a go.
It really is super popular!
The printable continues to be free! If you don’t have a printer, you may want to give today’s origami dragon a go instead!
Can you use normal paper for origami?
In short – yes, you can use normal paper for origami. Almost ALL the kid friendly origami here on Red Ted Art is made using normal “printer” paper. Having said that – if you are looking to make more complicated origami patterns, then origami paper is actually better.
This is mainly because origami paper is thinner and allows for more creases and folds.
So the long answer is: depends on what you are making and how complicated the origami project is. For the simples of all origami projects, you can even use thicker construction paper (e.g. our Year of the Tiger Origami can be made with most papers!).
For this easy difficulty level dragon, you do not need to buy origami paper. “Ordinary” printer paper works really well!
What do you need for your origami dragon:
- square paper (we used a piece of red paper 15×15 but 20 x20cm works nicely too)
- paper scraps in contrasting colours, so you can embellish your dragon with features
- scissors
- glue stick
- black pen
You can of course make your dragon any colour. For Chinese New Year I think red makes a great origami fiery dragon, but you can make yellow, blue or green dragons too!
No special paper needed!
Let’s make this simple origami dragon
Those eagle eyed among you will recognise our origami bat steps and photographs. They work so well, I decided to reuse them here. I have added an extra couple of photos to show you the key features of your paper dragon! You can either follow the step by step written tutorial as follows, or watch the video on auto play!
Fold a basic triangle and create the wing flaps:
Take a square piece of paper 20 x 20cm is nice, but any size will do. (If you are using origami paper, and there is a white side, make sure the white side is on the INSIDE of your fold – you only want the red to show).
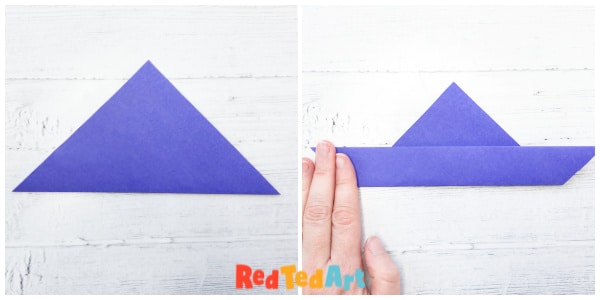
Your first fold is creating a diagonal to create a triangle. Fold up the bottom corner and bring it to meet the top corner. Make a neat crease.
Take the long edge of your triangle and folds up 1.5cm depending on the size you want your wings to be.
Shape the flaps to get them into position:
Draw two guide lines to help you get the wing shape even on both sides.
Take the far right side point and fold up.
Repeat for the left side.
The images above show you what your origami now looks likes from both sides.
Lift the flaps to make the final bat wing position:
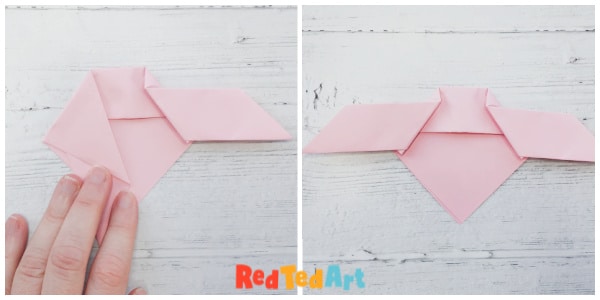
Fold a wing down at 45degree angle (creating a perpendicular), and then back up, making sure the fold back up is in parallel with the original.
Repeat for the second wing. Giving you a basic origami dragon shape – a large head with wings.
Shaping your paper dragon with a pair of scissors
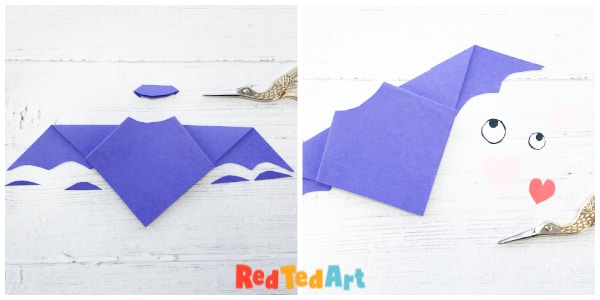
You can now go further and shape it with scissors and decorate. When you do the trimming of the paper dragon’s head, you are also allowing your origami dragon to be used as a corner bookmark.. as the bookcorner fits neatly into that section you have trimmed away.
Cut a wave into the wings, and cut a little shape out of the top of the head (this will also allow you to use it as a bookmark corner).
Finally, decorate with paper eyes, horns and add a firey moustach and nose features in pen. You really just need some simple shapes and decor to turn the “paper bat” into a dragon.
These photos just recap how I cut the shapes and glue them together – the green part of the eyes is essentially a tear drop with a slit. Horns and “moustash” are basic shapes too and the finishing touches added in pen!
I hope you enjoyed this simple dragon origami and that you will give it a go!
As mentioned, this dragon would work REALLY well as corner bookmark too! Or even as a dragon hand puppet!
I hope you enjoyed these easy origami dragon instructions and that this Chinese New Year you will give them a go! Dragons a wonderful mythological creatures DIY theme to have a go.
More Chinese New Year Crafts here:
More great Dragon Crafts for Kids:

