Origami Envelope Chick – Paper Crafts for Kids
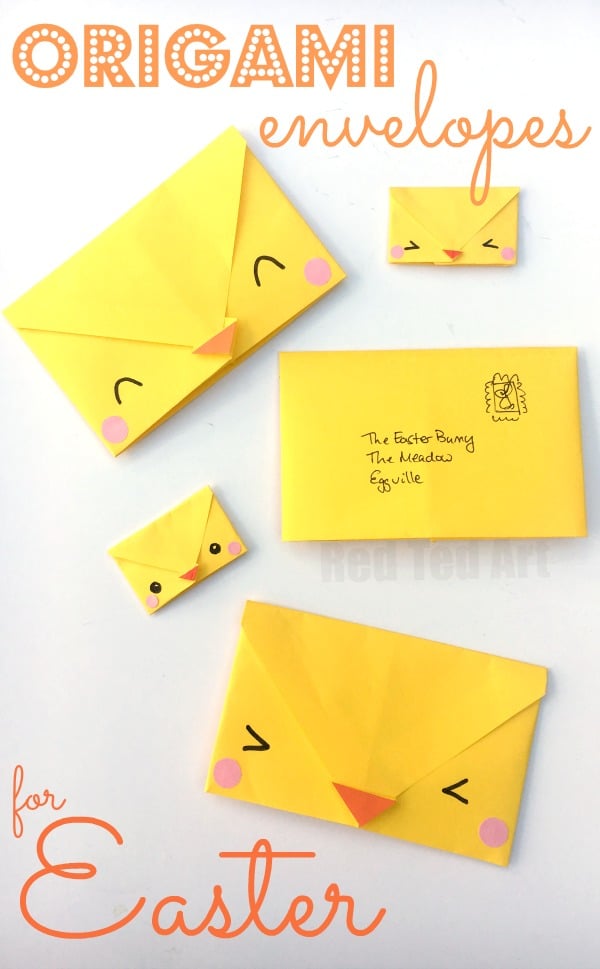
Time for a lovely Paper Easter Craft, with this easy Origami Envelope Chick for Easter Letter Writing!
We do love adorable and easy paper crafts for kids, don’t we? Where it is traditional Origami for Kids or fun with paper, we love how versatile this simple craft material is. Earlier in the week, we showed you how to make super easy Paper Chick ornaments for Easter – a perfect little Paper Easter Craft!

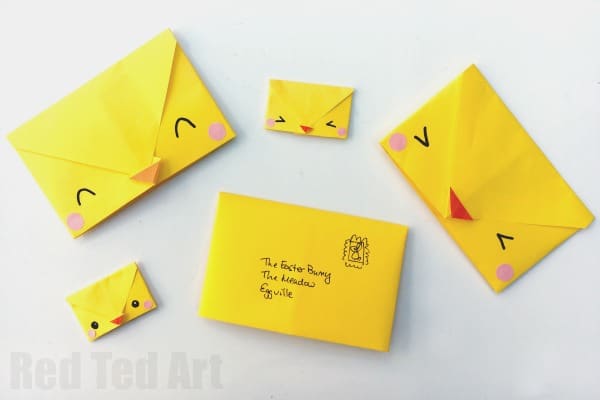
Today, we have some fantastic origami envelope chick– or more specifically chick ORIGAMI envelopes – yes, technically not cutting or sticking required – though we did embellish ours just to give our chirck envelopes that adorable cuteness. The best thing about these envelopes, is not just that they are quick and easy, but that you can write your letters or notes straight onto the envelop paper – turning them into “Letter Envelopes”.
Write, fold, decorate and post! Simply perfect. Easter Origami at it’s best. We made a similar Winter Origami Envelopes earlier in the year, do check those out too (and see our adorable Penguin, Polar Bear and Owl designs!!). In the meantime, be wowed by the rest of our extensive Chick Craft Ideas!
If you like our chicks.. and fancy some more ideas Arts & Crackers has some cute printable bunny envelopes you can check out (and LOVE their idea of popping in a packet of seeds as a small gift!).
Origami Envelope Chick – Materials
- Square sheet of yellow paper – we cut ours down from A4 – but any size will do, works out to be 21cm x 21cm square, but any size works
- To decorate – pens/ scraps of paper & glue
Origami Envelope Chick – How To
Watch the video on Auto Play for the best step by step instructions. Though, I have written them out for you below too!
These Origami Envelopes are really easy and quick to learn. Once you have gotten the hang of how to make an origami envelope, you can make these over and over again.
How to make an Origami Envelope – step by step instructions (with screen grabs)
Start with a square piece of yellow paper:
Cutting down your A4 sheet

You can cut down an A4 sheet of paper into square if required – bring the bottom left corner, up to meet the top of the sheet to create a triangle in front of you – with a rectangle still attached. Trim off this rectangle (keep for mini chick envelope projects). When you unfold the traingle you will have a perfect square.
Folding your envelope
Begin by folding your square piece of paper into a triangle across the diagonal (you will have this fold already, if you cut down an A4 sheet of paper).

With the long edge at the bottom, fold your triangle in half again – give you a gentle “guide crease”. I.e. you want to know where you middle is. Open up again.

Bring down the top flap – this is very similar to our bookmark corners!

Leaving a 1cm gap to the corner fold in the right side…

Repeat on the left side. You will have the bottom ends overlap (where my thumb is on the picture.

This little overlap needs to be fold in line with the central crease.

Put your finger inside this triangle to open it up and then flatten down!
Finally bring the top flap down and your basic Origami Envelope is done!
Time to decorate as a Chick Envelope
Then decorate with adorable Kawaii faces and you have yourselves some wonderful little Origami Envelope Chicks!
You can insert a homemade card, or open up the envelope completely, write a letter on the inside and then fold it up again and pop it in the post!
Hope you enjoyed these cute and oh so easy little origami envelope chicks!! Have LOTS of fun making them!!
We have a great collection of Easter Origami for Kids here:
As well as more Origami for Kids here:
See our full list of Paper Easter Crafts here:
This video is also available to watch on YouTube:
And if you love our video how tos, don’t forget to subscribe to our easy Crafts for kids YouTube Channel. It is free to join and you will be the first to see our new content!


