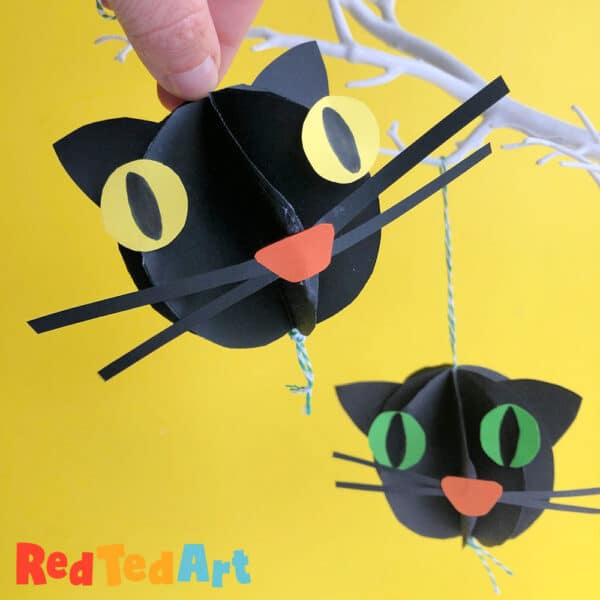
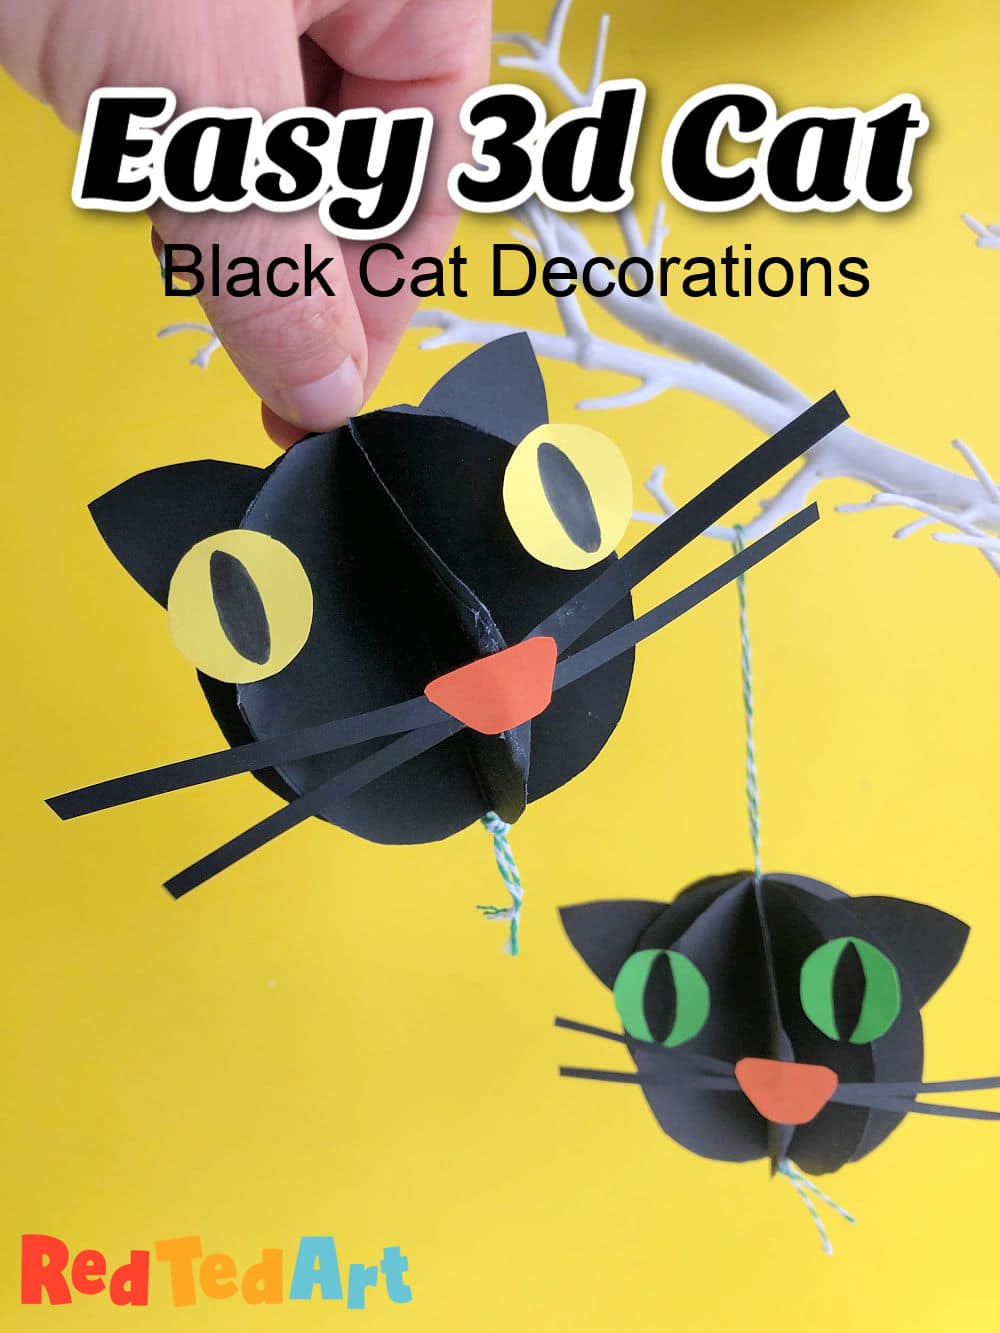
3d Paper Cat Decoration for Kids
A super cute and easy Paper Halloween Craft for you today! A cute Black Cat Craft (that said, any of these Cat Crafts would be amazing “in black” too). This is originally from our Best Makes Ever series, which we can finally share with Red Ted Art readers too. Hooray.
Also note: affiliate links have been added to this post – should you choose to purchase via these, I will earn a small commission that goes towards the upkeep of this site!
About the Best Makes Ever series
The Best Makes Ever Series, is a series of art and crafty videos, that Art Crafty Kids and I produced for Sky Kids UK back in 2020-2022. They were designed to bring delightful arts and crafts projects to kids – using every day materials/ limited resources. Enabling everyone to join in and have fun! Now, 5yrs on, we are (slowly) able to share these lovely arts and crafts projects with you on our websites too! So, DO explore our Best Makes Ever Series tab for more info.. or check out some of our highlighted projects here, that work particularly well for the Halloween Season
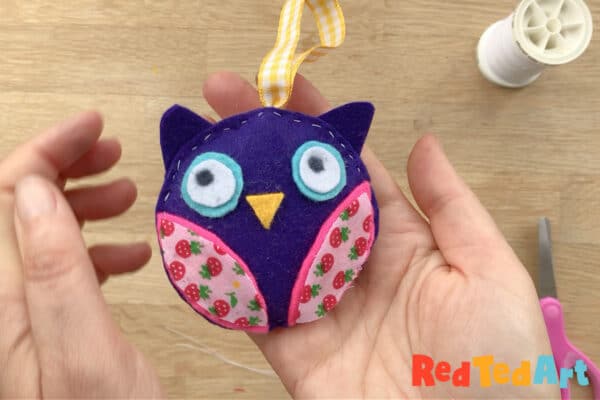
- Another wonderful sewing project – make super cute Felt Owl Ornaments or Felt Fox Ornaments (using basic shapes!) – you could switch the colours out and make the owls more “spooky” if you wish
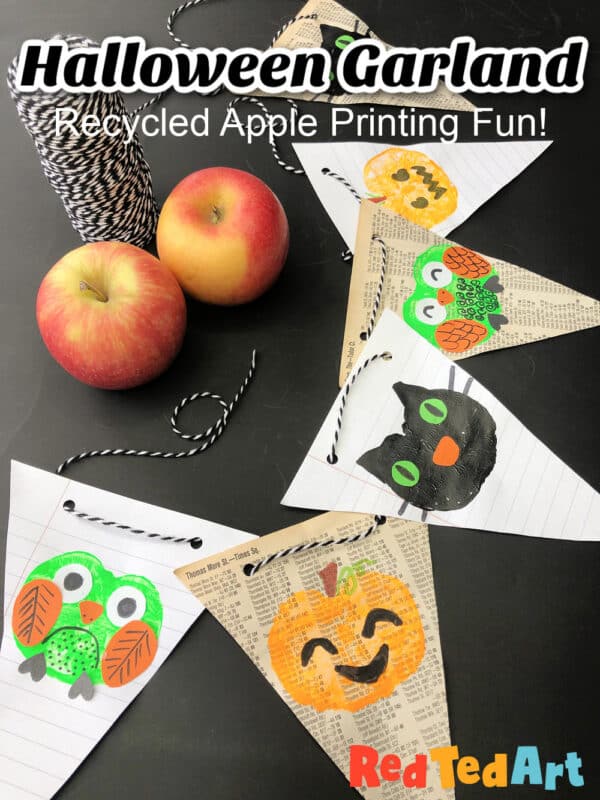
- From apple prints, to addorable recycled Halloween Garland!
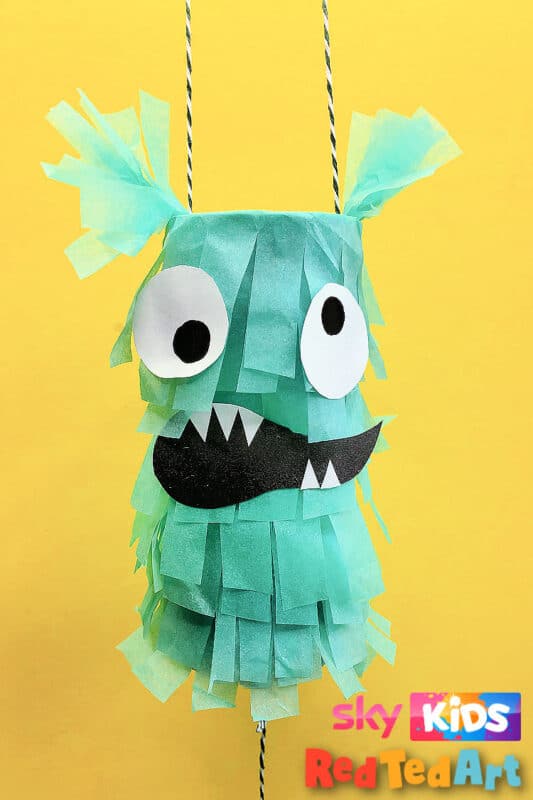
- Turn Cardboard Tubes and salvaged tissue paper into Monster Mini Pinatas!
3d Paper Spider Craft:
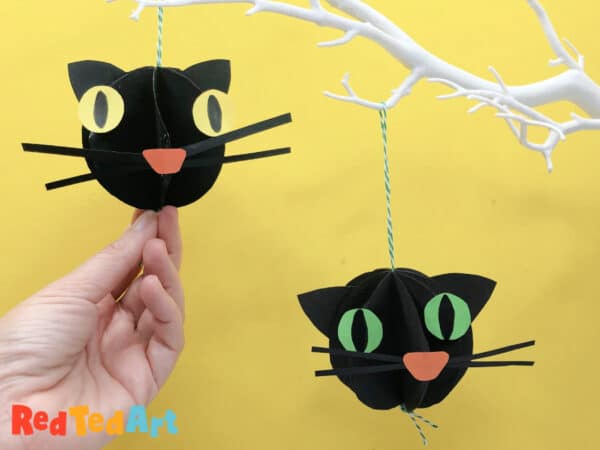

This little paper cat compliments our super fun Paper Spider Craft too!
Supplies needed for 3d Paper Cats
- Black paper
- Something circular to trace
- Paper scraps for cat nose and cat eyes
- Glue stick
- Pencil
- Scissors
- Baker’s Twine for hanging (we love baker’s twine but of course any string works or, some yarn!)
3d Paper Cat Video Tutorial
You can watch our video tutorial or check out the step by step instructions below!
This video is also available on YouTube if that is easier for you!
How to make a 3d Paper Cat Ornament
Make your basic paper cat shapes
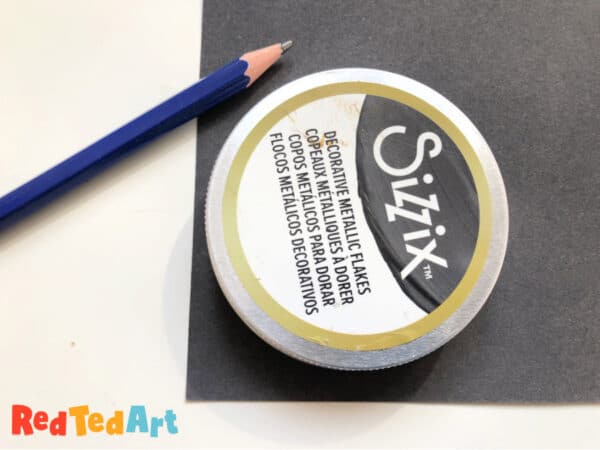
Find something circluar to trace. We found the lid of something worked well, but a regular plastic cup usually is a nice size for this.
I folded the paper, so that I could trace the circle once, but cut 8 circle shapes at once. You may find it easier/ neater to cute 2-3 circles at a time.
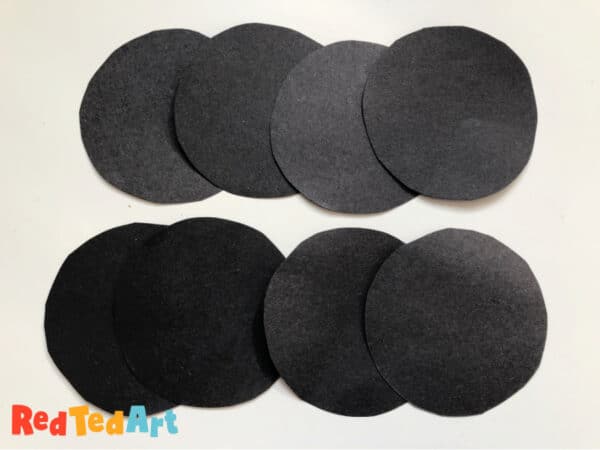
Cut yoru 8 circles.
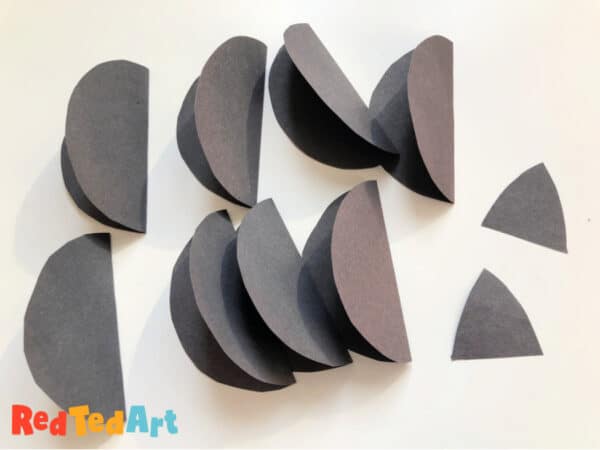
Fold all circles in half.
Cut out to triangle ish paper cat ears.
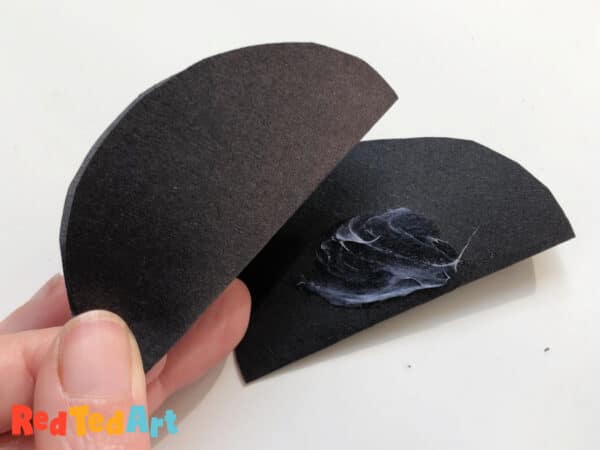
Add glue to one half of one circle. Place a second half circle on top and align as neatly as possible. Repeat until 4 halves are stuck together.
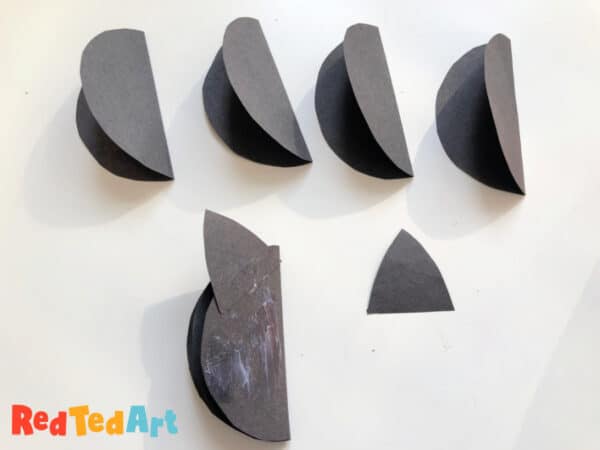
Now position one ear and glue in place.
Add glue and glue on the remaining 4 half circles.
Add the second ear in place.
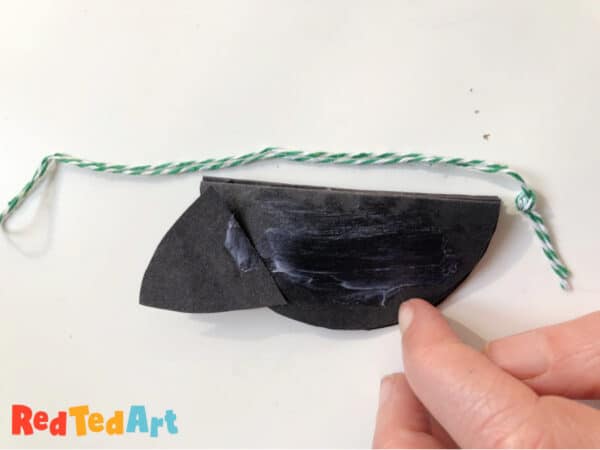
Now add extra glue to both the half circle AND the spine of your circle stack.
Take some baker’s twine, fold it in half and add a knot to the bottom. Make sure it is a good length for your paper cat ornament – line it up as per the image above.
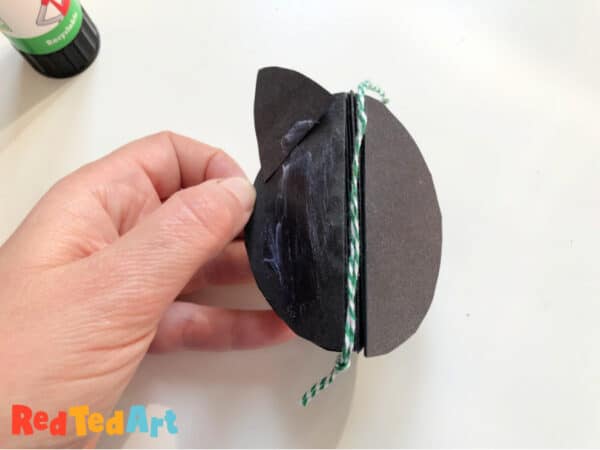
Once the baker’s twine is position, you can stick the top glue filled circle to the bottom one.
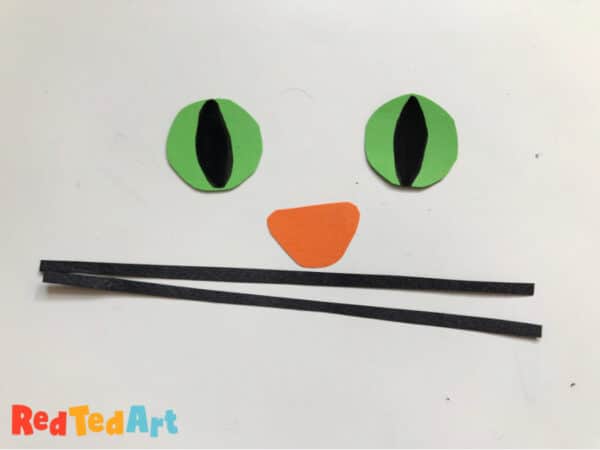
Cut out some cat features:
- two circles for ice with a black line made in pen
- a nose (sort of a round off triangle)
- two long whiskers in black or white!
Glue the nose and whiskers together.
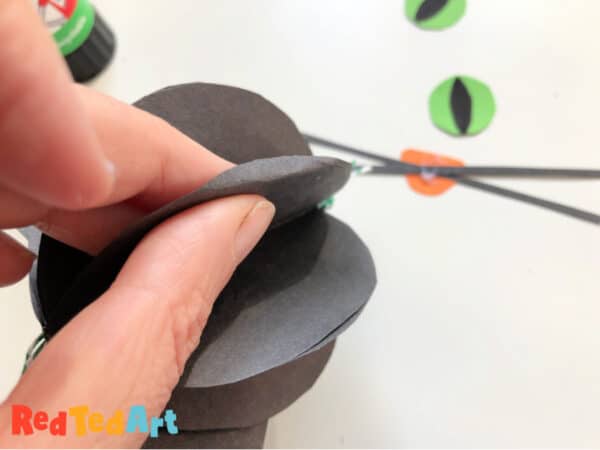
Look at your bauble – and check that ears are pointing “left and right” and find the central circle shape between them.
Make a small fold. And add glue to this.
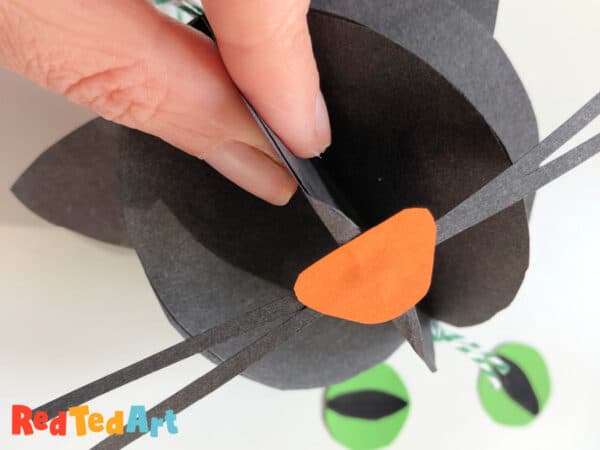
Glue the nose onto this fold.
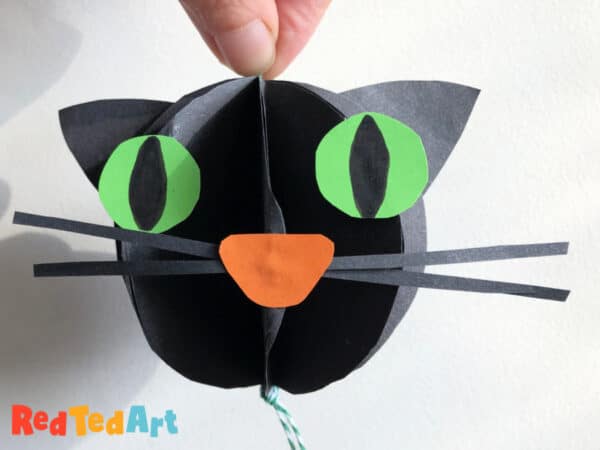
Make a similar small fold, higher up, on either side of the nose for the eyes.
Glue the eyes in place.
Your 3d paper black cat is finished!!
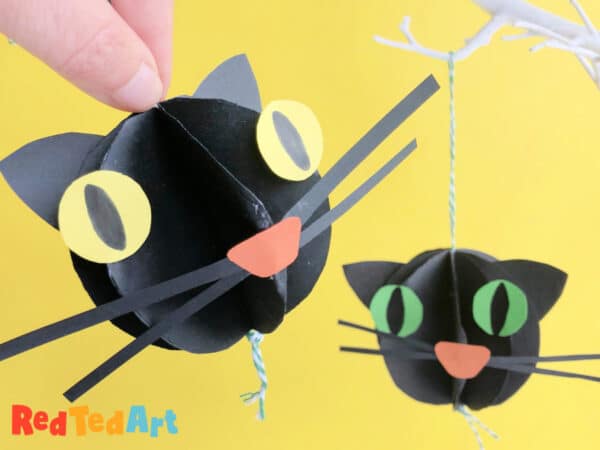
Make lots!
There is a range of fabulous Cat Crafts on this site.. but if I picked out two for Halloween, why not check out these two black cat oriami projects:
- Black Cat Origami
- Black Cat Finger Puppets


More Paper Halloween Crafts for you to check out here: