
Pop-Up Bunny Easter Card
Time for another super cute and easy paper Easter bunny craft! We have some lovely step by step instructions, showing you how to make an easy Pop-up Bunny Easter Card! Kids will love to make these cards and add their lovely personalized details and decorations.
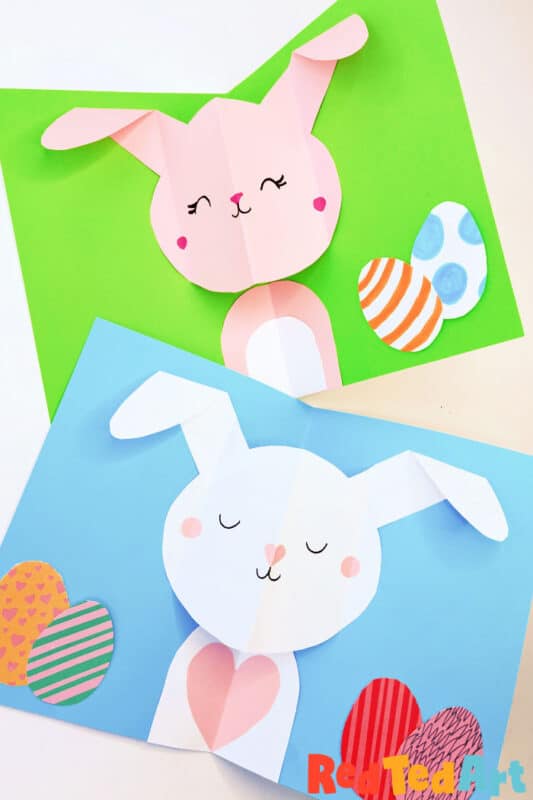
There is nothing quite like handmade card DIY. Personalised cards are super fun to make and a lot easier to make than you think and any 3d Easter Card is extra special. We have a range of fabulous easy Easter Card DIYs for you to browse already. And today, we add another great design to the pack!
Supplies needed to make a pop-up Easter Card

The supplies list is simple! Basically you will need:
- Some card stock (we used a sheet of A4 card folded in half. You can probably get away with using construction paper too) – you can use any color, white card stock is nice, but we went for green and blue today
- Some pink and white paper
- Pens/ markers for decorating
- Scissors
- Glue stick
As with many of our crafts – and by popular demand – I have created a handy printable and worksheet for you over on Teacher’s Pay Teachers. This helps support the upkeep of this blog! And gives you a handy learning tool/ worksheet to use in the classroom or at events such as library crafting sessions! You do not need the printables to make this craft, I will guide you below and you can create your own template!

How to make a pop-up bunny Easter Card
Do watch our handy video tutorial on auto play (it is a nice and short video, with a voice over – great for any English students!) or follow our step by step photo instructions below!
1. Prepare your bunny card shapes

You can print the shapes straight onto colored paper or white printer paper and use them as a template. If you want to make your own shapes, that is totally fine too! You will need some very simple shapes:
- start with a larg oval for the face – I alwas use the width of my card as a guide. So if my card is roughly 30cm by 21cm (A4), your oval should not be bigger than 21cm.. in fact around 16cm wide is probably good.
- a body – sketch one out in relation to the oval face
- and two ears – again, check against the oval size to figure out how big to make these
Cut out your basic bunny shapes. You will need a face, 2 ears and a body. You can add a tummy to your body if you wish!
Once you have the pieces of this DIY Easter Card, fold the body parts in half and nestle in the centre fold of your card.
2. Create the special M fold to pop up

Fold your face in half.
Fold a flap at the edge of the face that is parallel to the centre fold. It is key to the pop up that this flap is parallel! Else your card won’t work very properly. So take care with this step. Repeat on the other side.
When you look down on your face, you should see an M shape fold. This is a simple pop up that works really well!

Add a cute bunny face with pens.
3. Perpare the ears to pop up up with the rabbit face

Position the ear behind the head.
Fold the ear to LINE UP with the face flap. Again. It is KEY that this fold lines up to make a straight line.
Fold down the ear flap so it fits inside the card.
Ad a little glue to the bottom of the ear and glue to the back of the head.
Repeat for the second ear.
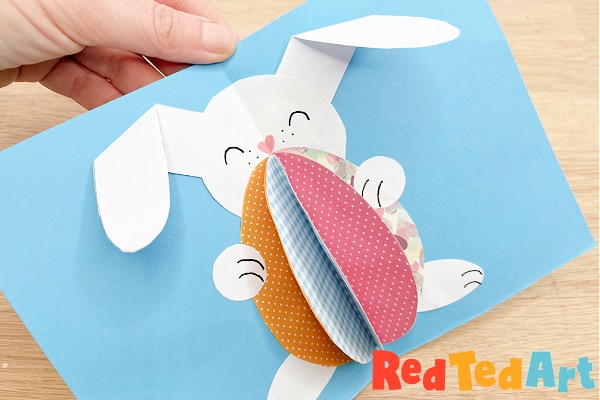
4. Glue the bunny in place to make the pop up Easter card

Add glue to the back of the body and secure in place against the fold of the card.
To secure the face add glue to the flap of the face and the triangle of the ear ONLY.
Lay flat onto the card and secure.
Repeat on the other side.
Your basic bunny will now pop up!
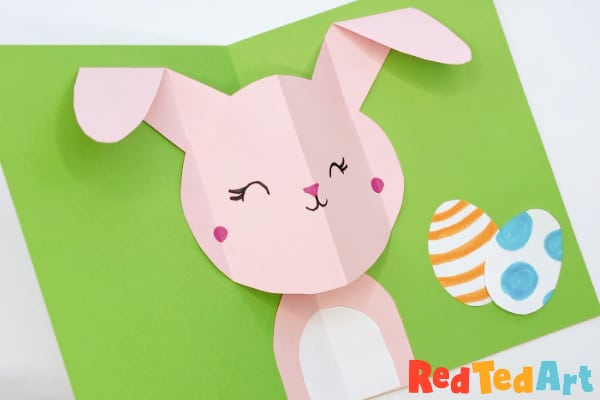
Add Easter Eggs and other decorations as desired! The printable has two Easter egg shapes you can decorate and use, but you can of course cut out more and stick some to the front of the card too. But any decoration works.. you can cut out paper Easter grass, some butterflies, a flower.. what ever takes your fancy!

You can also add heart bunny noses and heart bunny tummies (the printable includes a heart tummy!).
You can also add some cute speach bubbles with Easter messages, wishing people a “Happy Easter”… or should I say a HOPPY EASTER!
Once done, pop it in a large envelope and send it on it’s way!
I hope that you agree, that this is indeed an easy craft and that you give it a go this Easter!
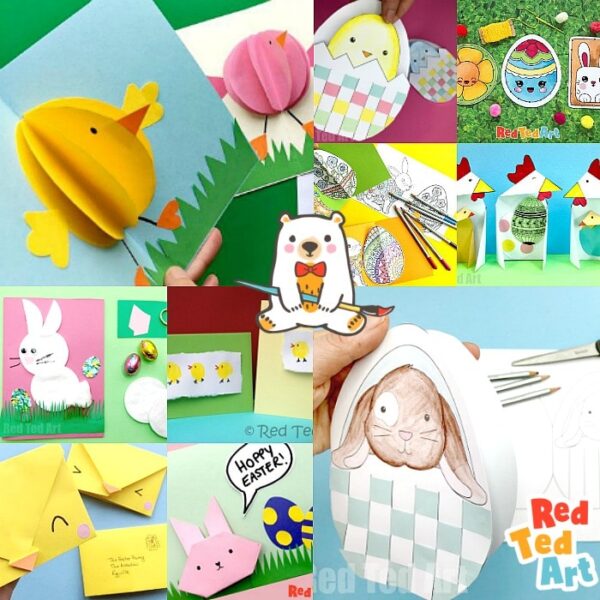
You may also like these pop up bunny Easter cards:

Iconic Peeps Bunnies Pop Up Easter Cards
Cutest Handmade Easter Egg & Bunny Rabbit Card!
Check out the rest of our handmade Easter Cards today, this collection includes our super popular pop up chick cards but also some lovely and nice and easy cotton wool bunny cards for younger kids! And don’t forget those CUTE chick paper weaving egg cards..
Or whilst I have your attention… how about more LOVELY Paper Easter Crafts? Paper is so so sooo fun:
