Easy Halloween Lanterns – Jack O’Lantern Crafts
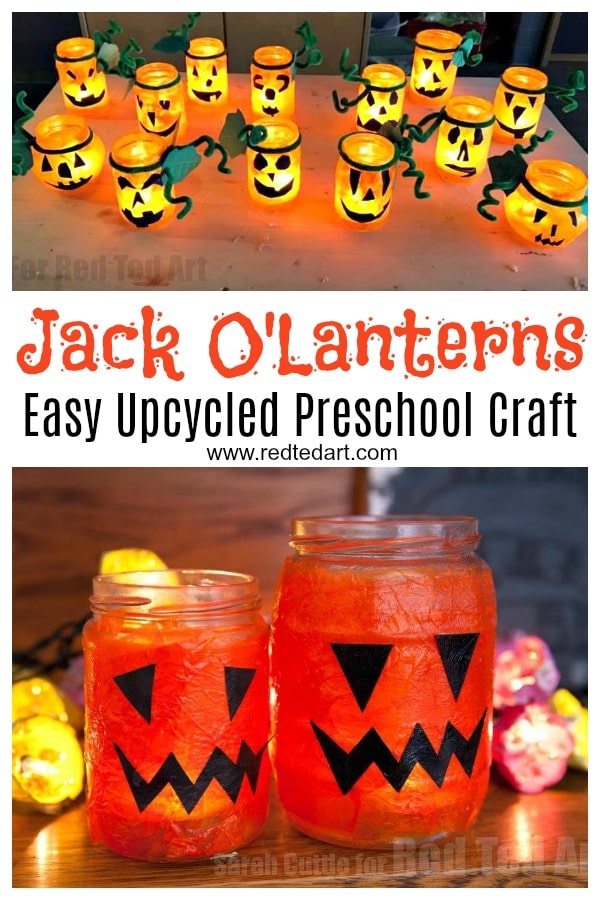
We love Jack O’Lantern Crafts. They usually make a quick and fun Halloween Craft, So today, we have easy tissue paper Jack O’Lantern jar lanterns – these easy Halloween Lanterns for preschoolers will have you making more and more.
I am not surprised that these are so popular in the U.S. they are fun, easy and quick to make… as well as being nice and safe for small hands too! I have a super helpful post on how to remove sticky labels if you want to check that out first! And some great Autumn Crafts for Preschoolers that are easy and fun too!
This is a great post to show how very versatile (Tissue) Paper Crafts can be.. and is the perfect (Tissue) Paper Halloween Craft for kids!
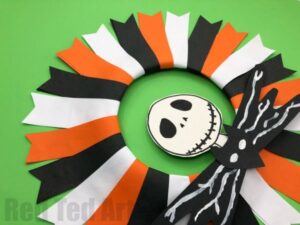
You may also like this super easy Jack Skellington Wreath – love the technique to make this – adapte the colour scheme to suit your Halloween Decor.. and the best bit? It is all made from PAPER!!! Yep.. a fabulous Paper Halloween Wreath!
Do save this post for latern in the year…. where we also have these cute Reindeer Christmas Lanterns!
Easy Halloween Lanterns – Materials
- Clean Jam Jar (the bigger the better),
- orange or yellow tissue paper (I recycled some from a present – but you can get it here US/ UK),
- decoupage glue or PVA watered down (decoupage glue here US/ UK),
- black paper,
- paint brush,
- candle or electric tea light (get tealights here US/ UK)
Affiliate links added for convenience!
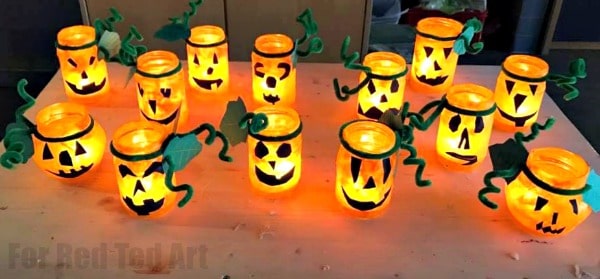
Oh and look at this WONDERFUL set of Halloween Luminaries sent in by a reader!! ADORE!!!!!
Check out our easy Jack O’Lantern Video Tutorial
As per usual you can watch the handy little video on auto play (and see how very easy they really are.. or follow the written instructions below!
How to make a Tissue Paper Jack O’Lantern Step By Step Instructions
- Make sure you jars are cleaned properly (read how to remove sticky labels here!)
- Cut your tissue paper into squares – 2inch x 2inch is good)
- Cover the glass in glue and start applying your tissue paper
- You will need 3-4 layers – lighter colours like yellow, will need more.
- Keep adding glue as necessary
- Cut out some Jack O’Lanter faces out of black paper
- Use your decoupage glue and glue them one
- Finally, add a final coat of glue and let dry fully!
We have had ours for about 7 years now and the jars are still going strong. They look fabulous and are so easy and fun to make!
Jack O’Lantern Mason Jars
Equipment
- Mason jars
- Orange or yellow tissue paper (ideally recycled)
- Glue
- Brush (or fingers)
- Black paper for features
- Scissors
Instructions
- Make sure you mason jar is clean and dry (we have a great "how to remove sticky labels" information post if needed)
- Cut or rip your tissue paper into squares – 2inch x 2inch is good
- Cover the glass in glue and start applying your tissue paper. You will need 3-4 layers – lighter colours like yellow, will need more
- Keep adding glue as necessary
- Cut out some Jack O’Lanter faces out of black paper and glue them on
- Add final layer of glue over the whole jar and let dry!
Video
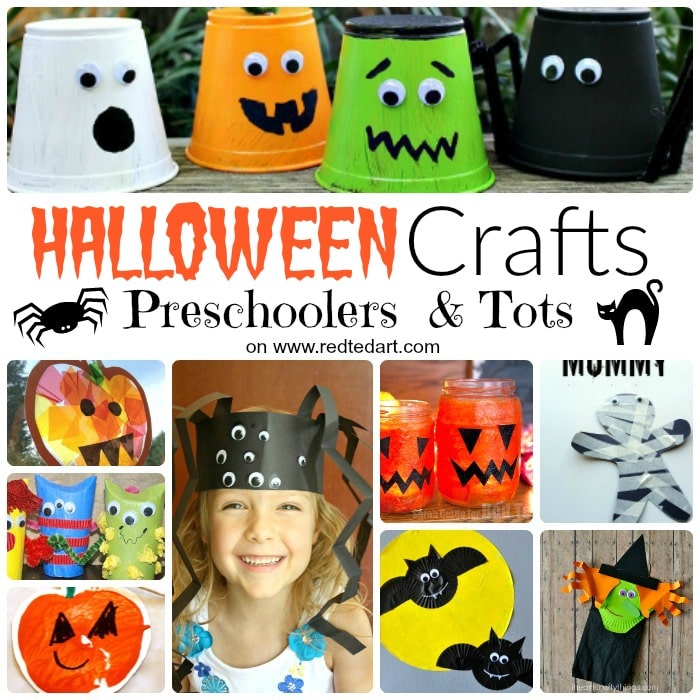
More fantastic Halloween Crafts for Preschoolers:
This Halloween Lantern Video Tutorial is also available on YouTube
(or if you want a giggle.. see my OLD OLD OLD video on this starring a lovely 3yrs old Red Ted !!)


