Easy Origami Dog – Cute Paper Puppy Craft
New to origami? If you want to have a go at an easy origami pattern for beginners or for prechoolers, take a look at this adorable and of course super easy origami dog! The focus is on creating and decorating a simple dog’s head/ dog’s face using some simple symmetrical origami folds!
Ok.. here we are again! Time for a cute Dog DIYs for our Dog and animal lovers. These little easy Origami Dogs are a perfect craft for a rainy day – simply because – all you need is a sheet of A4 white paper (eg like you get in the printer!!!) and hopefully plain white paper is something that everyone has!
We first made these for Chinese New Year in 2018 which was the Year of the Dog! So this would also make a great Chinese New Year’s Activity when exploring the Zodiac animals!!
What is the easiest origami animal to make?
I do think this origami dog is one of the easiest origami animals to make. But it is probably just as easy as our origami cat and origami bunny crafts. You can find both of these (and more designs) in our Top 10 Origami Projects EVER collection!
If you love this easy origami puppy.. you will love:
- this Easy Puppy Origami BOOKMARK, as well as
- Easy PUG Origami Bookmark. Hop over and take a look
- We also have a super lovely and easy origami bear you may like to check out!
How do you make a full body origami dog?
For this I think you have two choices. You can either add a simple origami body, as per this origami cat instructions (you will need to glue it on) OR you can use a different pattern entirely and have a go at this adorable origami scottie dog project!
How do you make an origami dog face/ dog head?
Read on! You are in exactly the right place with our easy origami dog face step by step tutorial! Woohoo.
Supplies needed for an origami dog craft:
- any paper or origami paper, but we used a sheet of A4 paper (you can make one large dog out of this or two small ones) – brown packaging paper also works
- some pens for decorating
Optional – you can add this to a greeting card or turn it into a garland or banner!
How to make an origami dog/ puppy craft from paper
Once again, we find sharing origami projects for kids, so much easier in the video format and I hope you find the instructional video on autoplay useful. Though I have screen shots and step by step instructions below too! I aim to make the origami videos for kids super easy and fun to follow – and many English language teachers find them useful in the classroom lessons in English too.
It really only takes a few minutes to learn how to make this easy origami dog and then you and the kids can be off making more and more and more.. designing them in whichever way takes your fancy. I hope you enjoy our Dog DIY video today!!!!!
Step by step origami dog’s head instructions
Isn’t that simply the cutest? and easiest? Hope you have lots of fun with your easy paper dog… I think it would be great as part of a greeting card or fun dog collage!
Begin with a square piece of paper your desired puppy color
If you have a square piece of origami paper you are ready to go. If you have a piece of A4, you need to cut it into a square piece of paper first. It doesn’t have to be a perfect square, this paper dog pattern is pretty forgiving.
Origami dog step one
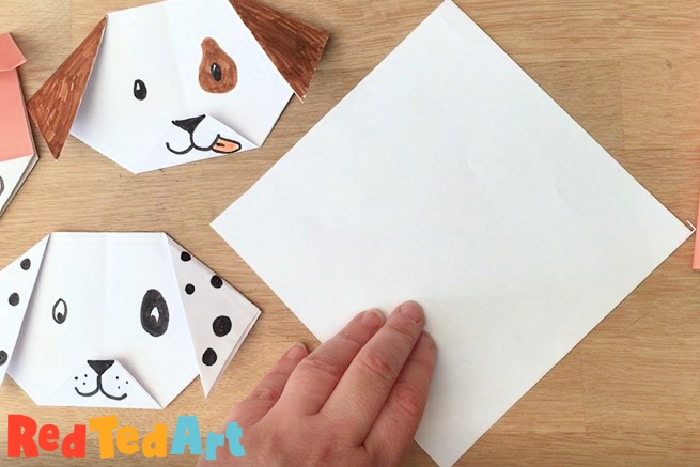
Once you have the square ready. Turn it so you have a diamond in front of you.
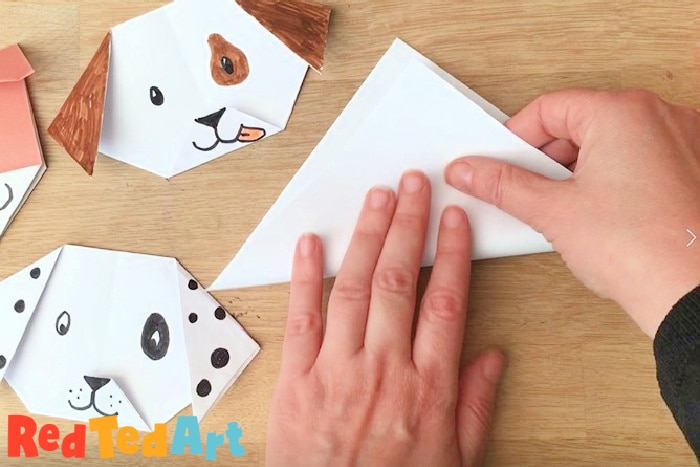
Fold up the bottom tip to meet the top of the diamond, creating a new triangle. Make a neat crease.

Take the bottom corner on the right and fold over to the left corner and make a LIGHT crease. This middle crease is a “guide line” that will help you aline the dog’s ears shortly. Unfold again.
Turn the triangle, so you have the long edge at the top. And then right angled corner at the bottom. With the middle crease/ guideline running down the centre.
Making flap’s as dog ears

Start on the right side – take the top right corner and fold down. Make sure the fold is approximately 2/3s along from the central guideline.

Mirror this fold by taking the top corner on the left side and also turning it down. So make sure the angles you folded are the same on both sides and are symmetrical. These flaps make the dog’s ears!
The paper dog’s snout
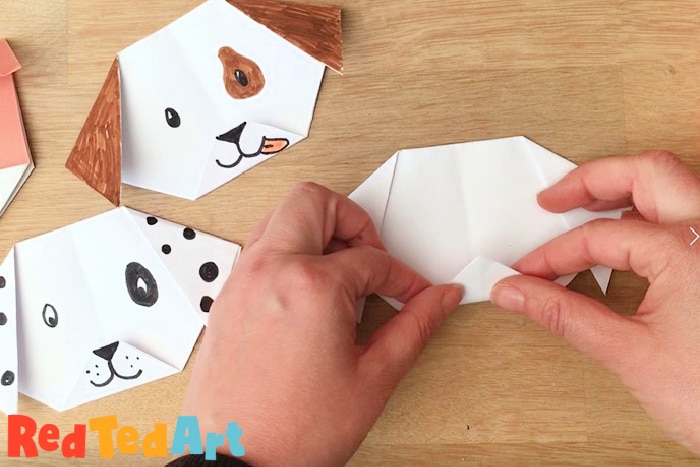
Now you need to make the dog’s snout.
Take the bottom edge (the one with the right angle) and fold it up.
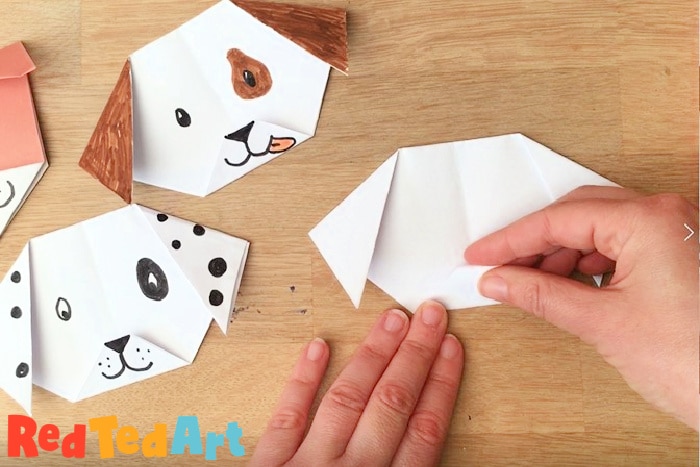
Then tuck the top in, to make the basic dog snout.
(If you have a piece of origami paper that is brown on one side and also has a white side, watch the video to see how you can make the snout “turn white”, by only folding up one flap),
Doodle and decorate to add the final doggy features

Grab your pens and markers and have fun with decorating your puppy and adding details. Positioning the eyes in different places, will result in completely different looks. You can have fun with the ears, patches and add tongues and bows. So cute! I love how the decorations can really change the look and feel of your dog and you can create your very unique and own origami dog face!
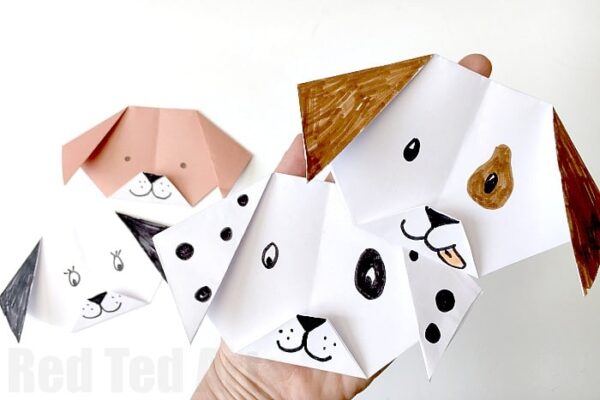
Woof woof! Enjoy these easy origami dogs!
I hope you agree that the art of paper folding, really isn’t that hard! And that you are inspired to continue learning more easy origami patterns!
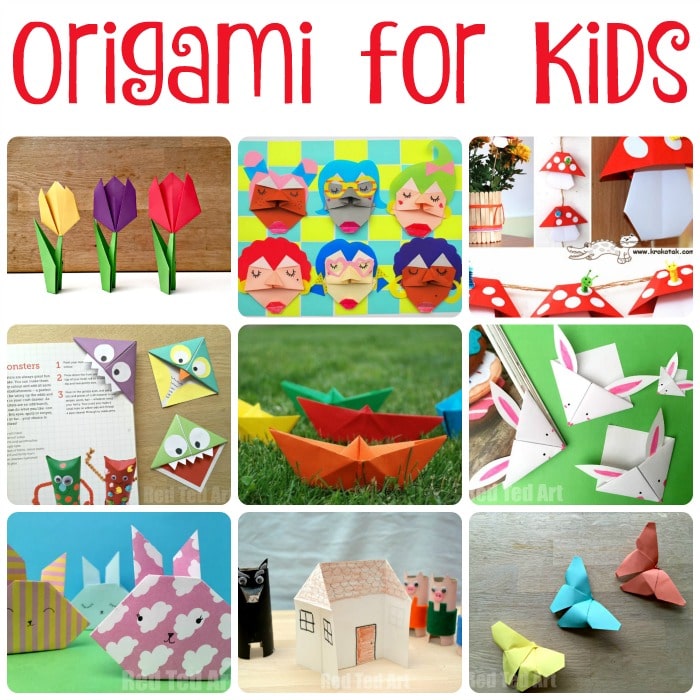
If this easy paper dog head tutorial whet your appetite, why not take a peak at this collection of DIY Origami For Kids projects – you will find lots more origami animals there including, a bear, a cat, a piggy, tiger and more…:
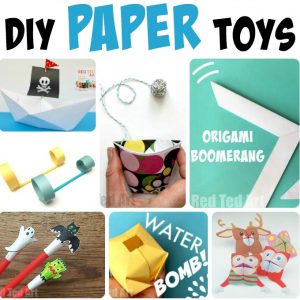
More popular paper crafts include our set of fun DIY Paper Toys here:
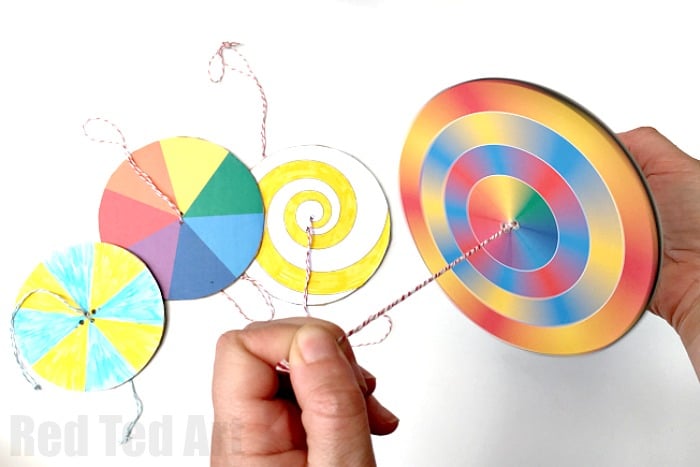
We particularly LOVE these DIY Paper Spinners (great for learning about colour theory too!)
Our easy origami dog face tutorial is also available on YouTube


