Easy Paper Bunny Craft – Bunny Easter Decorations
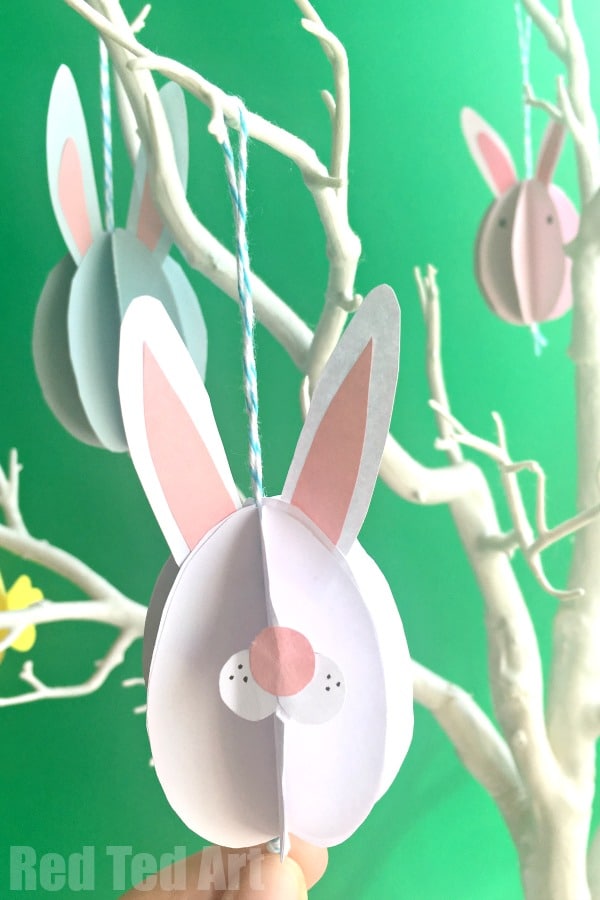
Well.. we do love paper crafts especially Paper Easter Crafts! Paper is just wonderfully versatile and there are SO MANY things you can make with it.. today we have an adorable Easy Paper Bunny Craft – a perfect Easter Bunny Decoration to make with kids too!
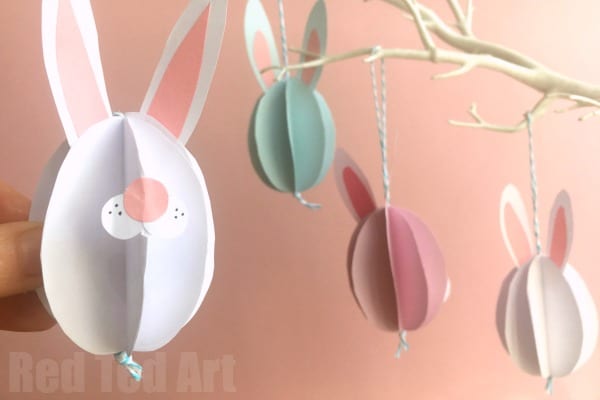
You may have seen our adorable Paper Chicks earlier this month (I think they may still be my favourite paper bauble diy ever) – today we have yet another variation on these – Paper Bunny Baubles. Both the chick baubles and the bunny baubles are simply perfect for a spring tree! And because they are so easy to make, you can make a new batch each year to suit any new colour schemes you may have chosen. Or careful fold them flat and keep them for years to come. How we do love DIY Easter Decorations!! (We have a great set of Egg Decorating ideas you may want to combine these paper baubles with!). And of course.. if it is Bunny Crafts for Kids you are after.. we have plenty to choose from too!
We have been asked LOTS about our Spring Tree – and found similar for you here – US / UK (Affiliate links added for convenience).
Easy Paper Bunny Craft – Materials
- Coloured paper (in our case white, pink and light blue)
- Glue stick (our favourite is this US/ UK)
- Bbakers twine (we LOVE it… stock up today!! US / UK – this assorted set is great too US/ UK
- Black pen (optional)
- An egg templates – ours was approximately 6.5cm long and 5cm wide, which meant we could get 8 shapes out of one sheet of A5 paper
I have had many request re the white tree.. and have found similar for you here – US / UK
Affiliate links added for convenience.
Easy Paper Bunny Craft – How To
Of course we have a FABULOUS Paper Bunny video how to for you today, but we have also copied out the instructions from this Paper Bauble post below, which can EASILY be adapted! You just need to add the beak at the beginning, as well as make your thread a bit longer to add the beaded feet!
Here are the step by step instructions for the Art Baubles – but the process of course is the same!
1) If you have the same sized egg shape as us, you should be able to fold your A5 sheet of paper in such a way, that you get 8 sheets of paper on top of each other. Draw your egg template and cut out all sheets of paper. If you can do 8 in one go, great, if not, do cut them out individually (see video for how I did it!).
2) Cut out 8 egg shapers for your Paper Bunny. You need to cut these as perfectly as possible for the finished effect to be at its best.
3) Fold your egg shapes in half. Make a good crease.
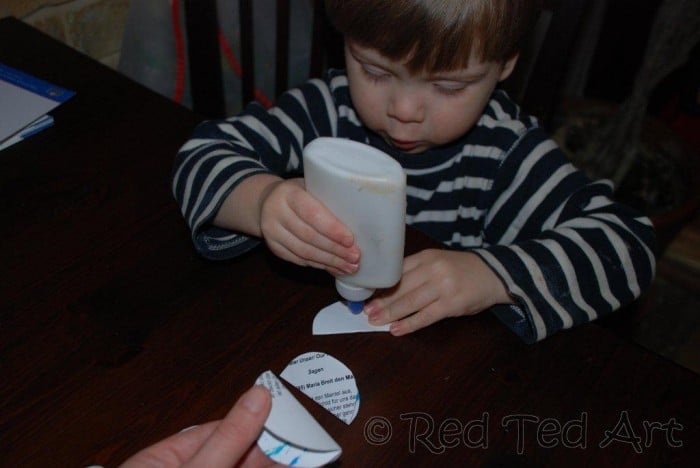
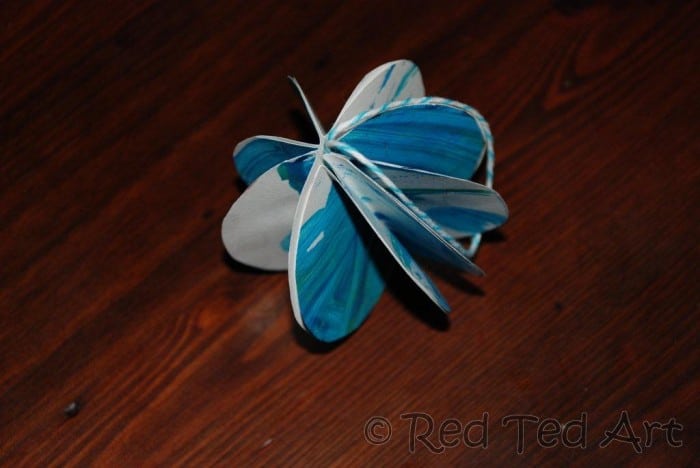
4) Stick the left side one to the right side of the other (I would now of course use pritt stick, much easier). I found that if I held them for Red Ted he could do all the sticking. When you get to the last one, add the ribbon. Then glue the first circle to the last
5) Even them all out a bit, if necessary add a tiny bit more glue and done!
You are now ready to add some PAPER BUNNY embellishments.. and you have a choice – we added a little bobble tail to our paper bunny ornament, as well as some nice long ears. This is your basic bunny finished (and I love them just like this). But we also experimented with adding some little eyes (the pink paper bunny, I liked it so-so) as well as little snot part (the white bunny ornament – very cute). So it really is up to you, as to how easy you want to make these!
Do check out our Spring Chick DIYs and Bunny Crafts too!
We have tons of Easter crafts and Easter decorations here on Red Ted Art, do have a good browse and ENJOY! And I do hope you love these little easy paper bunny ornaments as much as we do!
See our full set of Paper Easter Crafts here:

