
Origami Butterfly Bookmark Corner
With my continued love for Paper Crafts we have another Easy Origami for Kids project for you today. The Origami Butterfly Bookmark Corner! Now this isn’t like our normal Corner Bookmark Designs – which usually require some embellishments and decorations, but more of a “classic” Origami Pattern! Start off with the correct paper size and then no cutting or decorating is required to make this gorgeous Paper Butterfly Bookmark! Learn how to make an origami bookmark today!
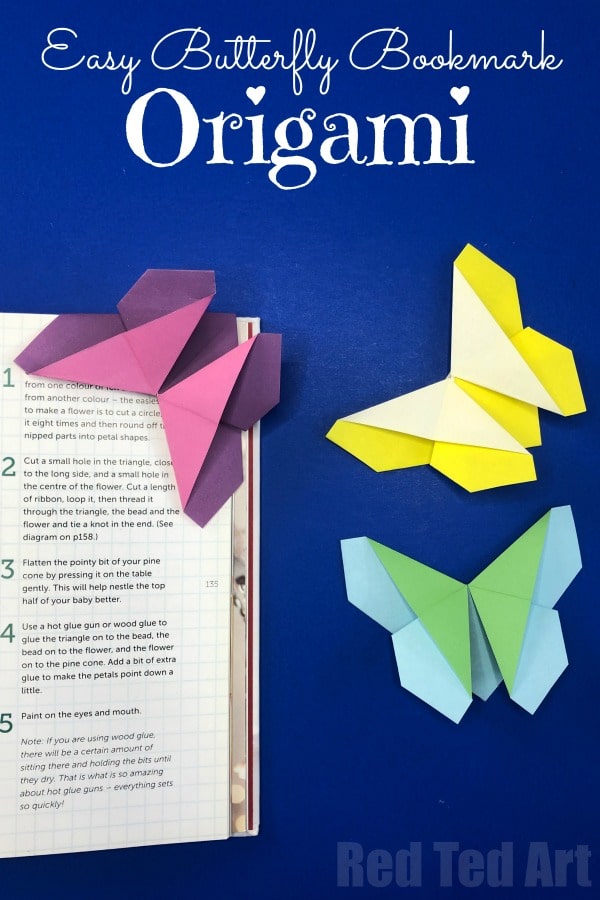
I saw this great pattern over on Dynamite Crafts and thought you would enjoy it too! We made our Paper Butterflies using “plain” two toned origami paper (more info on that in the materials section), but these origami bookmarks would also look gorgeous in pretty patterned origami paper with a plain back.
No glue is needed for this simple origami butterfly bookmark! Yay. You also need no template!
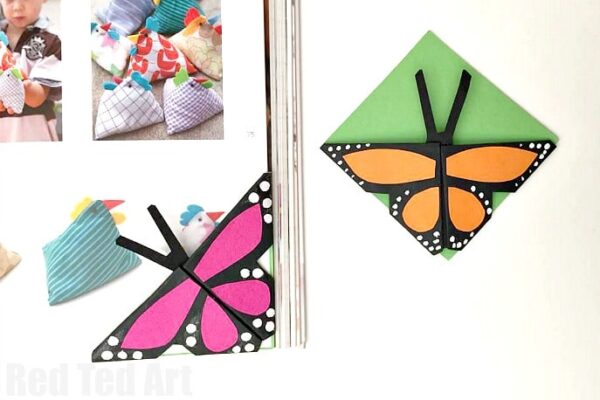
You may also like or Origami Bookmark Corner based butterflies here – they require a little cutting and decorating!
Paper Butterfly Bookmark – materials
Making these origami butterfly bookmarks is super quick and super easy. The folds LOOK complicated, but aren’t really. And once you have the hang of it, all you need is a piece of paper to make these cute butterflies!!!
- rectangular piece of paper – 15cm x 10cm or similar dimensions
*Two tone Origami Paper is wonderful for this, but not necessary we adore this two tone paper US/ UK (affiliate links added for convenience)
* Origami paper is always square, so you will need to shape it first
These make lovely bookmarks for an avid reader or a gorgeous little gift for mom on Mother’s Day. As you know on Red Ted Art we LOVE reading.. so adore all origami bookmark diys!
Ready to learn how to make an origami butterfly bookmark?
How to make an Origami Butterfly Bookmark Corner Video Tutorial
When it comes to Origami – even EASY origami, I do feel that video instructions on auto play show the how to in the best possible way. I do feel that this paper butterfly origami is relatively easy.. BUT that the video does the craft a little more just. Below are the step by step written instrcutions! But as with all my origami, I simply love the simplicity fo the video and it really shows the process well!
Step by Step Origami Butterfly Instructions/ Tutorial
As mentioned, the step MAY look a little tricky at first, but they are really easy once you get you head around them. Do watch the video if you feel the need to! It does help really visualise the “reverse folds”. On wards to our step by step instructions.
Cut the origami paper to size

You can make these butterflies using just white paper, but I LOVE the two tone origami paper for these. You will need a rectangle that has a 2:3 proportion. So 10 cm by 15 cm is a good size. If using origami paper (ie a square piece of paper), fold in the right edge approx third of the way. Make a neat crease. Unfold and use scissors to cut along the line.
The benefit of white paper, is that you can later take some markers, a black sharpie ir two and decorate the wings of the butterfly to your hearts content. Alternatively, take a broad tipped pen, e.g. a pink highlighter pen and quickly color in one side of your paper, to get the “two tone” effect. Just have a play with what you have.
Top tip: If you are watching the video do remember to PAUSE the video and take your time over each step. This is key for all beginners having a go at Origami!
Make your first folds – “triangular house fold”

Fold your rectangle in half (across the shorter middle). (So take the bottom edge and fold it up to the top point).
Flip/ turn round, so that the fold is at the top edge and the open “flap” at the bottom point (Image 2)
Take the right side, fold in half length wise, to create a central crease.
Open.
Now you need to make a trianglur flat crease. You do this, holding the crease in place with your left index finger. Then insert you right index finger between the two cheets of paper and pushing in.
A triangle will start to form:

… that you then push down and flatten. I call this the triangle house shape fold or corner folds – as this is used to make a simple origami house too! (Bottom left image).
Take the flap on the right (of the house and fold over and flatten it).

Repeate the triangular house shape fold on the left side as per the previous step. (Left image).
Take the back and unfold it. So you have a pattern as per the right image (so the house fold has been folded to be on the inside. The video may be handy for this step point!!!).
Shaping the butterfly wings

Place your origami flat down.
Make a middle small triangular flap, by taking the corner and folding up (top left image).
Repeate for the other side (top right image).
Make sure your creases are neat – they will help with the next step.
Hold the origami in your and push the crease in on itself. Making a verse fold..

… you can see the reverse fold on the top left image.
Repeat on the oter side (top right).
You should now have the shape as per the bottom left.
Now take the top right flap and fold down to shape the right wing…

…flatten neatly.
Repeate for the left side.
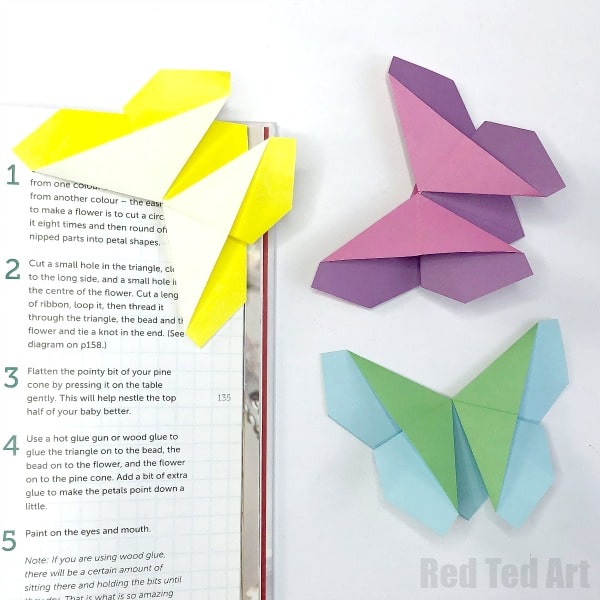
Your basic butterfly origami is finished. So cute!
As mentioned, I particularly love these DIY origami bookmarks being made with two tone origami paper. But you can also used plain printer paper and then decorate the butterfly with markers, pencils or even stickers!
Isn’t it fabulous. I love how it naturally has a corner pocket that fits over the corner of your book, to make it into a bookmark corner. Some people like to add antenna cut-outs, but I think it is lovely as it is!
I hope you enjoyed our Origami Butterfly bookmark! My daughter has been making these butterflies like crazy now.

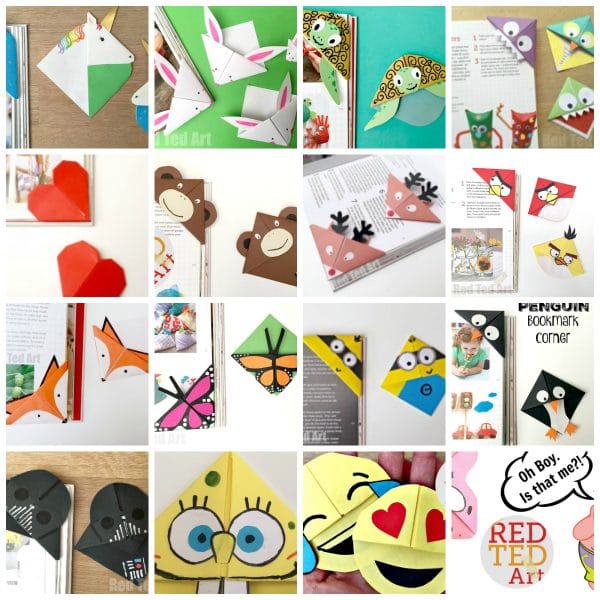
Other popular origami bookmark DIYS on Red Ted Art include:
- Classic origami bookmark corner
- This simple origami bookmark can then be turned into our popular monster bookmark
- DIY Bat Corner Bookmarks
- Origami Heart Bookmarks (these are lovely as conversation heart bookmarks)
Have you ever wondered how to make a bookmark corner…?
As you know, we LOVE origami corner bookmarks, and have many more bookmark ideas to make from a square piece of origami paper here – all based on the simple corner bookmark:
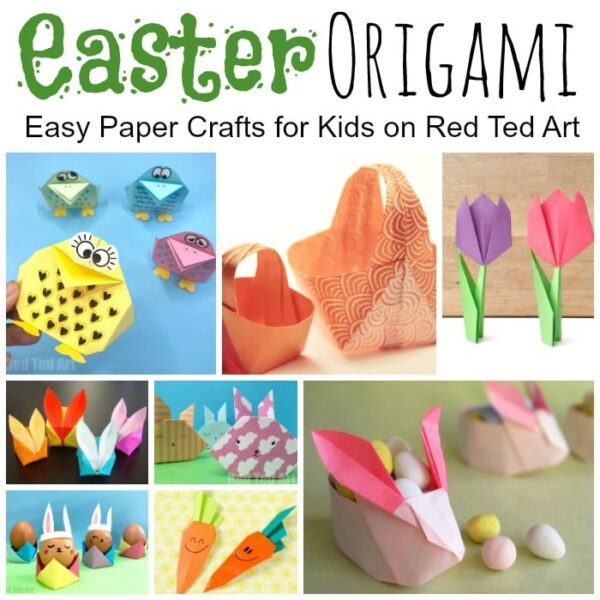
I think this butterfly bookmarks are great all year around, but are particularly lovely as part of our Easter Origami Craft collection – with lots more lovely ideas to browse and inspire you!
The origami butterfly bookmark video tutorial is also available on YouTube (slightly longer – more waffle at the beginning)