Tissue Paper Chicks Egg Decorating for Preschool
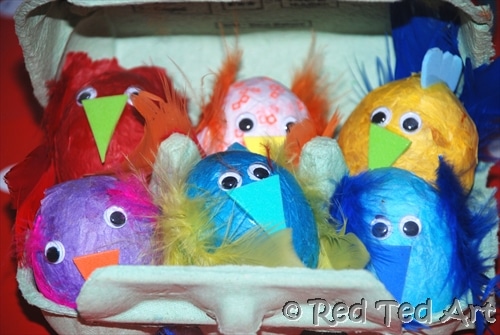
Time for some lovely and easy EASTER Crafts for preschoolers and kids. We love working with real egg shells and recycled tissue paper. We brought the two together to make these super adorable tissue paper chick eggs. A lovely way to decorate Easter Eggs with Preschoolers! Easy and fun! Love all the cheerful colours too! Learn how to blow out eggs and make this cute craft with us today!
Adorable Egg Decorating for young children
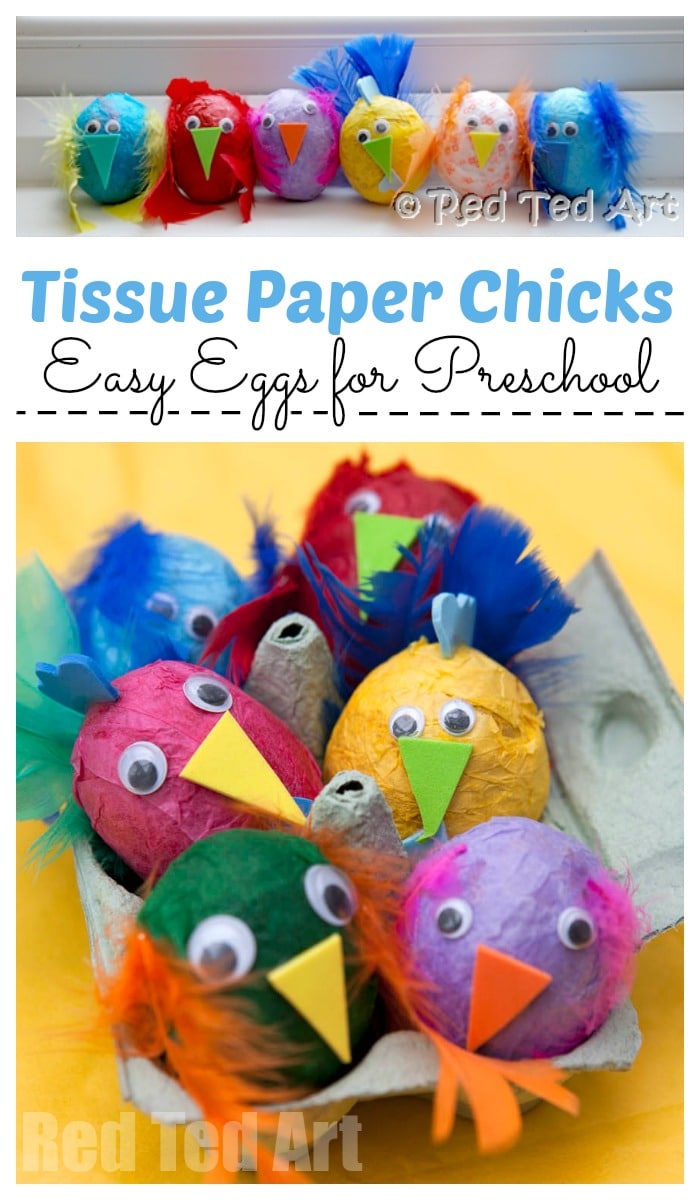
If you want to make these, you have to start on some egg blowing (check out how on my How To Make Easter Eggs Post) and collecting of empty egg shells. We really love working with holllow eggs – as they are a natural “waste not want not” resource, are biodegradable and a free. But we also like working with them as there is something “precious” about using real egg shells and the children LOVE the fact they are allowed to handle them. You may get a breakage or two inthe process.. but it really doesn’t matter. The egg shells would have gone in the bin anyway!
So this egg decorating project, really does make great Easter Craft for Preschoolers beginning to learn how to handle precious egg shells!
I saw some tissue paper wibbly wobbly eggs on a blog called 5 Orange Potatoes (now no longer available) and really wanted to try the “Tissue paper” technique out! So Easter Eggs Chicks you have!
We have made Easter Birds last year – but last year, I painted them first and Red Ted helped me decorate.
What I love about these tissue paper chicks, is that both children could join in MORE. Red Ted (4) managed it all himself AND they can now play with our rooster and birds, as they are not as fragile as your traditional decorated egg shells. Perfect.
Tissue Paper Chick Craft – Supplies Needed:
- “Blown Egg Shells” (see links below),
- upcycled Tissue paper – in lots of colours – yellow, orange, blue, purples and reds!
- PVA or Mod Podge or home made paper mache paste
- scissors (for cutting the beak/ wings if not using feathers)
- black pen & white paper scraps (if making your own googly eyes)
- things for decorating – we used googly eyes, feathers and funky foam*
Some environmental thoughts:
*Though I used all three items in this craft originally, I would now recommend that you at the very least, avoid the funky foam for the beaks, as I can’t justify the use environmentally! Use some cardstock or maybe some felt instead.
As to the googly eyes -we have started DRAWING our own googly eyes and I really do think they look great too! Your call.
And finally the feathers.. again, I am not convinced of them being an “ethical” craft material either.. so I may consider adding construction paper/ pretty craft paper feathers or folded tissue paper feathers next time!
How to Make Tissue Paper Chicks – Easy Easter Egg Crafts for Preschool:
Prepare your eggs
1) Blow your eggs and make sure are fully dried. You can use craft eggs if you prefer, but we love working with natural eggs. So fun! We tend to save eggs from any pancakes/ birthday cakes or scramble eggs from around February onwards, so we usually have a stash of hollow eggs ready for crafting!
Prepapre your tissue paper for your chicks
2) Cut your tissue paper into strips and squares.
Start gluing the paper to your egg
This process is easier and less messy thank you think!
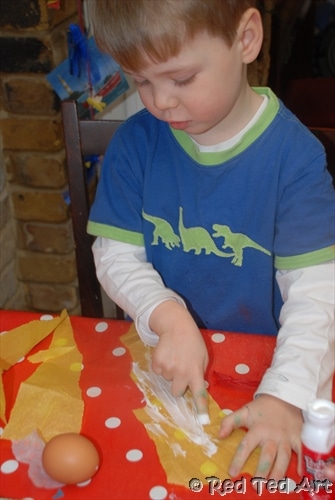
3) Add glue to your strips of tissue paper and then wrap the paper around you egg. As the glue is on the inside of the tissue paper, you can avoid getting it on your hands if you wish.
Add several layers. And keep molding it to your egg with your hands.
You can use a small brush if you don’t want sticky fingers!
Pip Squeak actually broke one of the eggs whilst we were doing it (she decided it bang it on the table)… but with the tissue paper we just patched up the hole and used the egg anyway! You can see the dent, if you look for it, but I don’t think it matters!
Add your chick’s features
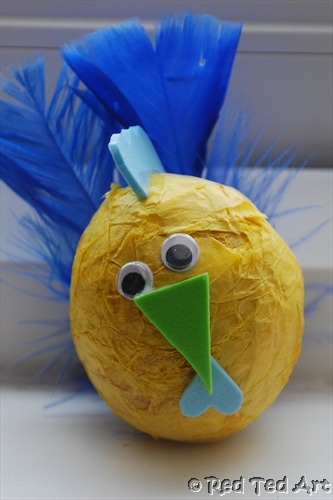
Your chick or chicken now needs features! We focussed on three main features – eyes, beak and feathers. We also made one rooster egg, for which I cute a wattle and a comb.
4) Let your tissue paper chicks dry.
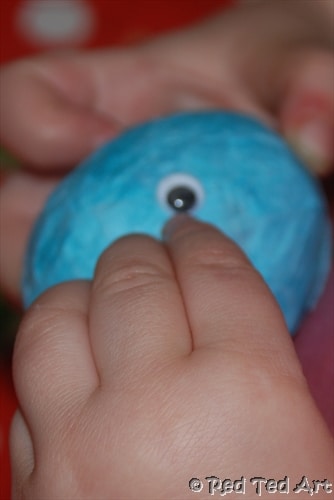
Add your googly eyes, beaks, roosters combs and feathers. You can have fun with yellow paper/ orange construction paper for the chicken’s beaks. And as well as switching out the feathers with pretty craft paper etc. Experiment with what you have to hand! Avoid unnecessary purchases!
The children chose all the colours, which I adore.
Easy peasy and cute as newly hatched chicks! Aren’t these Tissue Paper Chicks simply wonderful? I love that even YOUNG children can help make these!
Check out our Tissue Paper Chicks Rogues’ Gallery, we LOVE the Rooster:
Red Ted’s Tissue Paper Chicks
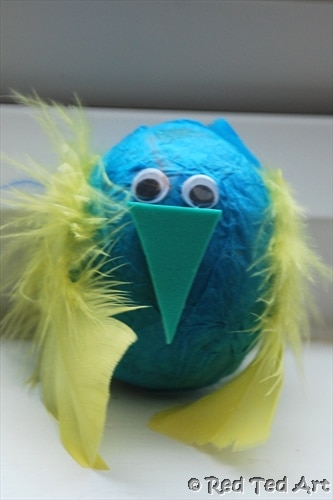

Pip Squeak’s Tissue Paper Chickens:
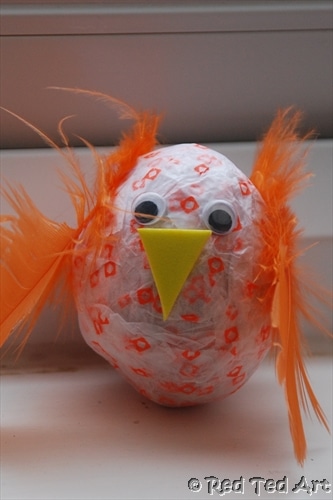
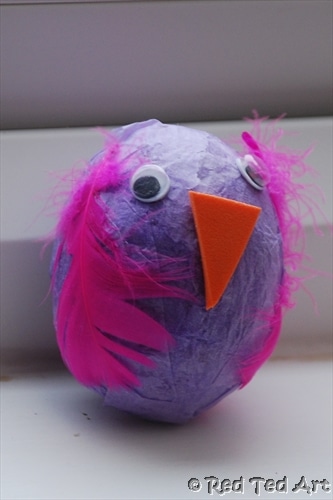
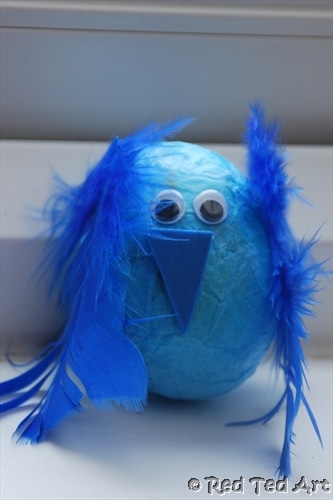
And here all the Easter chicks together:
We love to pop our little tissue paper chicks in an egg carton. But you can of course add some bakers twine to the top of the egg for hanging (probably easiest if you loop that through the hole for blowing BEFORE decorating with tissue paper). Or you can make a little newspaper nest for these chicks to sit in.. or maybe even make paper plate nest of sorts! Or maybe pop them into an Easter basket for decoration! Such a cute baby chick craft whatever you decide!
More from Red Ted Art – explore our lovely 20+ Easter Bunny Crafts
….and 20+ Easter Chick Crafts – they make fun spring crafts for kids of all ages:
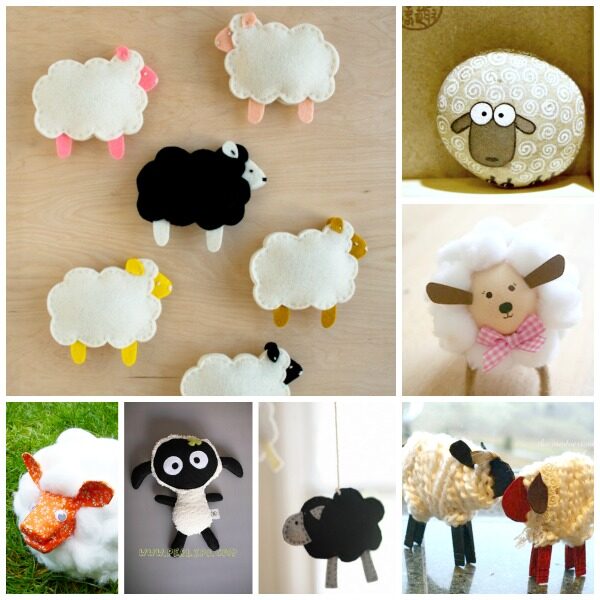
Or how about some Sheep Crafts for spring too? So very sweet! Lots of crafts to choose from including some favourite toilet paper roll sheep!
Check out the rest of our Easter Crafts for Preschoolers:
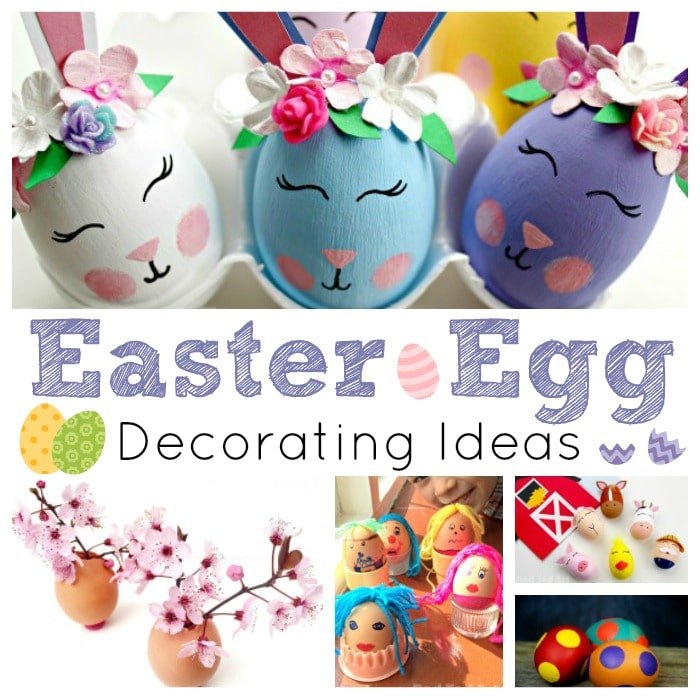
As well as our Easter Egg Decorating ideas:
Have you made any Easter Eggs yet? What are your Easter egg decorating ideas? Have you had a go at these cute Tissue Paper Chicks?! Let me see your photos by tagging me @redtedart on instagram!

